This post outlines the process for developing a sourdough grape starter using natural grapes from a local vineyard (or farmer’s market), and then using the starter to make sourdough bread in your bread machine.
A few weeks ago, I went on a tour of a local winery. It was fun as well as educational.
Did you know that red wine is better for you than white wine because they use the whole grape and not just the juice?
When I heard that, it reminded me of the difference between whole wheat flour and white flour. Whole wheat flour utilizes the whole grain whereas white flour separates the bran and the germ.
Another similarity between making wine and bread is the fermentation process. When the wine maker started talking about the fermentation process for wine, I just smiled. Anyone who bakes bread on a regular basis is familiar with the fermentation process, particularly when you make bread using a starter.
I think the fermentation process is fascinating – whether it’s wine-making or bread making.
I was so inspired by the tour of the winery, I decided to try my hand at making a sourdough starter using wild grapes.
 You can get organic grapes at a natural foods store or go pick you own.
Natural Grape Sourdough Starter recipe
from Rustic European Breads from your Bread Machine by Linda West Eckhardt and Diana Collingwood Butts. They got the recipe from an old Oklahoma Dust Bowl cookbook.
- 1 1/2 cups/7.5 oz./210 grams organic unbleached bread flour
- 2 cups/16 oz./450 grams room temperature spring water
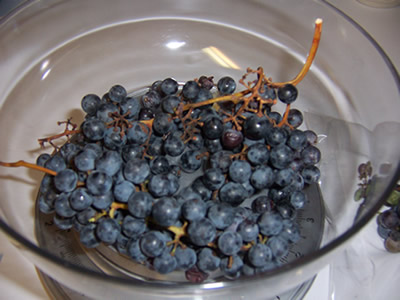
- 1/2 pound/8 oz./225 grams organic grapes on the stem, unwashed
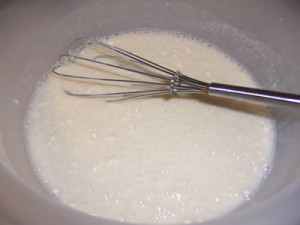
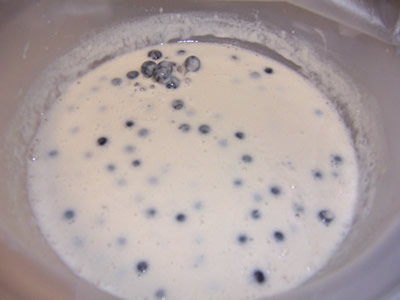
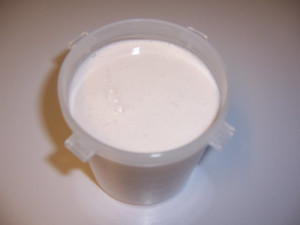
Day 1: In a medium-sized glass or plastic bowl, whisk together the bread flour and spring water until its lump free.
This is what the starter looks like before adding the grapes.
Submerge the grapes in the mixture
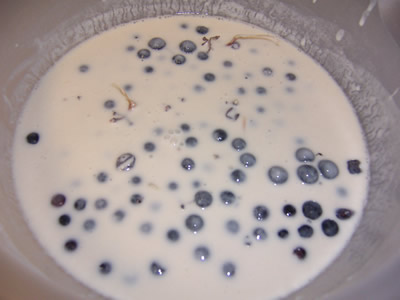
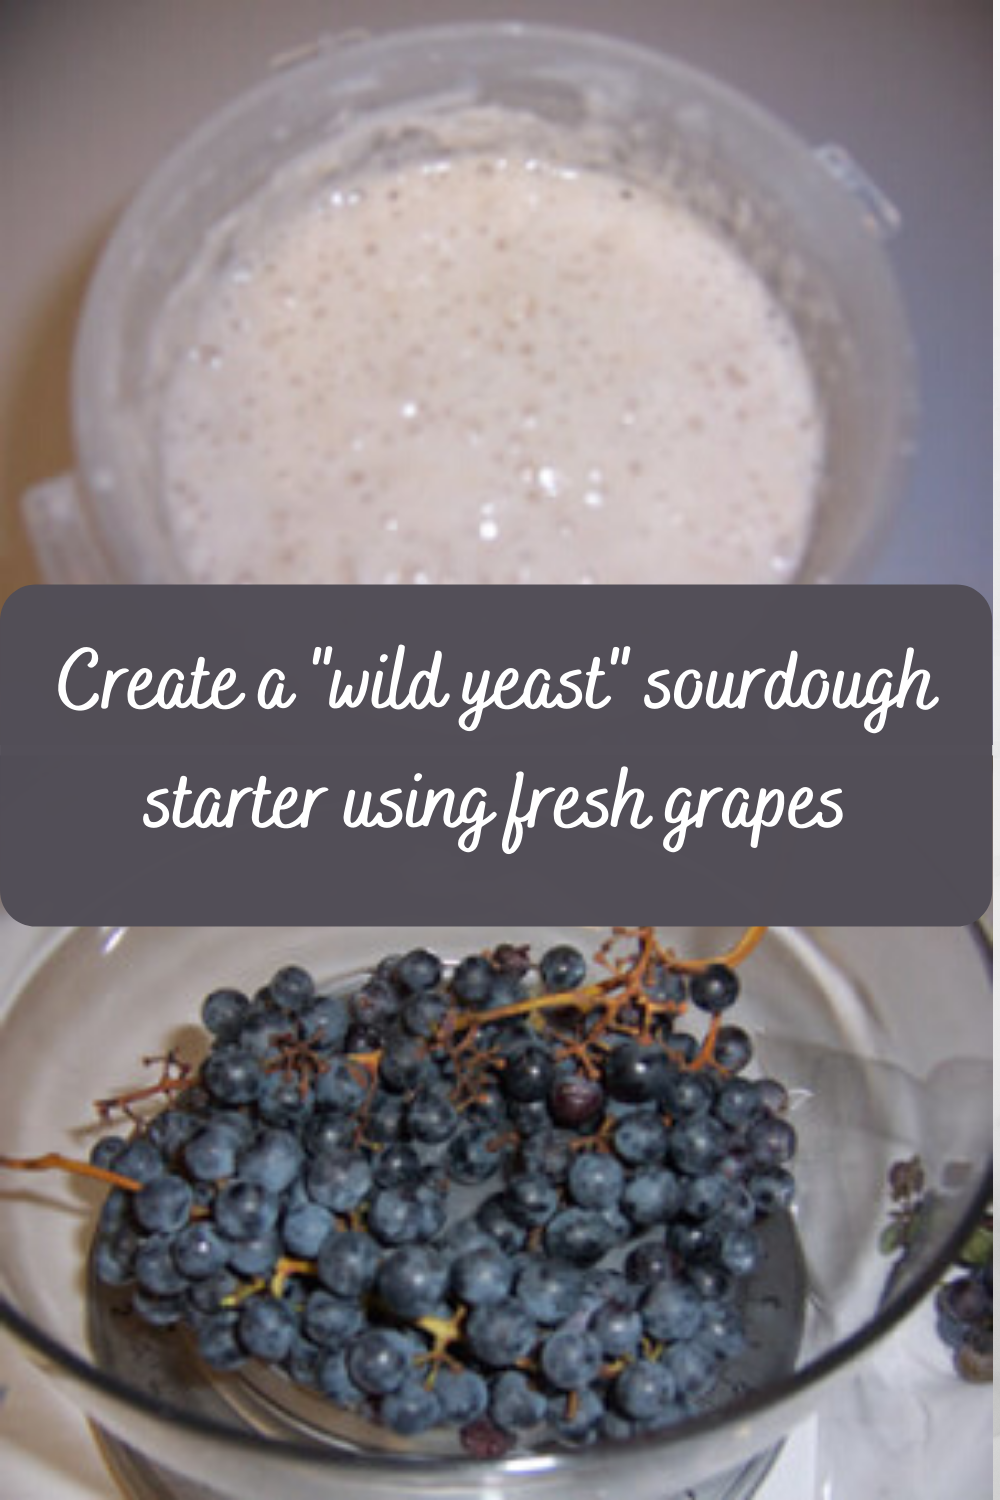
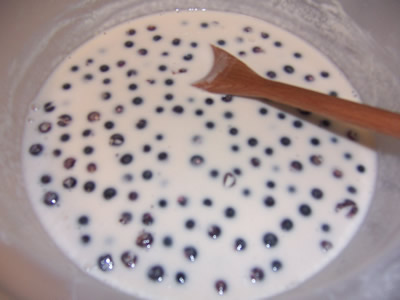
Cover with plastic wrap, and set aside in a warm room from 4 to 7 days. Feed the mixture every day with a few spoons of additional flour and water, keeping the ratio 3 parts flour to 4 parts water. Within a few hours the mixture will begin to bubble and expand.
Grape starter after a few hours on the counter.
It’s already starting to bubble!
The starter is ready to use once the aroma is tangy and the taste is sweet and sour all at once, usually on about the third day.
Day 2: Starter after being fed on Day 2. It still needs to sit for another day or so.
Note: If the starter just lies there after a couple of days, heavy and lifeless, throw away most of it and feed it again with 1/2 cup flour and 2/3 cup water. Let is sit for about 12 hours, and look to see if it’s started bubbling again. If it’s still dead, throw it out and start over.
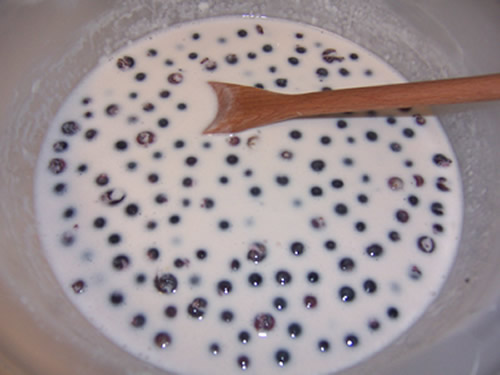
Day 3: Here is the starter at the beginning of Day 3.
It didn’t look to bubbly so I let it rest a little while longer.
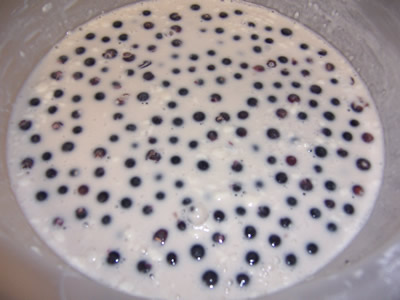
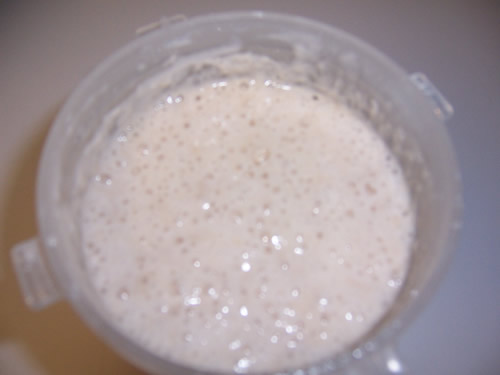
After feeding it on Day 3, the starter came alive.
See how bubbly it is now!
Once you have a lively homemade grape starter, strain out and discard the grapes. Then, transfer the starter to a clean glass jar, cover, and refrigerate.
It’s very bubbly although it’s hard to see in this photo.
To use the refrigerated starter, bring it to room temperature and give it a little feeding of 2 tablespoons flour and 3 tablespoons water. Let it stand in your warm kitchen overnight, then use it in your recipe.
It’s really bubbly and ready to go!
Day 4: Now, it’s time to make sourdough bread with the grape starter.
Since I put all that effort into making the starter, I decided to use an easy recipe and make the sourdough bread in the bread machine. I’m also going to experiment a little this time since the bread machine will do most of the work from here.
Classic Bread Machine Sourdough Bread
made using the Sourdough Grape Starter created in Days 1-4 (outlined above)
from Rustic European Breads from your Bread Machine by Linda West Eckhardt and Diana Collingwood Butts
I tried one loaf without adding extra yeast like the recipe calls for and the other loaf with the extra yeast. Spoiler alert: adding the extra yeast helped because my starter wasn’t mature enough yet.
Ingredients:
1-Pound Loaf
- 2 1/2 teaspoons bread machine yeast
- 2 1/2 cups bread flour
- 1 teaspoon sugar
- 1/2 teaspoon salt
- 3/4 cup starter, at room temperature
- 1/2 cup plus 2 tablespoons water
1 1/2-Pound Loaf
- 2 1/2 teaspoons bread machine yeast
- 3 1/2 cups bread flour
- 2 teaspoons salt
- 1 cup sourdough starter, at room temperature
- 1 cup water
Directions:
Combine the ingredients in the bread machine pan and process on basic bread setting.
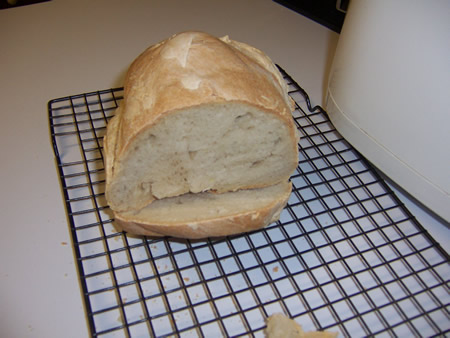
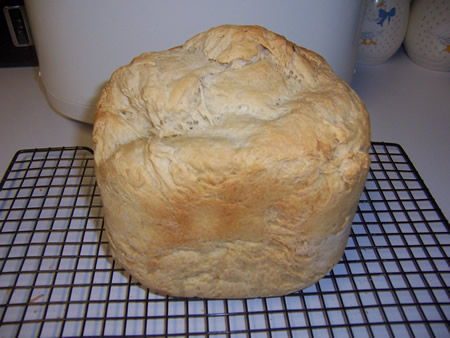
For the first loaf, I decided to make the 1-pound loaf. I didn’t add the extra yeast to see if the starter would be enough to make the bread rise. Watch the machine for the first 10 minutes. If the dough seems dry, or if the machine lugs, add water, a tablespoon at a time. If the dough is too wet, add flour by the tablespoon until you have a soft dough ball. Remove the bread promptly from the bread machine at the end of the baking cycle and cool it on a rack. Store in a paper bag.
Here are the photos of the 1st loaf of bread. As you can see, it didn’t rise very well. The texture looked good, but I tasted it and let my son taste it and it was rather flat. Oh well! I guess that experiment didn’t work very well. But that’s the fun part of baking bread…you just try again next time.
Day 5: Now for the 2nd part of the experiment. This time, I made the bread according to the exact instructions on the recipe.
For this loaf, I decided to make the 1 1/2-pound loaf. I put all the ingredients, including the extra yeast, into the bread machine and set it on the basic bread setting. In a few hours, the bread was ready.
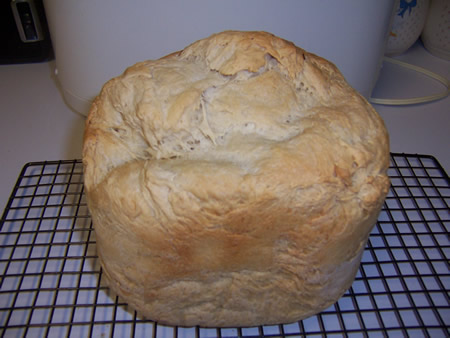
Here are the comparison photos. The 2nd loaf rose much better. However, keep in mind that I made a 1-pound loaf for the first loaf and a 1 1/2-pound loaf for the second loaf.
Comparison photos of loaf #1 and loaf #2
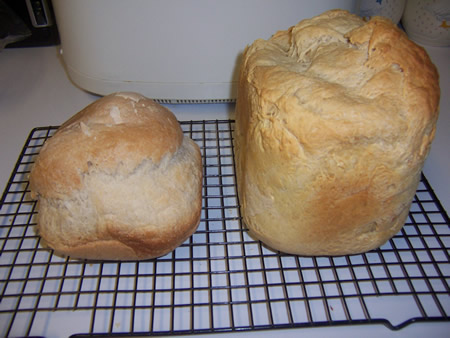
My oldest son doesn’t really like sourdough but he liked this bread. It’s actually very mild for a sourdough bread. The starter needs a little more time to develop it’s flavor. However, even though the starter isn’t very sour, it did live up to it’s reputation of creating a bread that is chewy and crusty.
Happy Baking!
Cathy
Leave a Reply