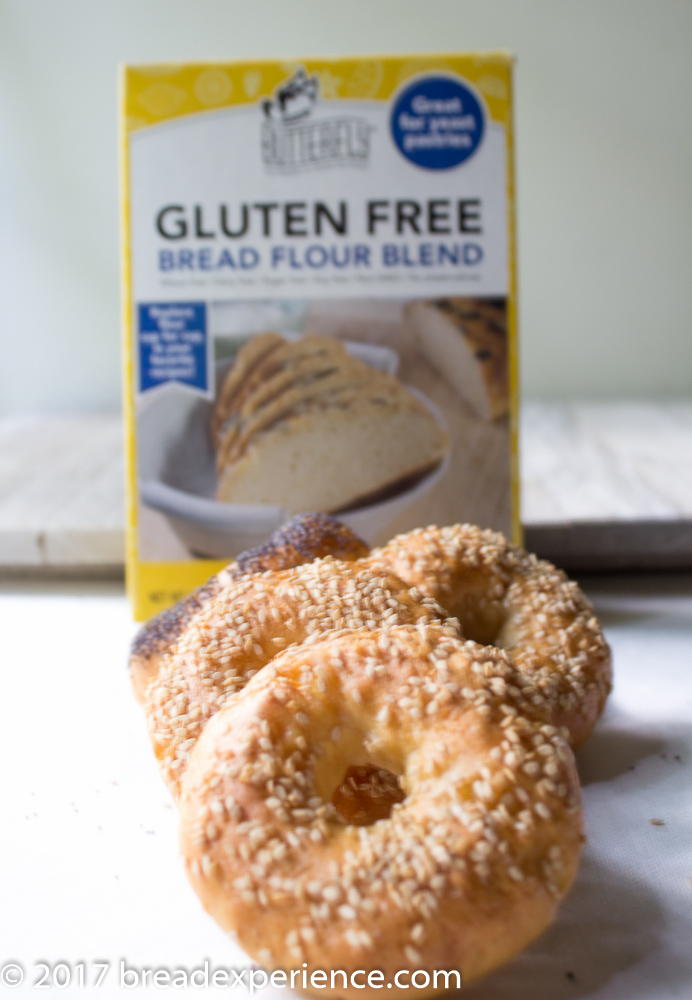
This post features my second experiment with Butterfly Gluten Free Flour Blends.
My goal for these gluten free bagels was to prove they could be made with a gluten free flour blend instead of wheat flour using my regular bagel recipe. I had fun with this one!

Disclosure: I received a box of Butterfly gluten free all-purpose flour and a box of gluten free bread flour to test. My first post showcased Gluten Free Banana Bread made with the all-purpose blend. This post features bagels made with the bread flour blend.
As I mentioned in my previous post, I am not a gluten-free baker; however, I have some friends and family members who are gluten-free.
Because I do not typically bake with gluten free flour, I thought I would make a good tester for these products. You are supposed to be able to use these flour blends cup-for-cup in regular bread recipes so that’s what I did. I replaced this flour blend cup-to-cup (or gram-for-gram, rather) for my regular wheat flour.
The first time I made these bagels, I used the bread flour blend and fermented the dough with kombucha. However, I made the bagels a little smaller than I normally do. I liked the texture and the color of the kombucha bagels, but I decided they needed to be a bit bigger. So went back to the baking board.

The next time I made these bagels, I used kefir water and a mixture of the all-purpose blend and bread flour blend, mainly because I didn’t have enough of the bread flour blend. I used kefir water to ferment the dough because it allowed me to start the process one evening and finish a day or two later when I had more time. If you don’t have kefir water, feel free to use regular water or kombucha. I also made fewer, but bigger (fluffier) bagels the second time.

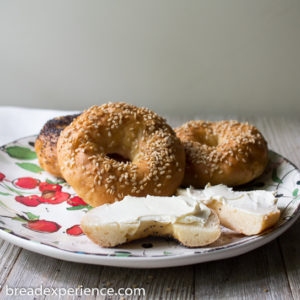
These bagels have a slightly different texture than bagels made with wheat flour, but I enjoyed them nonetheless. They taste best the day they are boiled and baked; but I also enjoyed them toasted a day or two later and spread with cream cheese.
- 3 cups / 375 grams Butterfly gluten free bread or all purpose flour blend
- 1 cup / 225 grams kefir water or kombucha
- ¾ teaspoon instant yeast
- 1¾ teaspoons / 10 grams fine sea salt
- Sesame and poppy seeds for sprinkling, or the seeds of your choice
- 2 quarts water
- 1 tablespoon baking soda
- ½ teaspoon salt
- In a large bowl, whisk together all of the dry ingredients: gluten free flour blend, yeast and salt.
- Add the kefir water or kombucha to the dry ingredients and mix thoroughly using a Danish dough whisk or wooden spoon. Continue mixing with your hands until there are no dry bits of flour.
- Form the dough into a ball and place it back in the bowl. Cover with plastic wrap or a kitchen towel and let it proof in the bowl for a total of 2 hours.
- After the first hour, work the dough lightly in the bowl. Form the dough into a ball again and place the dough back in the bowl; recover.
- After the 2nd hour, cover the bowl tightly with plastic wrap and place in the refrigerator to retard overnight.
- The next day, or up to 48 hours later, remove the bowl from the refrigerator. Sprinkle your work surface with the gluten free flour blend or some rice flour.
- Divide the dough into 6- 8 balls depending on how big you want the bagels. Let the dough balls rest for 15 -20 minutes.
- Shape the balls into bagels by poking a hole in the middle of the ball with your finger. Gently widen the hole until it forms a ring. Place the shaped bagels on a lightly greased baking sheet or a baking sheet covered with parchment paper. Set them aside for 30 minutes to 1 hour.
- Preheat the oven to 375 degrees F.
- Check to see if the bagels are ready to be boiled by performing a “float” test after 30 minutes. To do this, fill a small bowl with water and place one of the bagels in the water. If it floats, the bagels are ready to be boiled, if not, wait another 20 to 30 minutes. (This test works even with gluten free bagels. I didn’t perform this test with the first batch and ended up boiling the bagels too much)
- Prepare the poaching liquid by filling a large pot halfway with water and bringing it to a boil. Reduce to a simmer. Add 1 tablespoon baking soda, and ½ teaspoon salt.
- Using a large slotted spoon or tongs, gently lower a bagel top down into the simmering water. Let it simmer for 45 seconds, then flip over with the slotted spoon and let it simmer on the other side for about 30 seconds. Longer boiling results in a chewier bagel.
- Place the bagels on a wire rack to drain for a few seconds before placing them top side up on the baking sheet. Continue with the remaining bagels.
- Sprinkle the tops of the slightly wet bagels with the seeds of your choice.
- Transfer the baking sheet to the oven and bake for 8-10 minutes. Rotate the baking sheet and bake another 10 or so minutes until browned on top.
- Remove the bagels to a wire rack to cool slightly before slicing and serving.
Bake time includes 15 - 20 minutes for boiling and 25 minutes for baking the bagels
This must be the season for bagels! I just made bagels too. But, being the purist I am, all I used were hard wheat flour, water, salt, and wild yeast (captured from whole wheat flour and water). And poppy seeds on top. Of course there were poppy seeds.
Your GF bagels look really good though and if I was not allowed to have glutens, I’d definitely want these.
(Please excuse if this is an almost duplicate reply. I am challenged and somehow managed to subscribe to your email list instead of submitting the comment …I think)
Sourdough bagels are delicious! But these gluten-free ones were a pretty good substitute. I was impressed with this flour blend especially since I don’t have a lot of experience with gluten-free baking. It was pretty easy to work with.