
For several years, my go-to recipe for sourdough bread was a recipe from King Arthur Baking. However, once I began the BBA Challenge (Bread Baker’s Apprentice Challenge), I decided to focus on making breads from that book.
Recently, I made the BBA Basic Sourdough Bread using a new starter created from the formula in the book. Unfortunately, the starter wasn’t quite ready for prime time, and the bread turned out flat.
I decided it was time to revisit an old classic favorite – recipe and starter.
I’ve learned some new techniques since my original post about this bread.
You can read the previous post on classic sourdough here. The original post also includes instructions for feeding the starter.
The starter I used to make this version was created in 2007. It is based on the formula from Boudin Bakery, which utilizes grapes to get the starter going.
You can find the formula for my original sourdough starter here.
Classic Sourdough Bread
Makes: Two Medium Loaves
Adapted from King Arthur Baking
Ingredients:
- 1 cup (9 ounces) “fed” sourdough starter
- 1 1/2 cups (12 ounces) lukewarm water
- 5 to 6 cups (21 1/4 to 25 1/2 ounces) All-purpose flour
- 1 tablespoon salt
- 1 tablespoon sugar (optional)
- Cornmeal to sprinkle on pans
Directions:
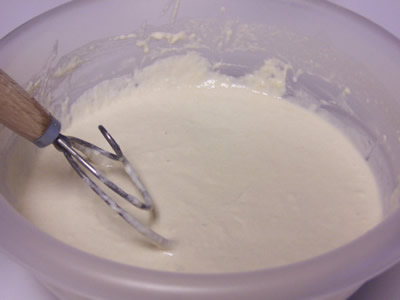
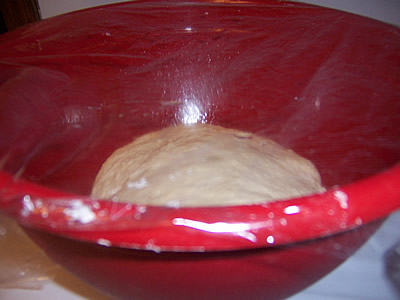
Pour the cup of starter into a large mixing bowl. Add the warm water and about 3 cups of flour. Beat vigorously.
Cover this sponge with plastic wrap and put it aside to work. This period can be very flexible, but allow at least 2 hours and up to 8 hours. A longer period (at a lower temperature) will result in a more sour flavor.
At this point, I fed the remaining starter and let it sit out for a couple of hours before placing it in the refrigerator.

Then, I let the sponge rest on the counter overnight.
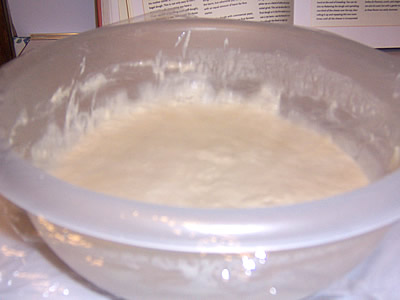
After the dough has bubbled and expanded, remove the plastic wrap. Blend in the salt, sugar, and remaining 2 cups of flour. Mix until the dough comes together.
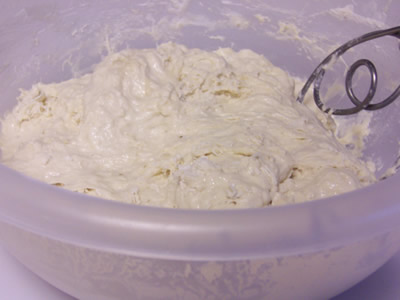
Then knead using your hands, an electric mixer, or a bread machine set on the dough cycle, until the dough is smooth and elastic. Add only enough extra flour to keep the dough from sticking. Place the dough in the bowl, cover, and let it rise until doubled, 1-2 hours.
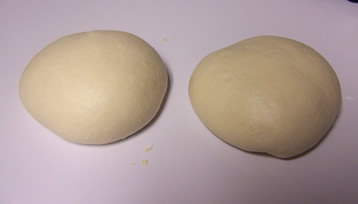
Divide the dough in half. Shape each half into an oval loaf, and place on a lightly greased, cornmeal-sprinkled baking sheet.
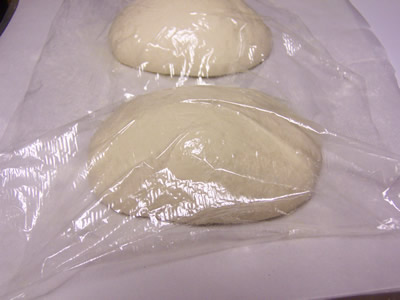
Cover, and let rise until doubled (this can take up to 2 hours). I decided to bake this bread on a baking stone rather than a baking sheet, so I lined the baking sheet with parchment paper sprinkled with cornmeal to make it easy to transfer to the stone.
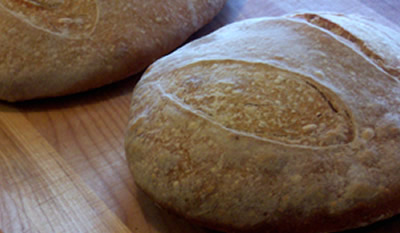
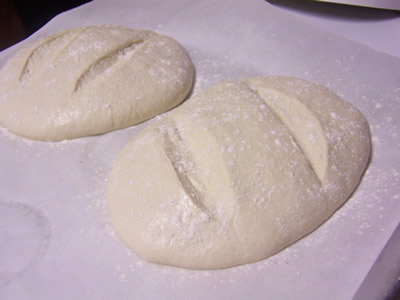
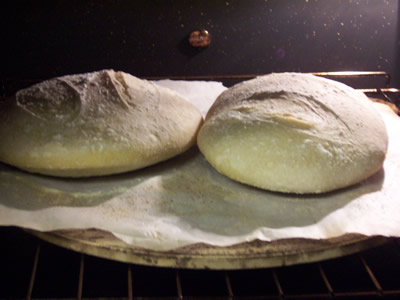
Remove the cover and slash the tops. I used a serrated knife to slash the loaves. Then, I sprinkled a little bit of flour on top for added appeal.
Bake in a preheated 450°F oven for approximately 20 minutes, until golden brown. I preheated the oven for about 15 minutes with the baking stone on the middle rack, then I transferred the loaves from the baking sheet to the stone. If you don’t have a baking stone, just use a baking sheet.
To create steam and facilitate “oven spring”, spritz the loaves using a water spray bottle. Do this a few times in 30-second intervals during the first 2 minutes of baking.
Remove the loaves from the oven and transfer to a wire cooling rack to cool completely before slicing and serving.
We’ve been enjoying this bread with homemade vegetable soup. The loaves have a nice chewy texture. Very tasty, but not too sour! Just a hint of sourdough.

Happy Baking!
Cathy
Leave a Reply