
I’ve been working on a whole wheat sourdough or “wild yeast” starter for use in whole wheat bread. I’m using the recipe from Peter Reinhart’s Whole Grain Breads.
You could use a regular sourdough starter and convert it to a whole wheat starter, but I decided to create one from scratch to use as a comparison. I’m having so much fun with this, maybe I’ll try that next time.
There are two steps involved in making a wild yeast starter using whole wheat flour: 1) preparing a seed culture and 2) converting that seed culture into a mother starter.
The seed culture cultivates enough microorganisms to get things moving and is then used to make another starter, the mother starter. The mother starter will be the one you keep in your refrigerator. I plan to add it to my collection of starters. Pretty soon, I’ll need another refrigerator for all of my starters.
Creating a Whole Wheat “Wild Yeast” Starter
From Peter Reinhart’s Whole Grain Breads
Step 1: Preparing a seed culture (or The Pineapple Juice Solution according to Peter Reinhart)
Phase 1 (Day 1)
- 3 1/2 tablespoons whole wheat or whole rye flour, any grind
Note: I grind my own whole wheat so I’m using freshly milled whole wheat flour in this recipe. Learn more about grinding your own wheat.
- 1/4 cup unsweetened pineapple juice or filtered or spring water, at room temperature (about 70°F/21°C
I didn’t have any pineapple juice on hand so I’m creating the starter using spring water.
- 1/2 teaspoon diastatic malt powder or sprouted wheat flour (optional).
Well, as you can imagine, I didn’t have any of this on hand either. So since it’s optional, I’m trying it without it. We’ll see how it works. I like to keep things simple whenever possible.
In a small bowl, stir together the flour, juice (or water), and malt powder with a spoon or whisk to make a paste (the liquid can be cold or at room temperature — it doesn’t matter). It should be like pancake batter or a thin sponge. Be sure to stir until all the flour is hydrated.

Cover loosely with plastic wrap and leave at room temperature for approximately 48 hours. Two or three times a day, aerate by stirring for 1 minute with a wet spoon or whisk (the dough won’t stick as easily to a wet tool). There will be little or no sign of fermentation activity during the first 24 hours; bubbles may begin to appear, however, within the 48-hour time frame. If not, 2 days after the initial mixing proceed to Phase 2 (Day 3) anyway.

Phase 2 (Day 3)
- 2 scant tablespoons whole wheat or whole rye flour
- 2 tablespoons unsweetened pineapple juice or filtered or spring water, at room temperature
- Use all of the Phase 1 sponge
Add the new ingredients to the Phase 1 sponge and mix with a spoon or whisk to distribute and fully hydrate the new flour. Cover loosely with plastic wrap and leave at room temperature for 24 to 48 hours. Stir with a wet spoon or whisk to aerate at least two or three times a day, as before. There should be signs of fermentation (bubbling and growth) during this period. When the dough becomes very bubbly or foamy or at the end of 48 hours, whichever comes first, move on to Phase 3.

Phase 3 (Day 4 or 5)
- 5 1/4 tablespoons whole wheat or whole rye flour
- 3 tablespoons filtered or spring water, at room temperature
- Use all of the Phase 2 sponge
Add the new ingredients to the Phase 2 sponge and stir with a spoon or whisk as before. The sponge will be thicker as the percentage of water is reduced, but it will still be very wet, spongy, and sticky. Cover loosely with plastic wrap and leave a room temperature for 24 to 48 hours, stirring with a wet spoon or whisk to aerate at least two or three times each day, as on the previous days. Within 48 hours it should be very bubbly and expanded. If not, wait another day or two, aerating as before, until it becomes active. (If the sponge was active and bubbly prior to this phase, it could become active and bubbly in less than 24 hours. If so, proceed to the next phase.)

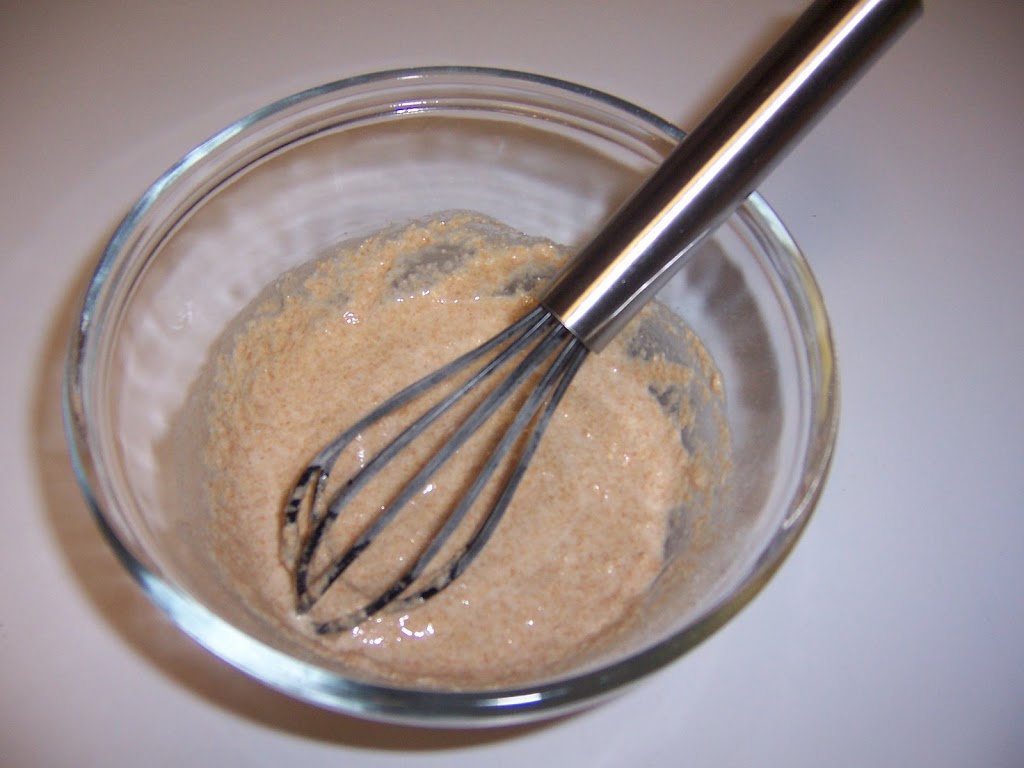
Phase 3 took awhile. My seed culture didn’t seem to be very active so I just let it sit on my counter another day and aerated it several times each day. It finally started bubbling on day 7.
Bubbly seed culture during Phase 3

Phase 4 (Day 5 or Later)
- 7 tablespoons whole wheat or whole rye flour
- 3 tablespoons filtered or spring water, at room temperature
- Use half of the Phase 3 sponge.
Discard or give away half of the Phase 3 sponge. Add the new ingredients to the other half and mix as before. Cover the bowl loosely and leave at room temperature until the sponge becomes bubbly and foamy. It should swell and nearly double in size, but it will fall when jostled due to its high hydration. This can take anywhere from 4 to 24 hours. If there is little sign of fermentation after 24 hours, continue to aerate as before and leave at room temperature until it becomes very active.

The seed culture has been on my counter since early afternoon. It looks good. It swelled like it was supposed to.

Now, it’s time to move on to the next step, making the mother starter.
Note: If you’re not quite ready to make the mother starter, you can cover and refrigerate the seed culture for up to 2 days before making the mother starter.
Step 2: Creating the Mother Starter
- 2 1/3 cups whole wheat or whole rye flour, any grind
- 1 cup filtered or spring water (probably more for whole rye flour), at room temperature
- 2/3 cup (about half) of the seed culture
Combine all of the ingredients in a bowl or in the bowl of a stand mixer with the paddle attachment. Mix with a large spoon or your hands or on slow speed for about 1 minute, until the ingredients form a ball of slightly sticky dough. (I like to use a Danish whisk for this part. It works really well for mixing bread dough.)

Let the dough rest for 5 minutes, then knead by hand for 1 minute (in the bowl, using wet hands), or until the dough is fairly smooth and all of the ingredients are evenly distributed. The starter need not be developed as much as a final dough (don’t worry about developing the gluten).

Transfer the starter to a clean bowl or container large enough to hold it once doubled in size. Cover loosely with plastic wrap and leave at room temperature for 4 to 8 hours, until it doubles in size; the length of time will depend on the potency of the seed culture and the ambient temperature.

Degas the mother starter by kneading it for a few seconds, then form it back into a ball, cover tightly (to prevent absorption of refrigerator odors or moisture), and refrigerate. After a few hours, vent any carbon dioxide buildup by opening the lid briefly, then reseal it.


Mother starter ready to go in refrigerator

The mother starter is ready to use now or for up to 3 days.
For the next phase, we’ll use a piece of the mother starter to create a “wild yeast” starter and use it in whole wheat bread.
Happy Baking!
Cathy
Leave a Reply