
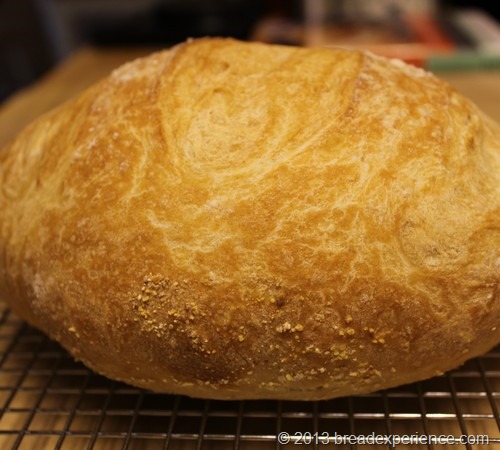
This Artisan Boule is adapted from the Artisan Bread in Five Minutes method. It utilizes less water and yeast and a little more flour.
I’ve heard a lot of good things about the Artisan Bread in Five Minutes technique, and I couldn’t wait to try it for myself. I started with the free-form master artisan boule.
After making the master dough, you let it rise for a couple of hours, then store it in the refrigerator for up to 14 days. When you want to bake bread, take out the amount of dough needed for a particular recipe, shape it, let it rise, and bake it.
Edited 8/4/2013: I made this loaf again and adjusted the ingredients a bit. My adapted formula is listed below. Although I adapted the formula, I didn’t update all of the photos or the process from my original attempts. The directions are the same for both versions, but in the updated version, you use all of the dough instead of cutting off a portion and putting the rest back in the refrigerator.
Notes from the updated version:
- I cut the formula into thirds, used less water and yeast, & added more flour.
- I also changed the order of the ingredients. I prefer to mix the dry ingredients first, then add in the wet ingredients.
- If you are using active dry yeast instead of instant yeast, add it to the lukewarm water and then mix it with the flour and salt.
- The original version makes four 1-pound loaves. If you want to make that version, refer to the list of ingredients here.
- To make one 1 1/2-pound round freeform loaf, use the following formula.
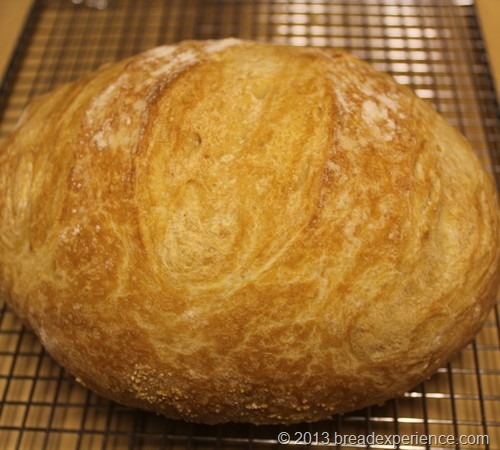
Free-Form Artisan Boule Recipe
Adapted from Artisan Bread in Five Minutes by Jeff Hertzberg and Zoe Francois
Makes: One 1 1/2-pound Round Artisan Boule
Ingredients:
- 2 1/4 cups (315 grams) all-purpose flour
- 1 teaspoon instant yeast
- 1/2 tablespoon Kosher salt
- 1 – 1 1/4 cups (237 -281.25 grams) lukewarm water *
- Cornmeal for dusting pizza peel or parchment paper
* Depending on the type of flour used, it could absorb more or less water.
Directions:
First Step: Mixing and Storing the Dough Measure the flour (with dry-ingredient measuring cups), using the scoop and sweep method. Basically, you scoop up the flour, then sweep off the top with a knife. Mix the flour, yeast, and salt in a large bowl. Add the lukewarm water (~100 degrees F).
Use a wooden spoon or a Danish dough whisk to mix the ingredients. I mixed the dough with a wooden spoon, and it worked just fine. However, if the dough becomes too stiff to handle with the spoon, you can reach into your mixing bowl with wet hands and finish mixing the dough, but there’s no need to knead it. Do this until everything is moist and you have a dough that is wet and loose. I mixed everything right in the container to make clean-up easy.
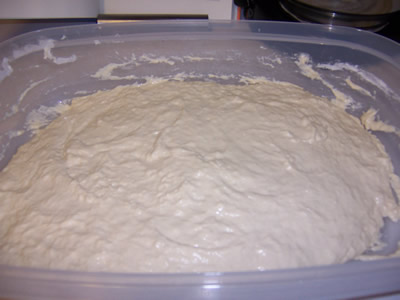
Cover the container with a lid that is not airtight. Allow the dough to rise at room temperature for approximately 2 hours or until it begins to collapse. It may take longer to proof, depending on the room temperature and the temperature of the water used.
You can use a portion of the dough at any time after the initial proof. However, it is recommended that you refrigerate the dough overnight or at least 3 hours before shaping a loaf. Fully refrigerated wet dough is less sticky and easier to work with.
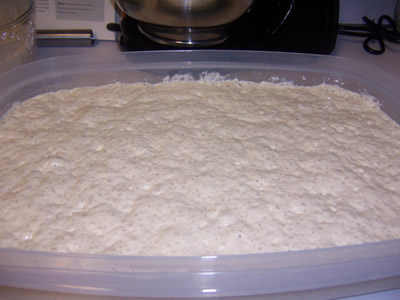
I let the dough rest on the counter for a couple of hours, then placed it in the refrigerator until the next day, when I was ready to bake.
Bake Day: 1st Try
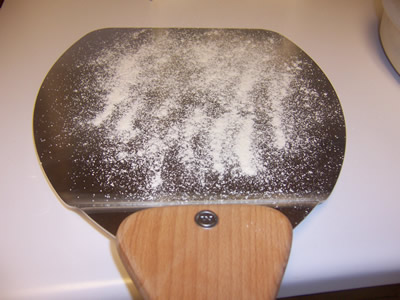
Shaping the Dough: Begin by preparing a pizza peel (or the back of a baking sheet) by sprinkling it with cornmeal to prevent the loaf from sticking to the peel when you slide it into the oven. Using parchment paper is also an option.
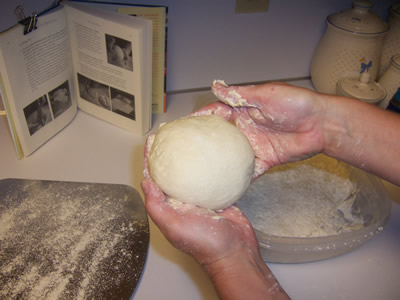
Then, sprinkle the refrigerated dough with flour and pull up and cut off a grapefruit-sized piece. Hold the dough in your hands and sprinkle with more flour so it doesn’t stick to your hands. Stretch the surface of the dough around to the bottom on all four sides, rotating it as you go. When it’s correctly shaped, the ball will be smooth and cohesive. This shouldn’t take very long.
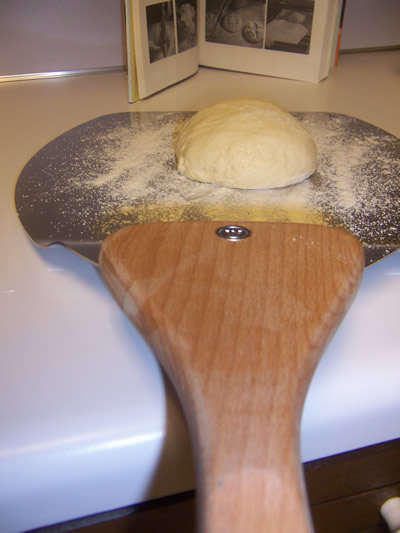
Place the ball on the pizza peel and allow the loaf to rise for about 40 minutes. No covering is necessary.
Baking the Artisan Boule: 20 minutes before you’re ready to bake, preheat the oven to 450 degrees F with a baking stone placed on the middle rack. Place an empty pan (steam pan) on the shelf underneath the baking stone.
This is the risen Boule
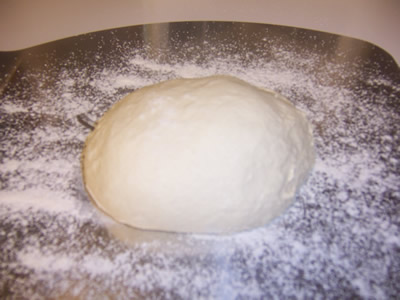
Dust the top of the loaf and make a 1/4-inch slash using a serrated knife. The book offers a few different patterns to choose from. I chose the scallop pattern.
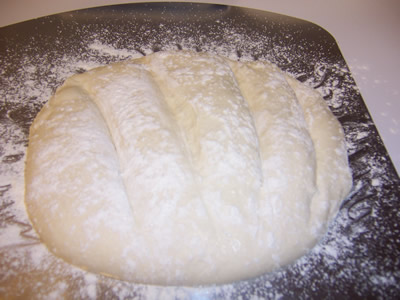
When using a pizza peel, give a quick forward jerking motion of the wrist, and slide the loaf off the pizza peel and onto the preheated baking stone. I had trouble releasing the loaf from the peel onto the baking stone, so the loaf stuck to the peel.
If you’re like me and have trouble with this part, you can use parchment paper to keep the dough from sticking to the pizza peel.
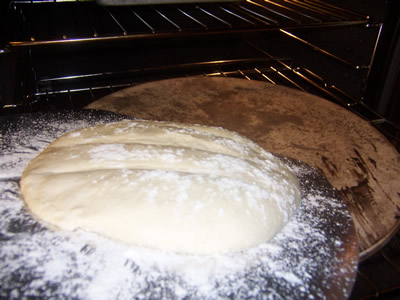
Instead of trying to bake a blob and not be happy with it, I decided to start again. I put the dough back in the refrigerator to try again the next day.
That’s what I like about this method. You can always put the dough back in the refrigerator and try it another day.
Bake Day: 2nd Try
Sprinkle a little flour over the top of the dough and pull off a grapefruit-size ball. Tightly shape the ball by stretching the surface around to the bottom on all sides and place it on the parchment paper.
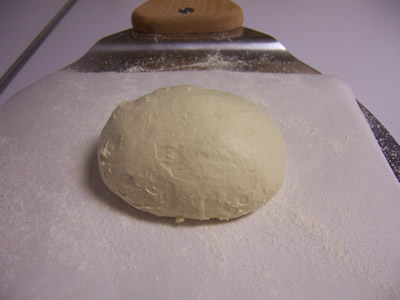
Here is the shaped boule doubled in size. It held its shape pretty well during the proofing.
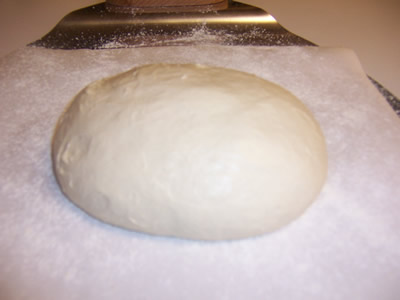
Score the loaf using a serrated knife or bread lame.
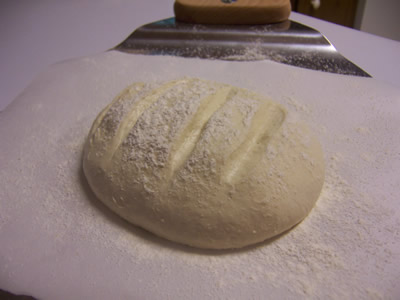
Just slide the shaped and scored loaf (on the parchment paper) onto the preheated baking stone. Then quickly pour hot water into your steam pan.
Close the oven door immediately to trap the steam. Bake the bread for about 30 minutes, or until the crust is browned and firm to the touch. Remove the loaf to a wire rack to cool completely before slicing and serving.
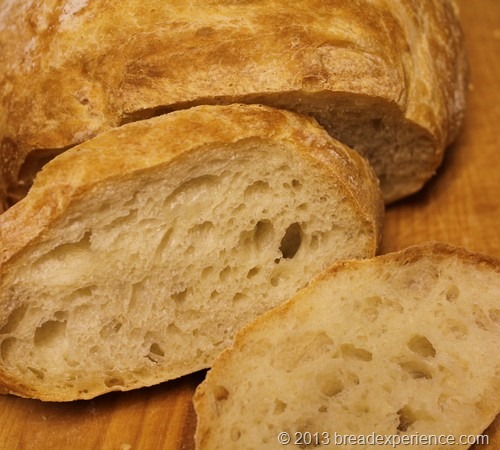
Then slice and enjoy! It’s great warm with butter. You can also make crostini with it.
Happy Baking!
Cathy
Leave a Reply