
Updated March 2026 with improved formatting and a new recipe card.
This post outlines the process for developing a wild grape sourdough starter using natural grapes and then using that starter to make sourdough bread in your bread machine.

It started with a tour of a local winery. Beyond the tasting, it turned out to be genuinely educational. Did you know that red wine is considered healthier than white wine because it uses the whole grape, not just the juice?
That detail stuck with me because it mirrors the difference between whole wheat flour and white flour. Whole wheat uses the entire grain, while white flour removes the bran and germ.
The parallels between wine and bread go beyond ingredients, though. When the winemaker started talking about fermentation, I just smiled. Anyone who bakes bread regularly should understand fermentation, especially when a sourdough starter is involved.
I find the fermentation process fascinating, whether it shows up in a wine cellar or a home kitchen. So when I got home from the tour, I decided to try making a sourdough starter using wild grapes.
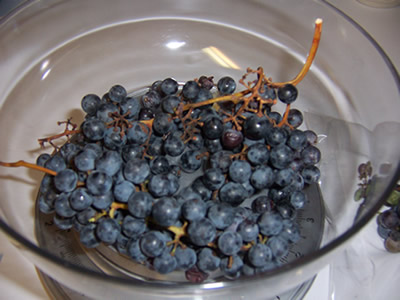
You can find organic grapes at a natural foods store, a local vineyard, or a farmer’s market. Just make sure they are unwashed, since the wild yeast living on the skins is exactly what makes this starter work.
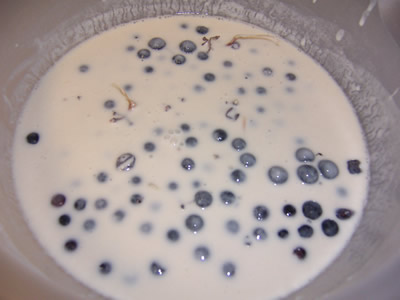
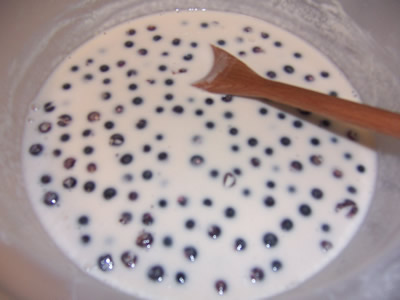
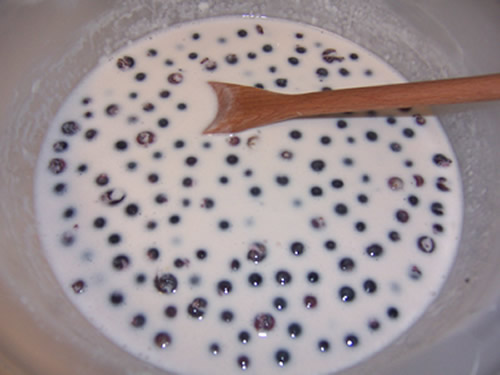
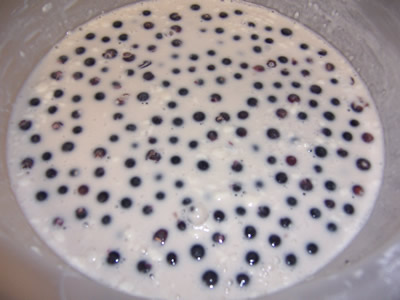
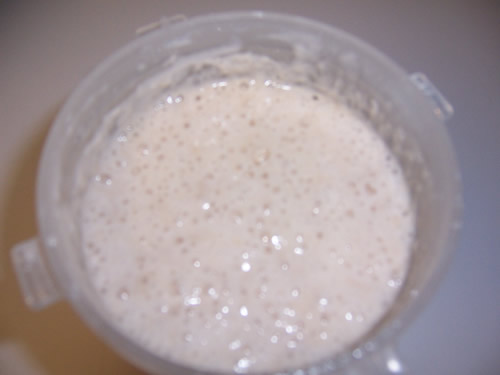
The process takes about three to four days from start to finish. Most of that time is hands-off. Here is a look at how the starter develops, day by day. The change from day one to day three is slow at first, then suddenly very much alive.
Natural Grape Sourdough Starter
Adapted from Rustic European Breads from your Bread Machine by Linda West Eckhardt and Diana Collingwood Butts. They got the recipe from an old Oklahoma Dust Bowl cookbook.
Ingredients
- 1 1/2 cups (210g) organic unbleached bread flour
- 2 cups (473g) room temperature spring water
- 1/2 pound (225g) organic grapes on the stem, unwashed
Instructions
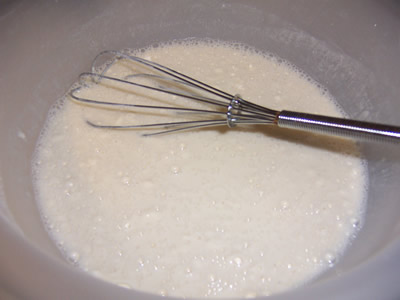
Day 1. Whisk together the bread flour and spring water in a medium glass or plastic bowl until it is smooth. Submerge the grapes in the mixture, cover with plastic wrap, and set aside in a warm spot.
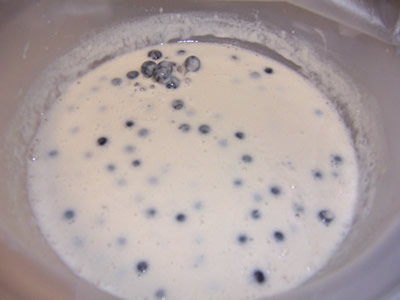
Days 2 through 7. Feed the starter every day with a few spoonfuls of flour and water, keeping the ratio 3 parts flour to 4 parts water. Within a few hours of each feeding, the mixture should begin to bubble and expand.
The starter is ready when the aroma is tangy, and the taste is sweet and sour, usually around day three.
If the starter stalls. If it sits heavy and lifeless after a couple of days, discard most of it and feed it with 1/2 cup of flour and 2/3 cup of water. Let it rest for 12 hours and check for bubbles. If there is still no activity, discard it and start over.
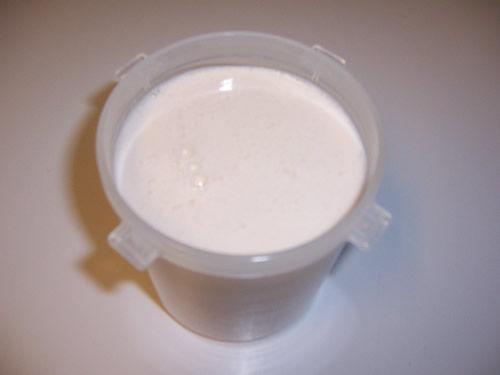
Storing the starter. Once the starter is active and bubbly, strain out and discard the grapes. Transfer the starter to a clean glass jar, cover, and refrigerate.
Using the refrigerated starter. Bring it to room temperature and feed it with 2 tablespoons of flour and 3 tablespoons of water. Let it stand in a warm kitchen overnight before using.

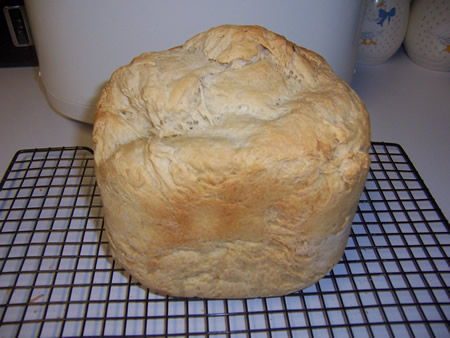
Once your starter is bubbly and tangy, it is ready to use. I put mine straight into a bread machine loaf, which felt like the right low-effort reward after several days of patient feeding. The result was a mild, chewy sourdough with a slightly crisp crust.
My oldest son, who doesn’t usually like sourdough, went back for a second slice. I will take that as a win.
This bread machine sourdough is made using the Sourdough Grape Starter created in Days 1-4 (outlined above).
The method is adapted from Rustic European Breads from your Bread Machine by Linda West Eckhardt and Diana Collingwood Butts
Print
Bread Machine Sourdough Using a Grape Starter
- Yield: 1 Loaf 1x
Description
A mild, chewy sourdough made in the bread machine using a wild grape starter. The grape starter gives the bread a subtle tang without the sharp sourness of a more mature starter.
Ingredients
- 2 1/2 teaspoons bread machine yeast
- 3 1/2 cups bread flour
- 2 teaspoons salt
- 1 cup sourdough starter, at room temperature
- 1 cup water
Instructions
- Add all ingredients to the bread machine pan.
- Process on the basic bread setting.
- Watch the dough during the first 10 minutes. If it looks dry or the machine strains, add water one tablespoon at a time. If it is too wet, add flour by the tablespoon until a soft dough ball forms.
- Remove the bread promptly at the end of the baking cycle and cool completely on a rack.
- Store in a paper bag or a breathable bread bag to keep the crust from softening.
Notes
The recipe also works as a 1-pound loaf. Use 2 1/2 cups bread flour, 1 teaspoon sugar, 1/2 teaspoon salt, 3/4 cup starter, and 1/2 cup plus 2 tablespoons water, keeping the yeast amount the same. If your starter is newer and still developing flavor, the bread will be mild and slightly tangy rather than deeply sour. That is normal and still delicious.
For a more traditional sourdough starter method, see my Basic Sourdough Bread Machine Bread.
This starter takes a little patience, but watching it come to life over a few days is part of the fun. I hope you enjoy the process as much as the bread.
Happy Baking!
Cathy
Leave a Reply