The theme for Bread Baking Day #39 is Salt Rising Bread. Salt rising bread is an old-fashioned artisan bread with a cheesy flavor and dense crumb.

“Salt Rising Bread, is a dense, white bread that develops its delicious cheesy flavor from a unique fermentation process. It is thought to have first been made by pioneer women in the early 1800s in the United States. As commercial yeast was not available prior to the 1860’s, bread-makers would alternatively create a mixture of either cornmeal or potatoes to make their own rising agent. It is believed that pioneer women then set their “starter” in a bed of heated rock salt, which often was kept in a salt box next to the hearth fire (thus the name “Salt Rising”) to maintain the required warmth. In the morning, they would use this liquid, known as a “raisin” to leaven their bread dough.”
Source: http://www.risingcreekbakery.com/SRB.html
Susan Brown and Jenny Bardwell of Rising Creek Bakery in Pennsylvania showcased their salt-rising breads at the Asheville Artisan Bread Baking Festival. I was intrigued by this method so I bought one of their loaves and added it to my list to bake soon.
Well, wouldn’t you know it, but Alisa of Easier Than Pie, the host of this month’s bread baking day, chose salt-rising bread as the bread of the month. This gave me the perfect opportunity to try out this method and to introduce you to Susan and Jenny of Rising Creek Bakery.
Susan is also involved with a Salt Rising Bread Project. You can view her findings as well as stories about the history of the bread and original recipes here.
Salt Rising Bread Recipe
Makes: Two 2-pound Loaves
Time from start to finish: About 12 hours
This bread is from a Master’s Thesis completed at Cornell University by Delene Clark Holbrook in 1961.
Susan has several authentic salt-rising bread recipes on her site. I chose Salt Rising Bread Recipe #6 because it uses the least amount of ingredients and only makes a couple of loaves. Of course, if I had known how much I would like it, I would’ve made more because this bread freezes well.

Equipment:
- 1 wide-mouth gallon jar with screw-top lid (I used a plastic gallon container)
- Thermometer
- Gooseneck lamp equipped with 200-watt bulb (I used the light in my oven)
- Wax pencil (I used masking tape)
- 2 baking pans, 9 1/4 by 5 1/4 by 2 3/4 inches
- Clear plastic wrap
Ingredients:
Batter:
- 1/2 cup whole-wheat flour
- 1 cup nonfat milk solids
- 1 1/2 cups water at 140 degrees F. (60 degrees C)
Sponge:
- 1 cup water at 113 degrees F. (45 degrees C)
- 4 cups bread flour
Dough:
- 1 1/2 cups water at 140 degrees F. (60 degrees C)
- 1/4 cup hydrogenated shortening
- 1 tablespoon + 1 teaspoon salt (measure carefully)
- 2 tablespoons granulated sugar
- 8 cups bread flour
Method
Batter stage, 6 1/2 hours
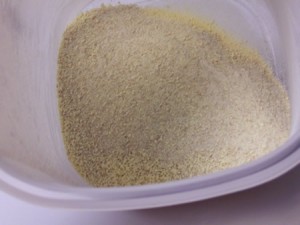
Mix the whole wheat flour and nonfat milk solids in the gallon jar (or container).
Add the water at 140 degrees F to the contents of the jar and mix to moisten all the dry ingredients.
Cover the jar with the lid and place away from drafts and 1 inch from a lighted 200-watt bulb. I put the lid on my container and place it in the oven close to the light bulb. Then I turned the light on and closed the oven door.
Let stand for 6 1/2 hours. Temperature of the batter should be about 113 degrees F. At this point, I deviated from the recipe a little bit. I started the process Saturday morning at 9:30 am, but I had to go out of town for the day so I left the batter until 8:30 pm when I got home. So my batter rested in the container for 11 hours instead of 6 1/2.
Sponge stage, from 1 1/2 to 2 hours
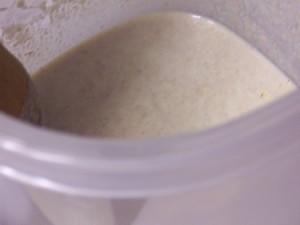
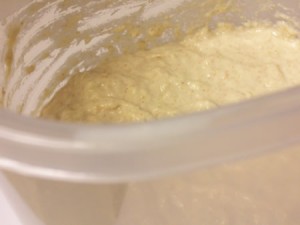
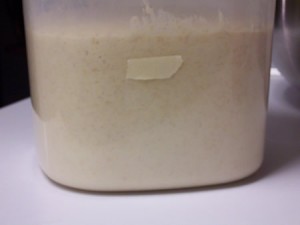
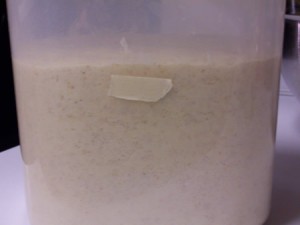
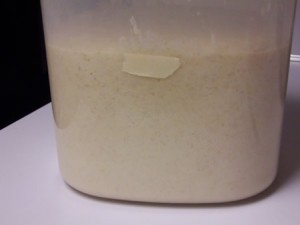
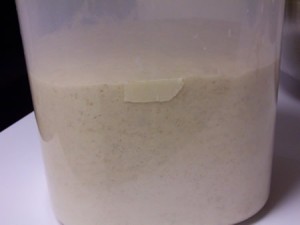
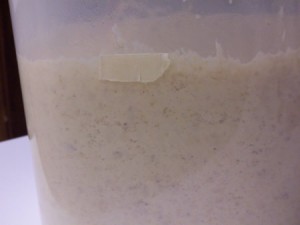
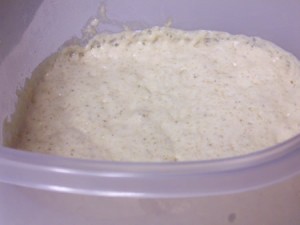
Add water at 113 degrees F and bread flour to the batter. Mix only enough to barely moisten the flour. Mark the height of the sponge on the jar with a wax pencil. I used masking tape to mark it. It was about 8:30 pm at this point.
Place the container back in the oven with the light on. After 1 hour check the sponge and again mark its height on the jar. I waited about an hour and a half (until 10:10pm) before I checked the dough. It had risen a good bit.
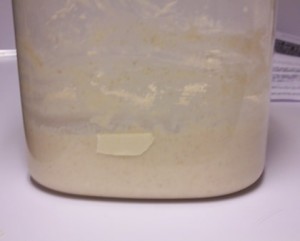
Remark every 15 minutes or more often if the sponge has risen considerably.
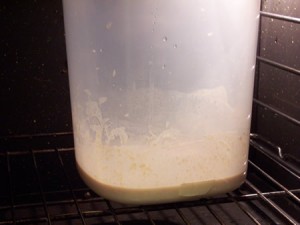
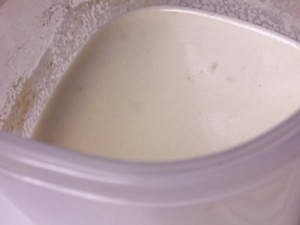
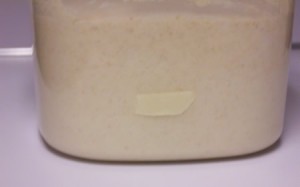
The photos below show the markings every 15 minutes. At 10:45 the sponge hadn’t risen too much more. I remarked the top the 4th time and checked it again at 11:05pm.
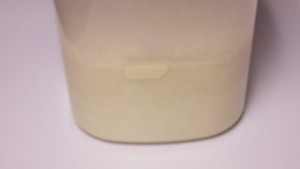
When the sponge no longer continues to rise, or begins to fall, it is time to make the dough. At 11:05 pm, the sponge hadn’t risen anymore, it started to sink so it was time to make the dough.
At this point, the sponge had a very strong cheesy smell. It was almost too strong to bear.
Dough stage, from 1 to 3 hours
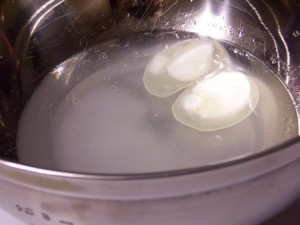
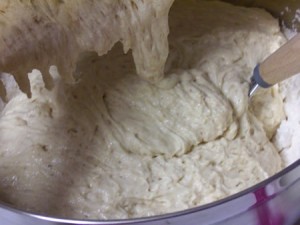
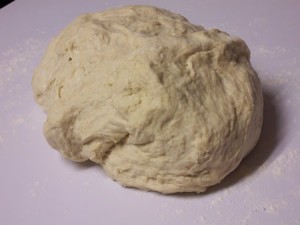
Place water at 140 degrees F, shortening, salt, sugar, and flour in a mixing bowl. Add the sponge and mix slowly until all ingredients are moistened.
Continue mixing or knead lightly until there are no lumps in the dough. Too much or too vigorous mixing or kneading is detrimental.
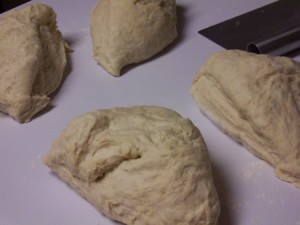
Place dough on a floured board (or surface) and divide it into 4 equal portions.
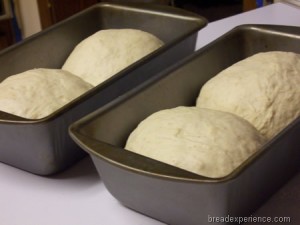
Add more flour if the dough is too soft to shape. Shape immediately and place 2 portions together, lengthwise, in each oiled baking pan. I shaped the portions into balls and placed the balls in the pans that way rather than shaping the portions lengthwise. The Artisan Bread Bakers shaped simple milk bread this way. I like this shaping method because it’s really easy.
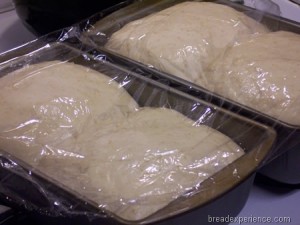
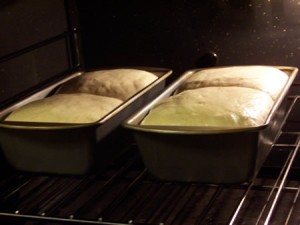
Lightly oil the top of the shaped dough and cover the pan tightly with clear plastic wrap. Place the dough near the light bulb and let it rise until it reaches the top of the baking pan. Again, I placed the pans in the oven with the light on until the dough had risen to the top of the pans.
Baking the Loaves:
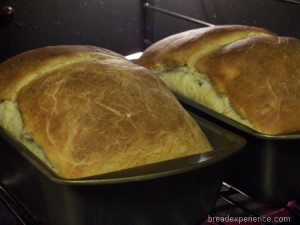
Remove plastic wrap and bake at 400 degrees F for 35 minutes.
I baked the loaves for 30 minutes, then tested for doneness with a long wooden skewer. It came out a little bit gummy so I let the bread bake about 5 more minutes until it was completely done.
This bread has been YeastSpotted. Please visit Wild Yeast to view all of the lovely breads in the roundup.
Tips:
To prevent sogginess, remove loaf from pan immediately after baking and allow to cool.

To forestall drying out, keep the loaf in an airtight container (or use a bread bag), where it will stay moist several days without molding
If the sponge does not rise to twice or more its original height within 2 hours or the dough does not rise to the top of the pan within 3 hours before baking, the bread will be heavy and may taste sour.

This bread is not heavy nor does it taste sour. So despite taking some liberties with the timing, it still tuned out good. My boyfriend and I actually liked this version better than the first loaf we tried because it’s not so cheesy-tasting. The first loaf we tried reminded me of sourdough but it was a bit too sour. This one isn’t sour, it’s really good.
Thanks to Alisa of Easier Than Pie for hosting Bread Baking Day #39 and challenging us with the salt-rising method of bread baking. I thoroughly enjoyed making this bread. It tastes good too!

Happy Baking!
Cathy
Michelle says
I’ve been thinking about making one of my favorite English Muffin bread just because I love the way it tastes when toasted, but I might try this bread instead. I bet it made great toast.
Anonymous says
I tried this but my sponge would not rise. What did I do wrong????
Cathy (breadexperience) says
Hello, I’ve only made this bread once. Not sure how long you let your sponge rise, but I let mine rise for 11 hours and it worked great. You might want to visit the Salt Rising Project site http://home.comcast.net/~petsonk/. That’s where I found this recipe. She has helpful tips and other recipes for making salt rising breads.
flikmaster says
You are also baking it too hot, that’s why it your crust is so hard. Salt rising bread is supposed to be baked at 250 for about 20 minutes and then the temperature increased to 300 for the remainder of the baking time. I have been baking salt rising bread most of my life and taught by my grandmother whose recipe Susan actually included in the salt rising bread project. (We are also pictured on the site)
Cathy (breadexperience) says
Hi Flikmaster, thanks for stopping by and providing your insight on the baking temperature for salt rising bread. The recipe I used had indicated that it should be baked at 400. I’ll have to try making it again at 250. Which recipe is yours? I’ll have to that one. Happy Baking!