

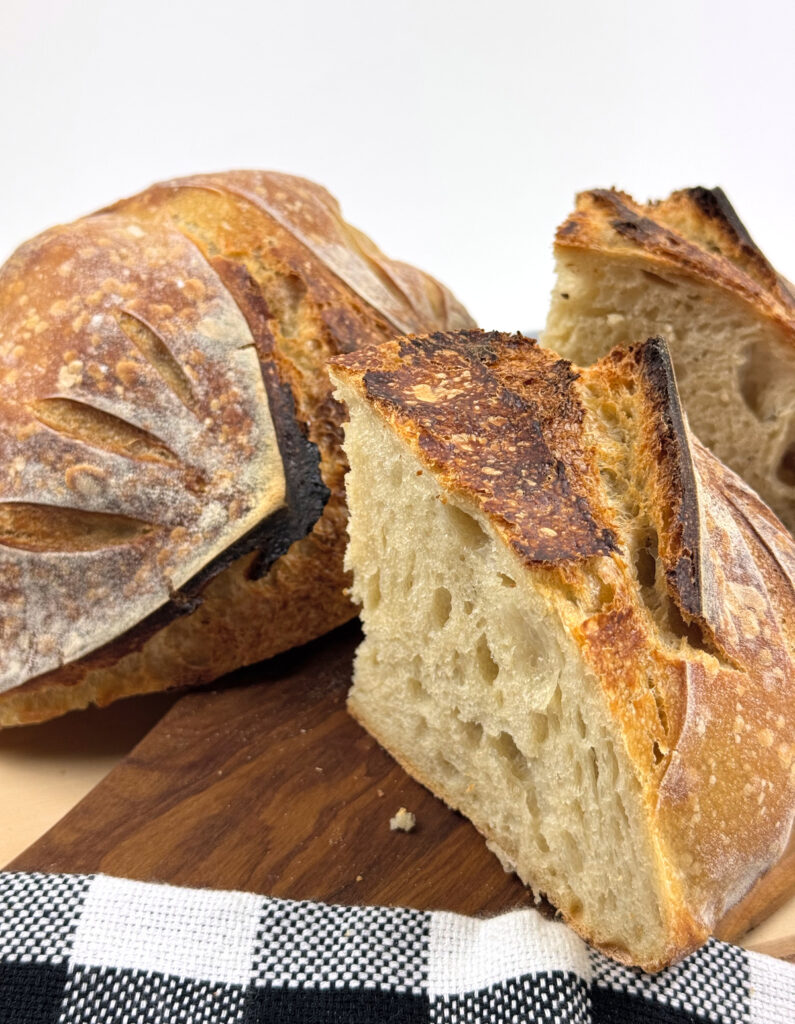
This simple sourdough boule, made with all-purpose flour, is designed to help you learn dough cues for bulk fermentation, proofing, and timing, for a light, even crumb.

This simple sourdough loaf is meant to be a reference point. It is a simple sourdough boule you can return to when you want to understand how dough behaves without extra variables getting in the way. It is made with all-purpose flour and baked in a Dutch oven, with no add-ins, no flour blends, and no special techniques to master.
I come back to loaves like this when I want to reset my baking rhythm or pay closer attention to fermentation and shaping cues. The simplicity is intentional. When fewer things change, it becomes easier to notice what actually matters.
How to Use This Recipe
This recipe is meant to be baked more than once.
I recommend baking it as written the first time, without trying to adjust or optimize anything. Let the dough show you how it behaves in your kitchen. Notice how quickly it ferments, how it feels when you handle it, and how it responds during shaping and baking.
If something feels different than expected, that is useful information. Small adjustments can always come later. Repetition is what turns this loaf into a reference.
What to Pay Attention To
Rather than focusing on shaping technique, pay attention to a few simple cues throughout the process.
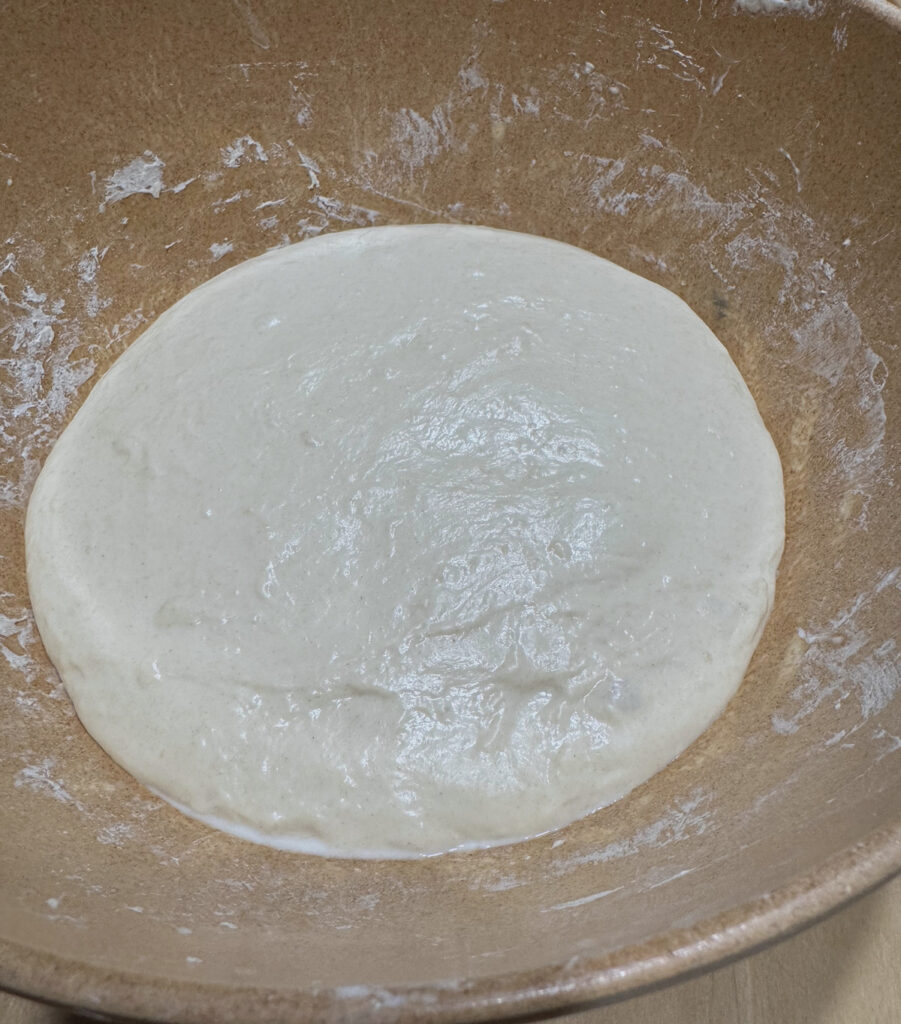
Bulk Fermentation: Domed, Bubbly, and Jiggly
Bulk fermentation is finished when the dough looks and feels alive, not just mixed. Here is what to look for:
- Domed surface: The top of the dough should look slightly rounded and inflated, not flat or sunken. It should feel fuller and more buoyant than it did after mixing.
- Visible bubbles: Look for bubbles along the sides of the bowl and just under the surface. These signs tell you gas is building throughout the dough, not just in a few large pockets.
- Gentle wobble: When you gently shake the bowl, the dough should wobble like soft custard in one cohesive mass. It should move, then settle back into shape without tearing or collapsing.
If the dough barely moves and looks dense or matte, it needs more time. If it jiggles but also looks slack, foamy, or collapsed, the bulk ferment has likely gone too far and should be shortened next time.
If it jiggles but also looks slack, very foamy, or collapsed, the bulk ferment has gone too far, and you’ll want to shorten it next time.
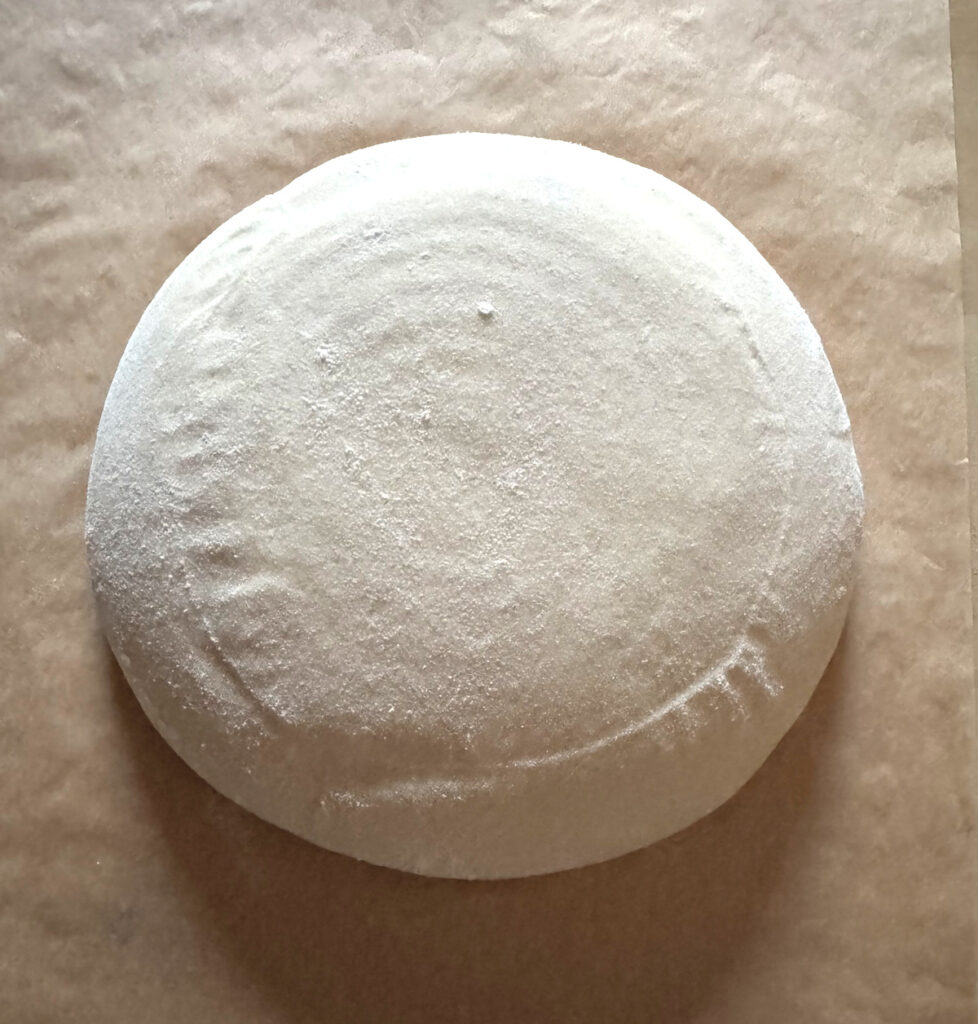
Final Proof: Slow Spring-Back
After shaping, the dough should rise modestly and gain lightness, but it should not double in size. Use the poke test as your main guide:
- Lightly flour a fingertip and press about ¼ inch into the surface.
- If the dent springs back immediately, the dough is under-proofed.
- If the dent springs back slowly and leaves a shallow impression, the dough is ready to bake.
- If the dent barely moves and the surface wrinkles or sinks, the dough is likely over-proofed.
Once you connect these cues to how your dough behaves at your typical room temperature, the clock becomes much less important.
A Note on Baking Setup
This loaf is baked in a Dutch oven to keep the setup simple and consistent. One sheet of parchment is usually enough to transfer the dough.
The Dutch oven relies on direct heat transfer to set the bottom of the loaf properly. Adding extra insulation underneath the dough can interfere with baking.
Keeping the setup minimal makes it easier to see how changes in the dough, not the equipment, affect the final loaf.

A Note on Timing
This loaf can be baked the same day or over two days, depending on your schedule. In both cases, the dough and process remain the same. The only difference is when the final proof takes place.
If it is more convenient, the shaped dough can be refrigerated overnight and baked the next day. This does not change the formula or turn it into a different loaf. It is simply a way to make the timing work better with real life.

A Note on Sourdough Starter
This loaf assumes you’re working with an active, well-maintained sourdough starter. A starter that rises predictably and smells pleasantly fermented will provide you with the clearest feedback as you learn about this dough.
If you don’t already have a starter you’re comfortable with, you can access my favorite sourdough starter method using the link below.

Once your starter is established, you can return to this boule again and again, using it as a steady reference for learning fermentation and timing cues.

Simple Sourdough Boule – A Foundation Loaf for Learning Dough Cues
- Yield: 1 Boule 1x
Description
This simple sourdough boule, made with all-purpose flour, is designed to help you learn dough cues for bulk fermentation, proofing, and timing, for a light, even crumb.
The formula presented is for a moderately hydrated dough (around 68-70% hydration), soft but manageable for most home bakers.
Ingredients
500 g (4 cups + 2 Tbsp or ~17.6 oz) unbleached all-purpose flour (such as Bob’s Red Mill)
330–350 g (1 1/2 cups + 1–2 Tbsp or ~11.6–12.3 oz) water (start at 330 g; add up to 20 g more only if dough feels stiff)
80 g (1/3 cup or ~2.8 oz) active 100% hydration sourdough starter
10 g (2 tsp or ~0.35 oz) salt
Instructions
Mix and rest
- In a large bowl, mix the flour and 330 g of water until no dry flour remains.
- Cover and rest 30-45 minutes. The dough should feel smoother and more extensible after resting.
- Add the 80 g active starter and 10 g salt. Pinch and fold in the bowl for 3-5 minutes, until everything is evenly combined and the dough tightens slightly but is still tacky. If it feels very stiff, dribble in up to 20 g more water.
Bulk fermentation
Target dough temperature:
- Room temperature version: about 72°F
- Proofer version: 75-78°F
Early bulk (first 2-2½ hours)
- Keep dough covered at your chosen temperature.
-
During the first 1½-2 hours of bulk, perform 3-4 sets of letter folds, spacing them about 30 minutes apart.
-
To fold the dough, gently loosen it from the bowl, then lift it with one hand and drape it over your other hand so it hangs down under its own weight. Let the dough stretch naturally, then fold it back over itself above the bowl. Rotate the bowl and repeat once more, then place the dough back into the bowl.
-
These folds help organize the dough and build even structure early in fermentation, without forcing or flattening it. The dough should stretch easily under its own weight during these folds. If it resists strongly, let it rest longer before folding again.
Undisturbed bulk (until ready)
- After the final fold, let the dough rest undisturbed for the remainder of bulk fermentation.
-
At about 72°F, total bulk is often around 6–8 hours from mixing; at 75-78°F. It may be closer to 4½-6½ hours.
-
End bulk when the dough shows these signs:
-
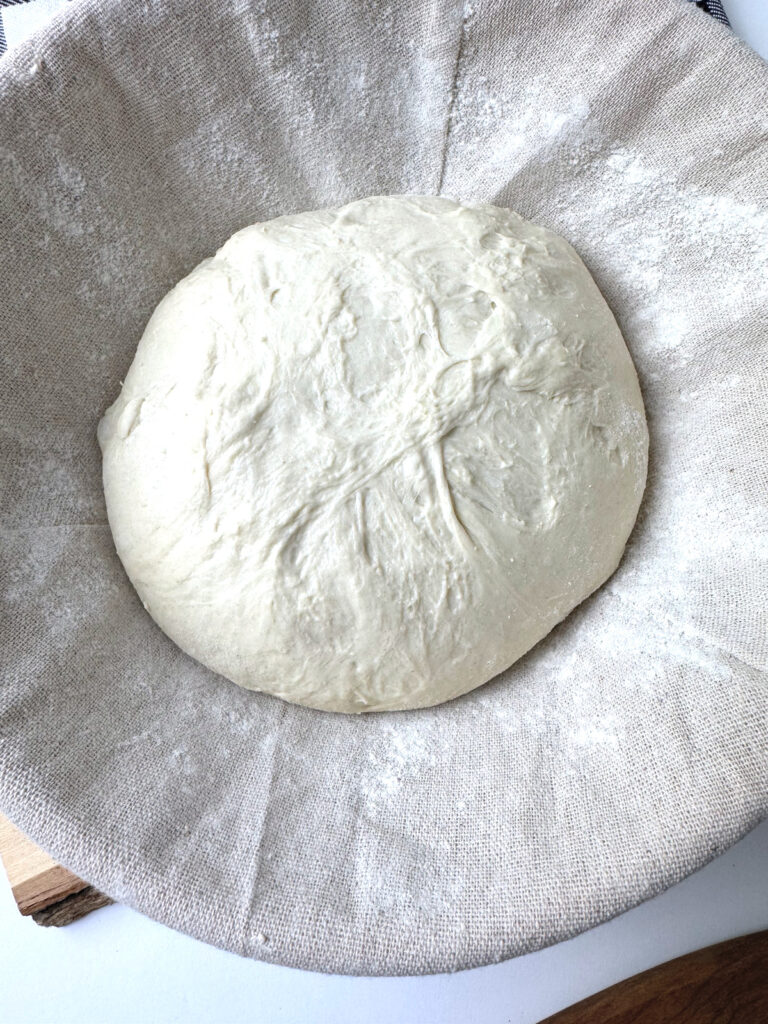
Surface is gently domed, smoother, and slightly inflated.
-
Bubbles are visible along the sides and just under the top skin.
-
A gentle side‑to‑side shake makes the dough wobble like soft jello as one cohesive mass, then settle back without collapsing.
-
Stop bulk as soon as those cues appear, even if the clock says you could go longer.
Preshape, rest, and final shape
-
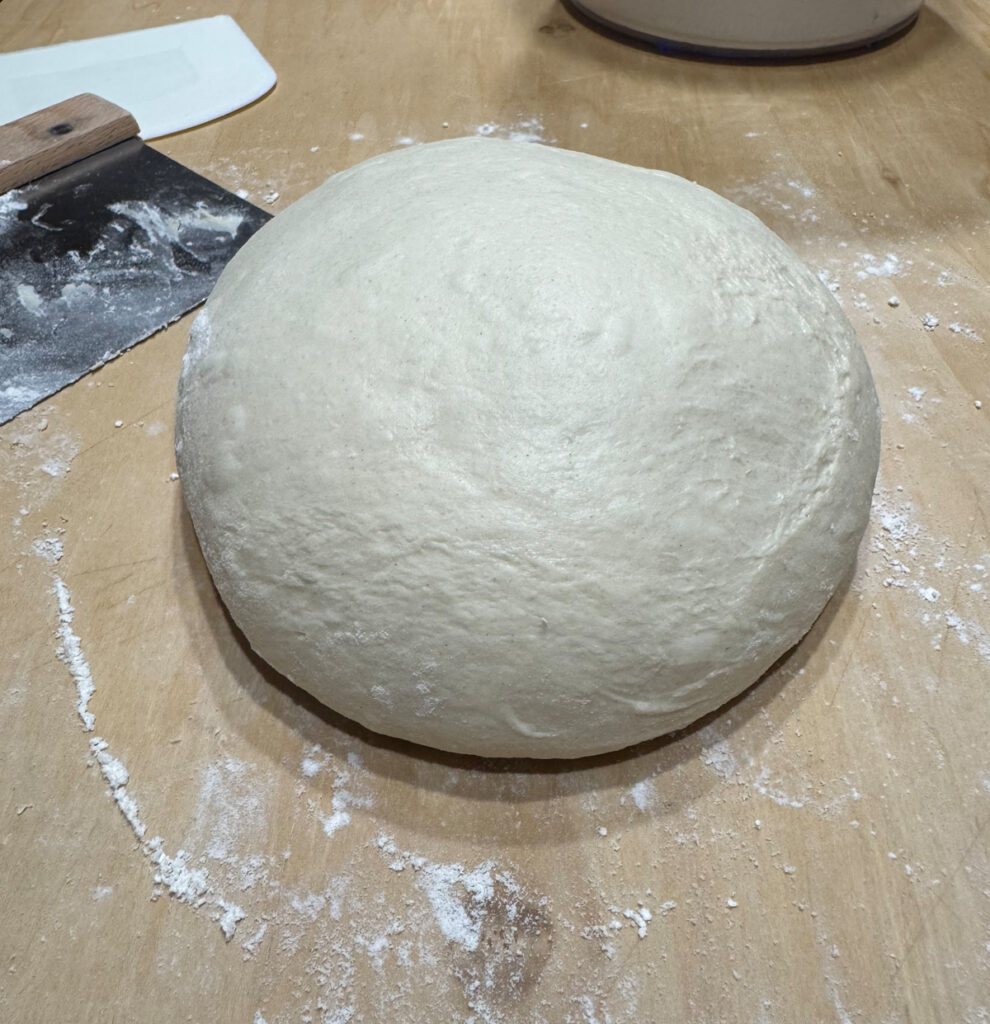
Turn the dough out onto a lightly floured surface; it should hold a soft mound, not spread into a flat puddle.
-
Preshape into a loose round using a bench knife and gentle tucks. Rest 20-30 minutes, uncovered, until the surface relaxes but the dough still stands up.
-
Shape into a boule, building surface tension by dragging and rotating the dough against the bench. Aim for a smooth, tight outer skin while keeping the interior airy. Do not aggressively press out all the gas.
-
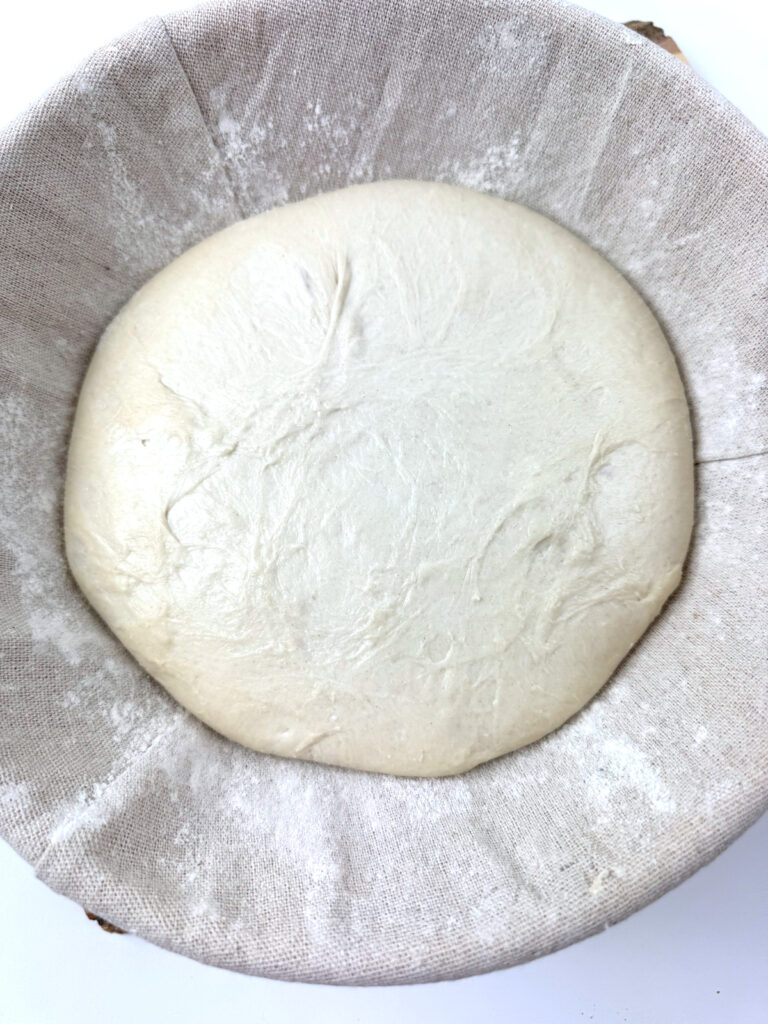
Place seam‑side up in a lightly floured banneton or a bowl lined with a floured cloth.
Final proof
At room temperature (~72°F):
-
Proof 45-75 minutes.
-
Readiness cues: the dough feels lighter, slightly puffed, and when gently poked with a floured finger, the indentation slowly springs back, leaving a shallow impression.
With a proofer (75-78°F):
-
Proof about 30-60 minutes.
-
Use the same poke‑test cues; expect to reach them toward the shorter end of the range.
For an overnight option, shorten the room‑temperature proof to about 20-30 minutes, then refrigerate 8-14 hours and bake straight from the fridge when the dough looks airy and still gently domed.
Bake
-
Preheat the oven to 475°F (245°C) with a Dutch oven inside for at least 30-45 minutes to ensure the pot is fully heated.
-
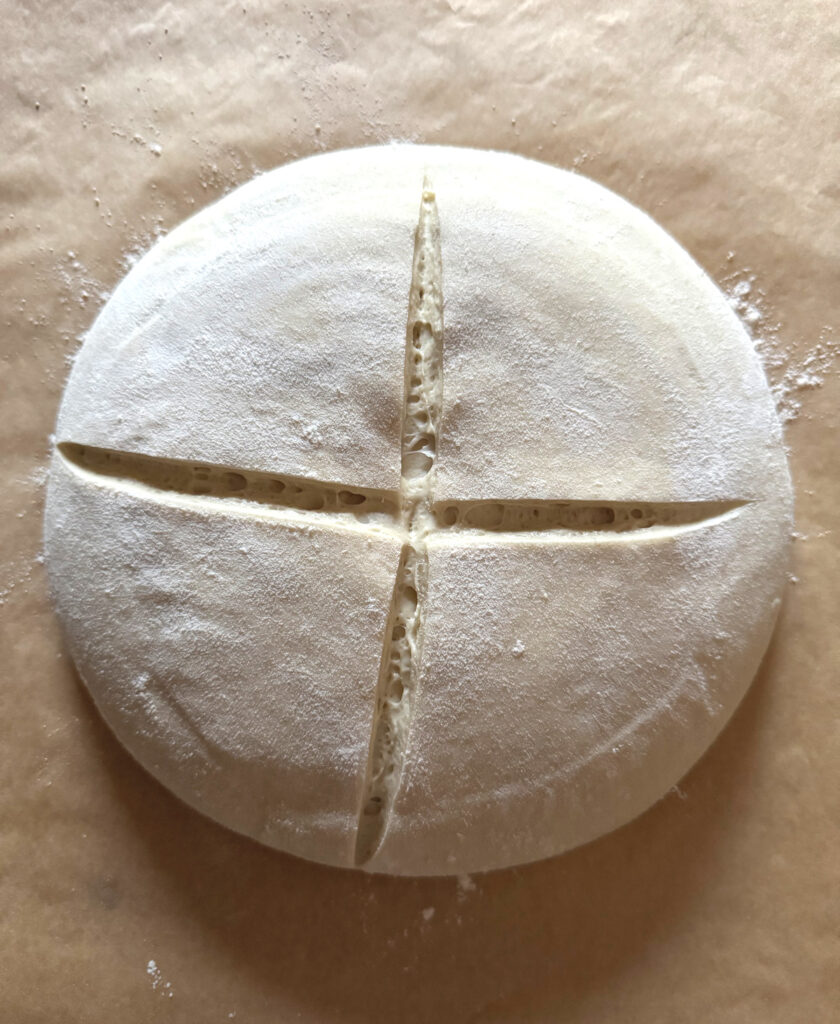
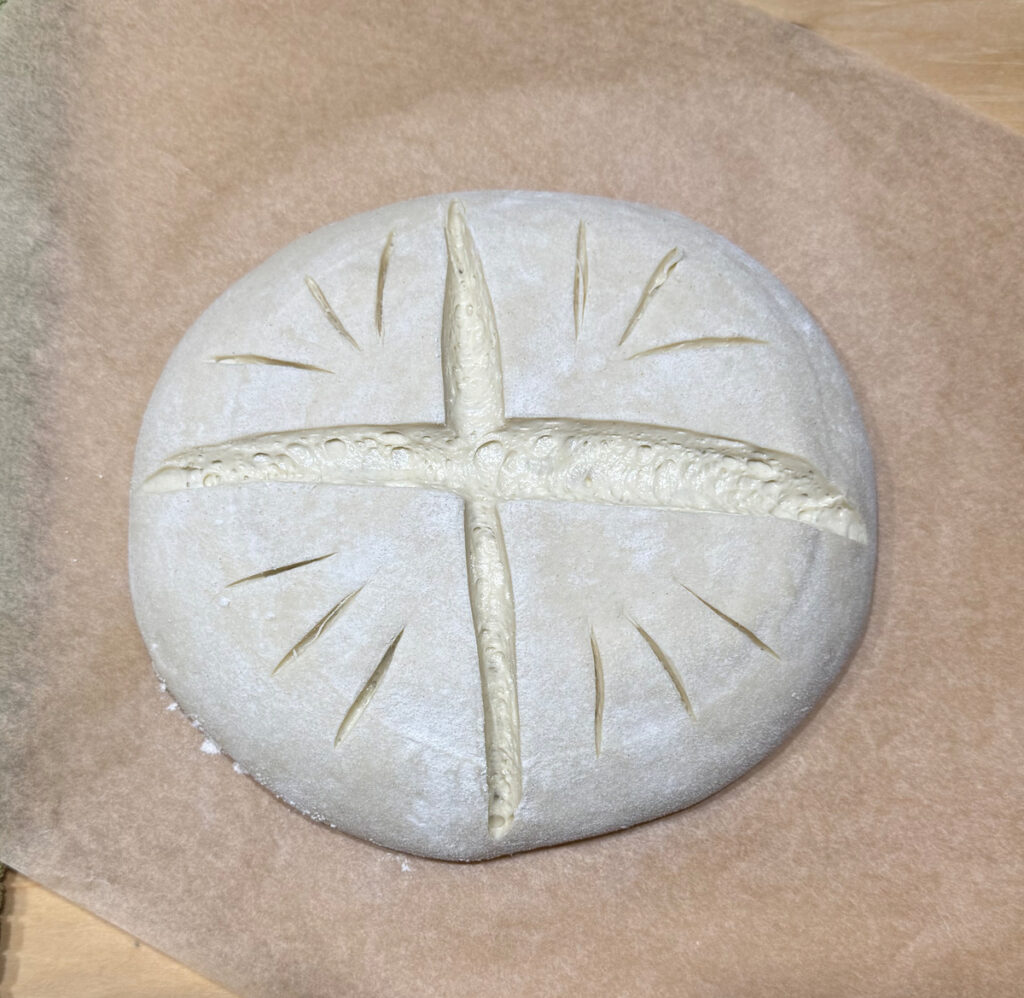
Turn the dough out onto parchment, score as desired with ¼-½ inch deep cuts, and transfer carefully to the hot pot.
-
Cover and bake for 20 minutes.
-
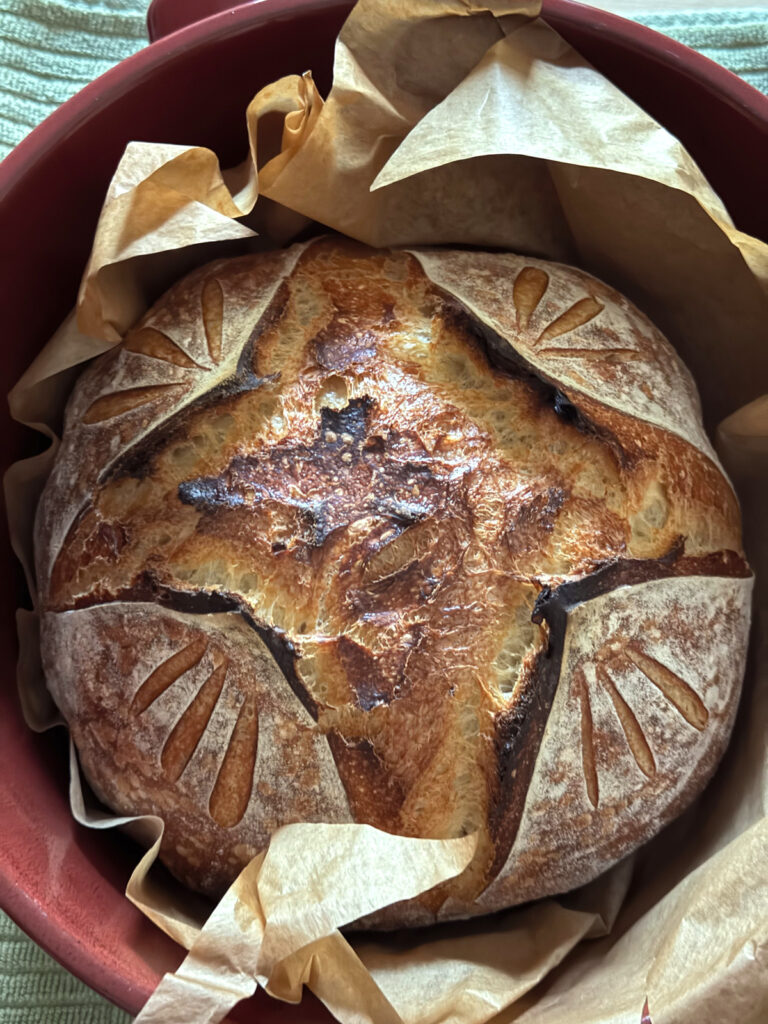
Reduce the oven to 450-460°F, remove the lid, and continue baking for an additional 22-28 minutes, until the crust is a deep, even golden brown, and the loaf feels light for its size.
-
Cool completely on a rack before slicing to allow the crumb to set.
- Category: sourdough
- Method: Sourdough
Why This Is a Reference Loaf
This basic sourdough boule is designed to be a steady starting point. Because the formula and method stay consistent, it becomes easier to recognize what changes when you adjust hydration, flour, or timing.

Once this loaf feels familiar, it provides a reliable baseline for each variation you bake afterward. Instead of guessing what caused a change in the dough or crumb, you have something to compare against.
Sometimes the simplest bread is the one that teaches the most.

If Your Crumb Looks Uneven
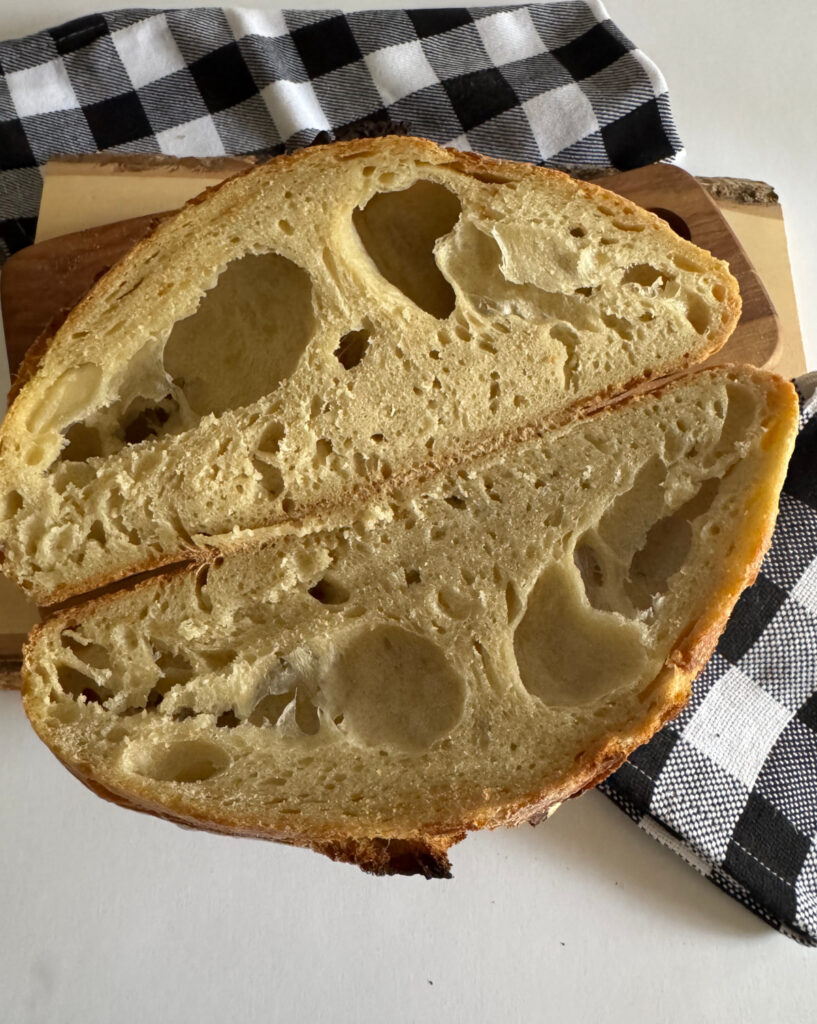
If you slice into your loaf and notice very large holes just under the crust with a tighter or denser crumb toward the bottom, that’s a sign the dough trapped gas unevenly during fermentation.
This usually points to fermentation timing or early dough organization rather than shaping alone. In most cases, small adjustments earlier in the process make the biggest difference.
Because this loaf is designed as a reference, patterns like this are useful. Bake the loaf again with one small change, and use the result as feedback rather than a judgment of success or failure.

Looking Ahead
This foundation boule will serve as the starting point for future explorations. By changing one variable at a time while keeping the rest of the process the same, it becomes easier to understand how those changes affect the dough and the final loaf.
In future posts, I will use this same base to explore:
- Slightly higher hydration and how it changes handling and crumb
- Incorporating a small percentage of whole grains
- Adding seeds or other simple mix-ins
- Adjusting fermentation timing in different kitchen conditions
For now, this loaf stands on its own. Bake it once, then bake it again, and let it become familiar. Everything else builds more easily from there.
Happy Baking!
Cathy
Leave a Reply to Cathy Cancel reply