
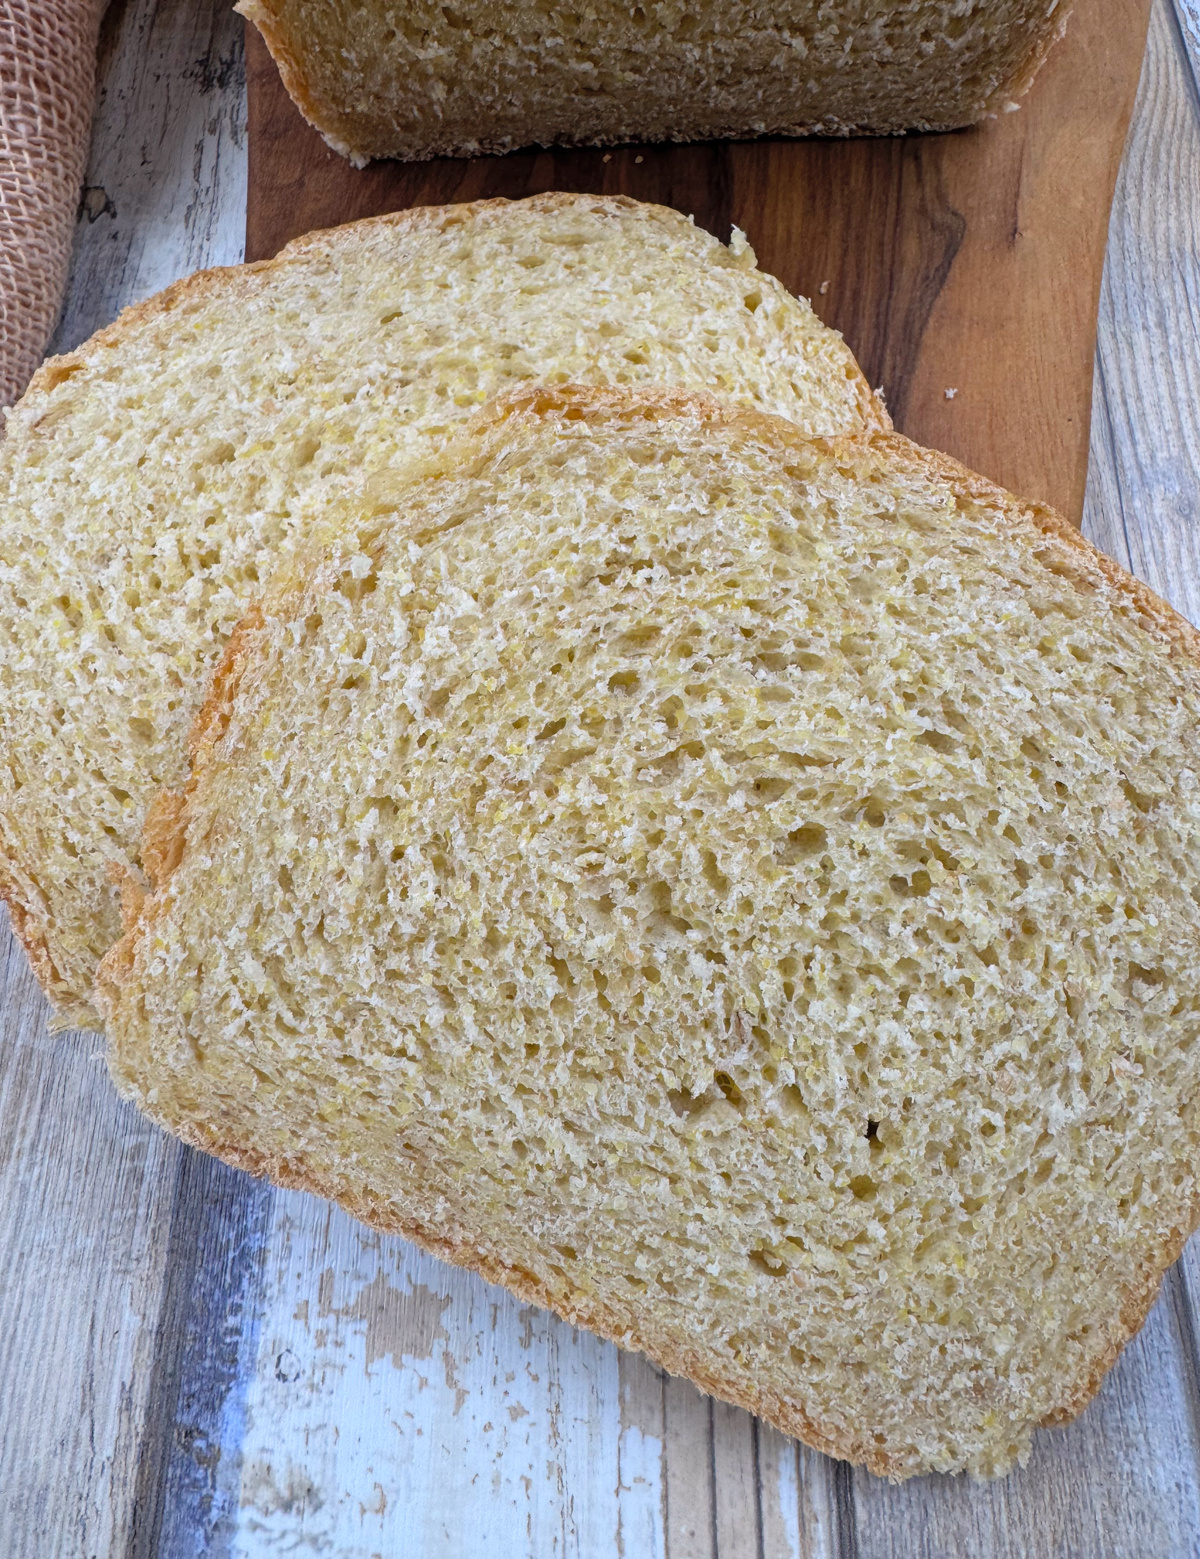
Some breads are good on the first bake. Others invite a second round with a few thoughtful adjustments.
This yeasted honey cornbread loaf is the Bread Baking Babe’s bread of the month. The formula is based on a yeasted honey cornbread recipe, with a reduced amount of honey and an option to use millet meal in place of the cornmeal for bakers with a corn allergy.
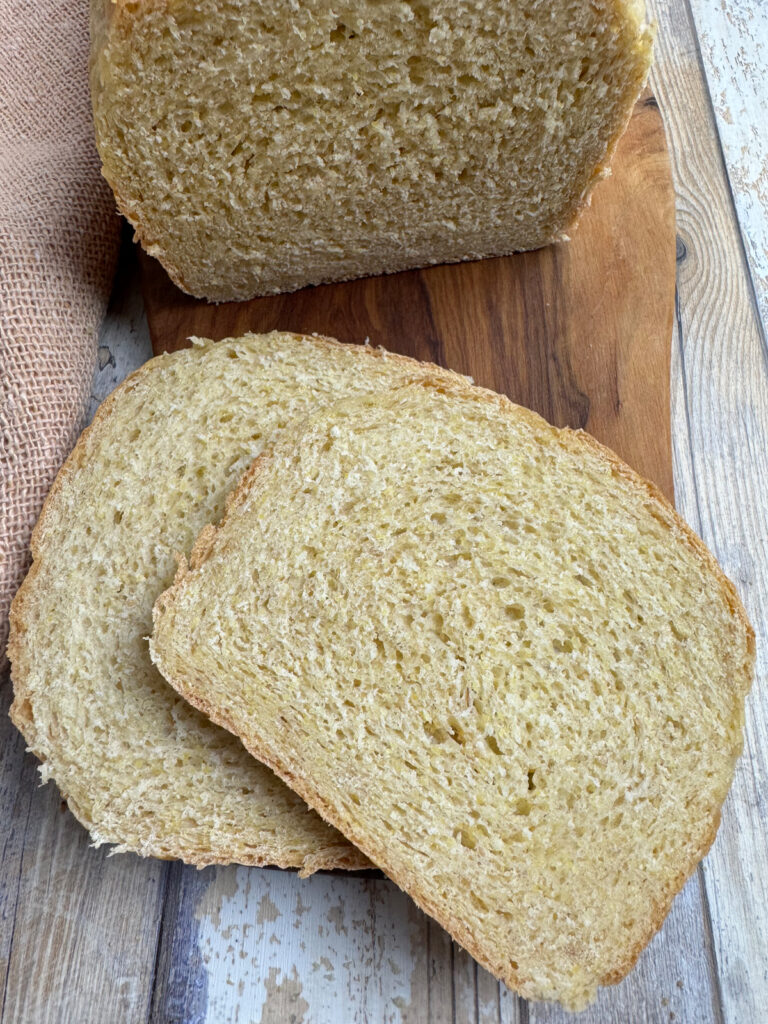
I made the cornmeal version and substituted 50 grams of home-milled whole grain spelt flour for part of the all-purpose flour. The flavor was excellent from the start, lightly sweet, buttery, and full of corn flavor; however, the first loaf was a bit drier than I wanted, and it didn’t rise well in a 9×5-inch loaf pan.
I considered simply adding more liquid to compensate for the dryness; however, after further consideration, I opted for a different approach to improve the texture without changing the character of the original yeasted bread.
I sometimes convert our monthly baking group breads to sourdough, but for this one, I wanted to keep the yeast.
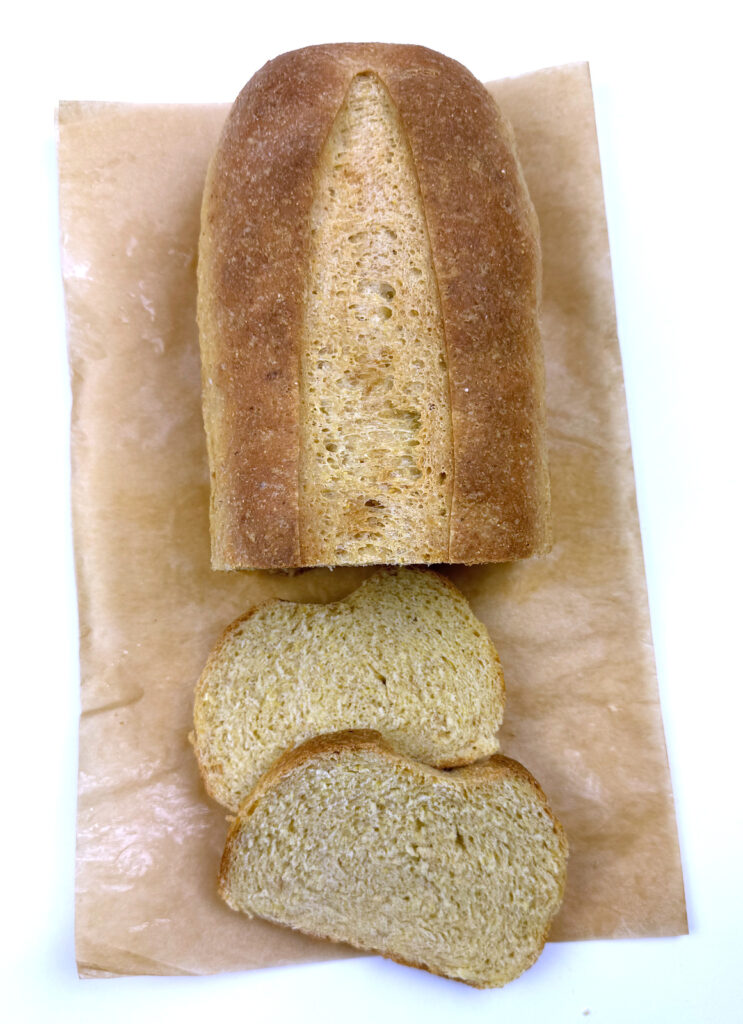
For the second bake, I made two changes. First, I added a hot cornmeal soaker to better hydrate the cornmeal before mixing the dough. Second, I lowered the oven temperature from 375°F to 350°F. In my oven, the higher temperature baked the loaf a little too aggressively, and likely contributed to the dryness in the first loaf.
Those two changes made a big difference. The second loaf had a better-balanced crumb, plenty of dough for a 9×5-inch loaf pan, and the moisture I was looking for without changing the character of the bread.
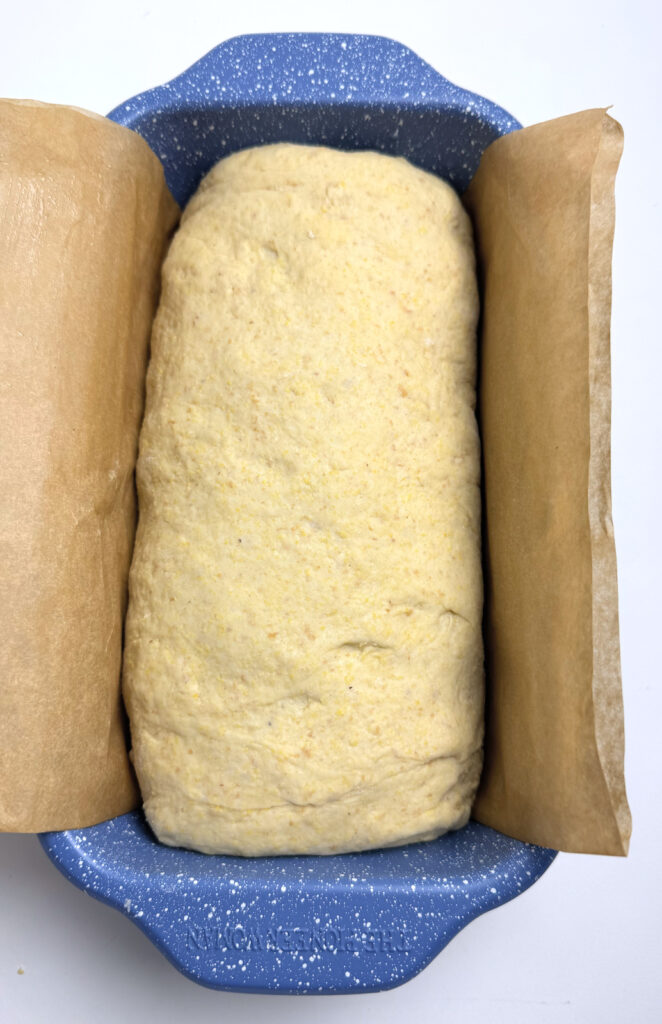
Cornmeal can absorb a surprising amount of liquid, especially in a loaf like this one. Pouring boiling water over it before mixing the dough softens the grains and gives them time to fully hydrate, which helps improve the crumb without making the bread feel heavy or overly soft.
Because the soaker added extra hydration, I also needed more flour in the final dough than I initially expected. I used 50 grams of whole grain spelt flour, 410 grams all-purpose flour, and 1 to 2 tablespoons more all-purpose flour.
I had wondered whether a yudane might help, but after testing the soaker version, I didn’t think it was necessary. The soaker, along with the lower baking temperature, was enough.
This loaf is lightly sweet, sturdy enough for slicing, and especially good with butter while still a little warm.
Baker’s Notes
- I used 50 grams of home-milled whole grain spelt flour in place of some of the all-purpose flour.
- For the cornmeal soaker, I used 140 grams of cornmeal and 165 grams of boiling water.
- Due to the extra hydration in the soaker, I needed 410 grams of all-purpose flour plus 1 to 2 tablespoons more.
- On my second bake, the dough fit well in a 9 x 5-inch loaf pan.
- In my oven, 350°F worked better than 375°F, and produced a less dry loaf.
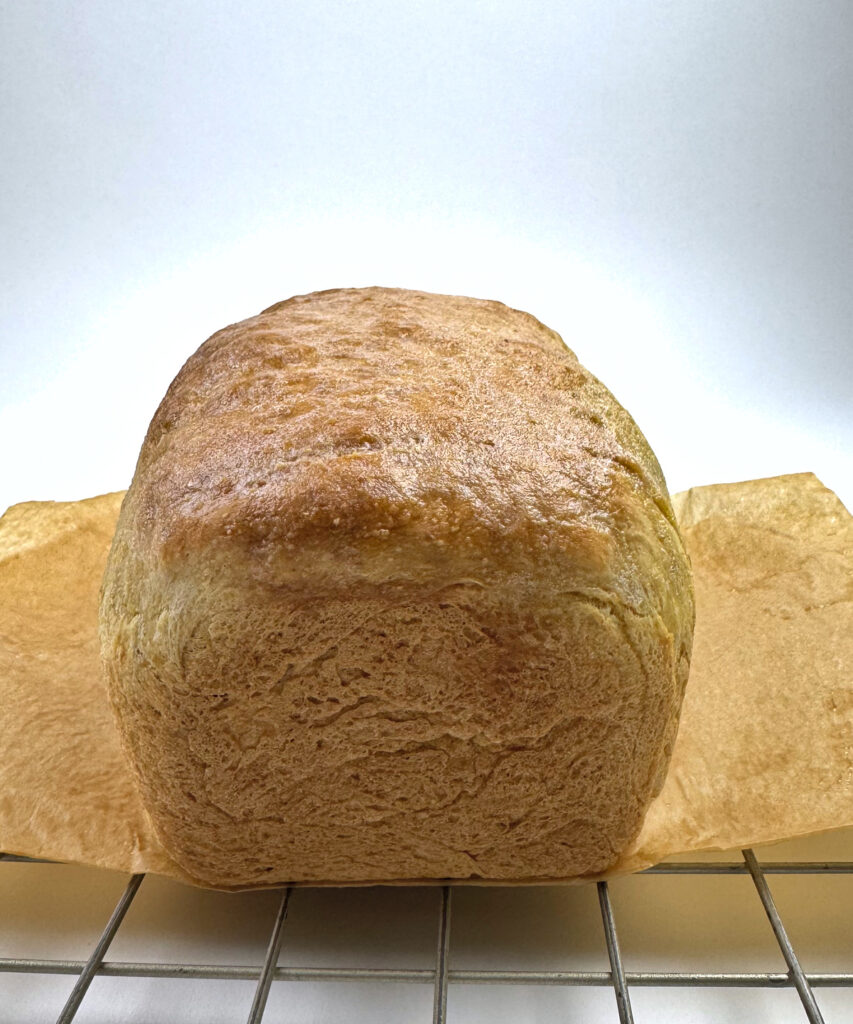
This version kept the flavor I liked in the original loaf while improving the texture. The cornmeal soaker and lower baking temperature made a noticeable difference, giving me a loaf that was more balanced, better hydrated, and still true to the original yeasted bread.
Yeasted Honey Cornbread Loaf Recipe
- Yield: 1 Loaf 1x
Description
This yeasted honey cornbread loaf gets a moisture boost from a simple hot cornmeal soaker. I also added a small amount of home-milled whole-grain spelt flour and found that baking the loaf at 350°F, rather than 375°F, gave me a better crumb in my oven.
Ingredients
Cornmeal Soaker
- 1 cup yellow cornmeal (140g)
- about 2/3 cup boiling water (140 to 165 g)
Dough
- 3 Tbsp. butter (42g)
- 2 Tbsp. honey (40g)
- 1 cup whole milk (237g/ml) or non-dairy milk
- 3 1/3 to 3 1/2 cups all-purpose flour (410 g), plus 1 to 2 Tbsp. more if needed
- about 1/3 cup whole grain spelt flour (50 g)
- 1 tsp. sea salt
- 2 1/4 tsp. active dry or instant yeast (7g)
For Finishing
- melted butter, for brushing the loaf after baking
Instructions
Make the cornmeal soaker
Place the cornmeal in a medium bowl. Pour the boiling water over it and stir until evenly hydrated. Let it sit for about 30 minutes, or until warm rather than hot.
Warm the milk mixture
In a small saucepan over low heat, warm the butter, honey, and milk just until the butter is melted and the mixture is smooth. Remove from the heat and let cool to lukewarm.
Mix the dough
In the bowl of a stand mixer fitted with the dough hook, combine the cornmeal soaker, milk mixture, yeast, salt, spelt flour, and 300 grams of the all-purpose flour. Mix until a shaggy dough forms.
Continue mixing and add the remaining all-purpose flour in stages, about 50 grams at a time, mixing well after each addition. If the dough still feels too loose, add 1 to 2 tablespoons more flour, as needed. The dough should feel soft and workable, slightly tacky but not wet or stiff.
Knead on medium-low speed until the dough becomes smoother and more cohesive, about 5 to 7 minutes.
Proof
Place the dough in a lightly greased bowl, cover, and let it rise until doubled, about 1 hour, depending on the temperature of your kitchen.
Gently deflate the dough and turn it out onto a lightly floured surface. Shape into a loaf and place seam- side down in a greased or parchment-lined 9×5-inch loaf pan.
Cover and let the loaf rise until it crowns nicely above the rim of the pan.
Bake
Meanwhile, preheat the oven to 350°F (175°C).
Bake for 40 to 45 minutes, or until golden brown and the loaf sounds hollow when tapped on the bottom. If you check the internal temperature, it should register around 190 to 200°F in the center.
Remove the loaf from the pan and brush the top with melted butter while still warm. Let cool before slicing.
- Category: Cornbread
- Method: Yeast
- Cuisine: American
What This Bread Is Like
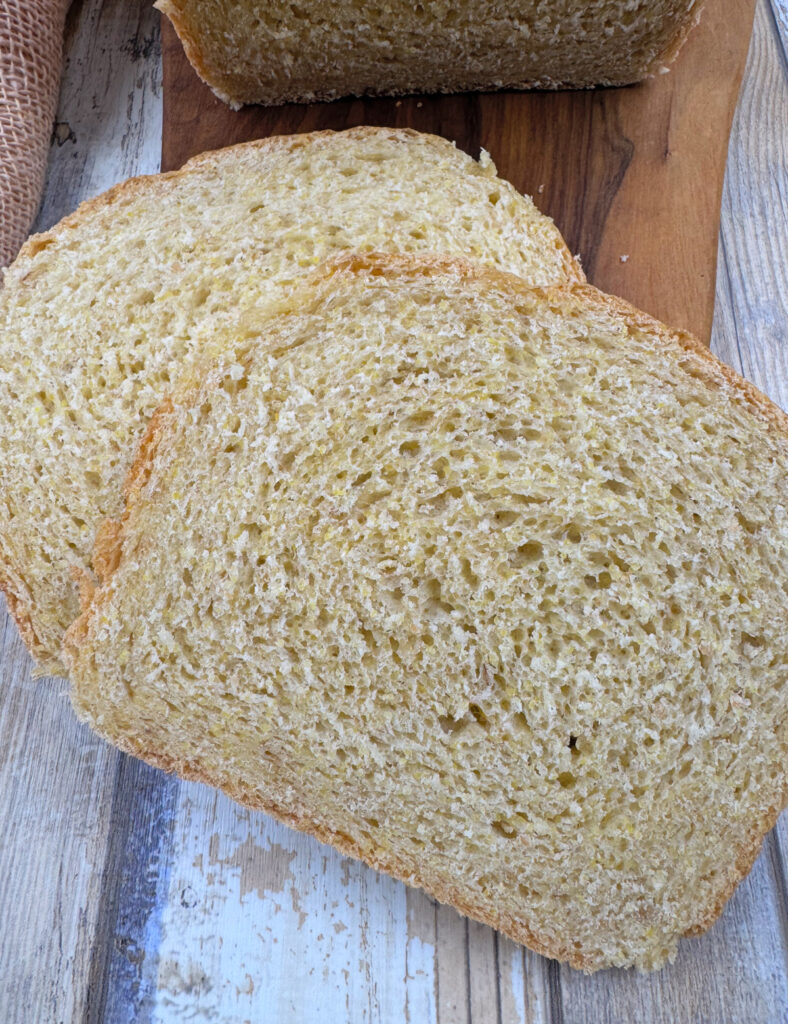
This loaf has a tender but structured crumb, mellow corn flavor, and just enough honey to round it out without making it overly sweet.
It is not a cake-style corn bread, or an ultra-soft sandwich loaf. It falls somewhere in between: hearty, sliceable, and very good with meals.
Serving Suggestions
This loaf is especially good:
- warm with butter
- with soup, chili, or stew
- toasted the next day
- with a drizzle of honey for a slightly sweeter finish
Who are the Bread Baking Babes?
We are a group of bakers who bake bread together every other month! Kelly, of A Messy Kitchen, is the host kitchen this month.
There’s something extra special about baking with friends, even when those friends are scattered across the world.
Please join us in baking this Yeasted Honey Cornbread Loaf, and share your results.
Check out our Facebook group and the BBB blogs (links below) to see our baking results.
A Messy Kitchen – Kelly(host kitchen)
Karen’s Kitchen Stories – Karen
Bread Experience – Cathy
Judy’s Gross Eats – Judy
blog from OUR kitchen – Elizabeth
Leave a Reply