
Updated March 2026 with improved formatting and revised recipe notes.
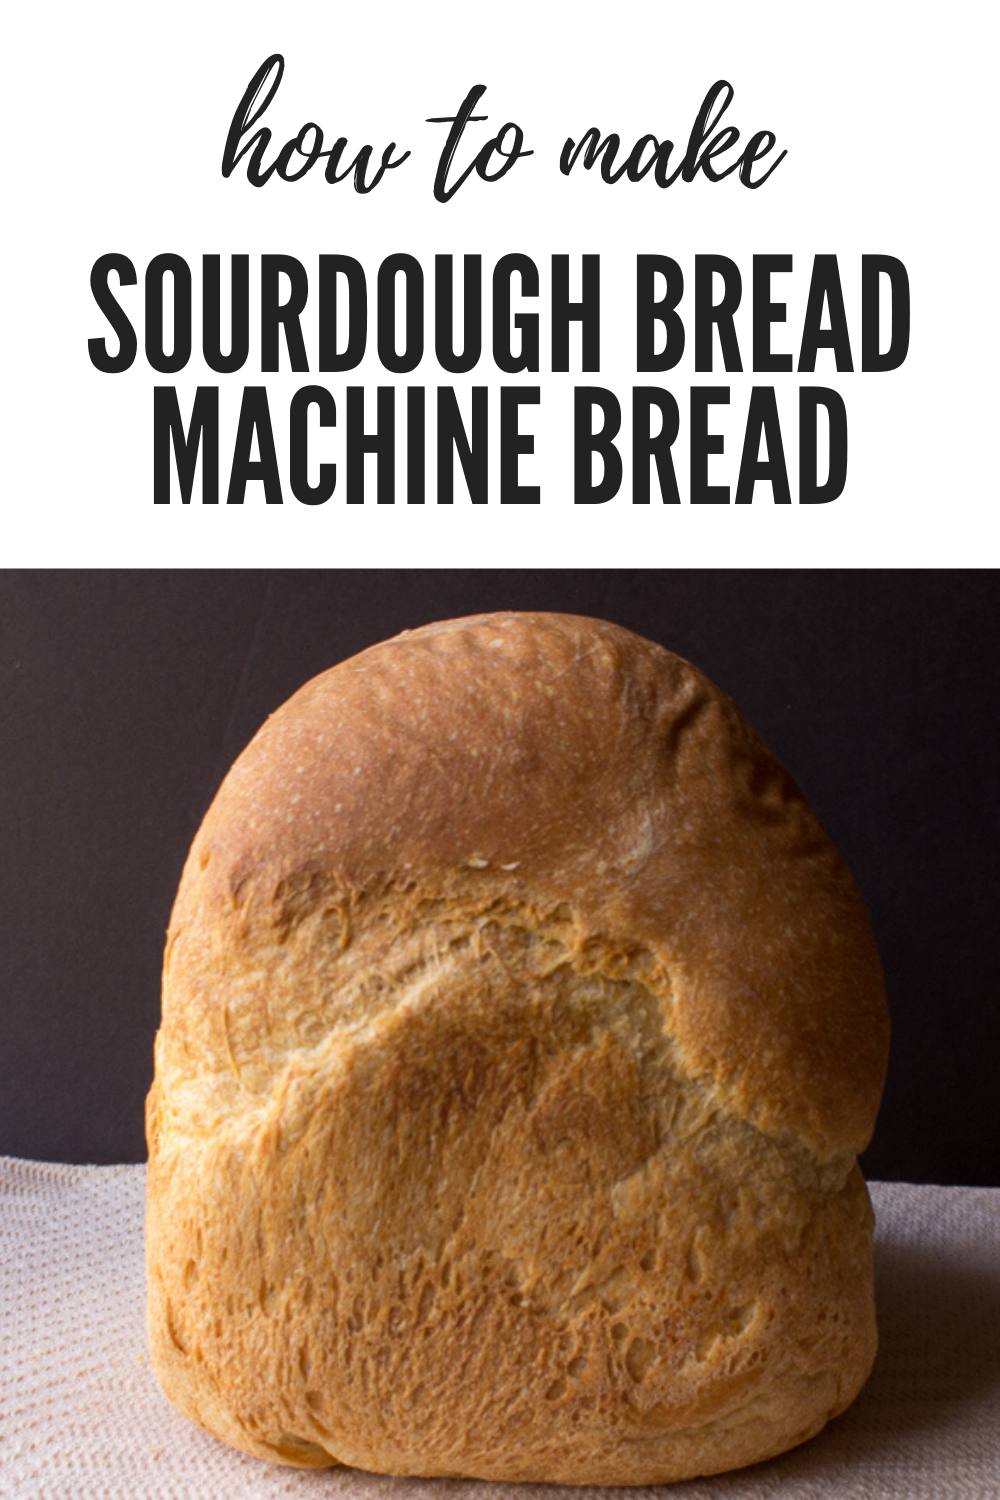
This post covers how to make sourdough bread machine bread using an active sourdough starter along with flour, water, salt, and a little yeast. If you are looking for an easy sourdough sandwich bread to make in the bread machine, this method is a good place to start.
One thing worth knowing before you begin: this bread actually tastes more sour the next day. If you can wait, let it rest in a breathable bread bag on the counter overnight. The flavor develops considerably, and it is worth the patience.
The starter I used for this recipe came from a Boudin Bakery method. Getting it right took some trial and error. My first batch turned pink after a couple of weeks, which meant starting over, but the second attempt worked beautifully.
The starter is the foundation of this bread, so it is worth taking the time to develop it properly. Here is the method I used, adapted from a Boudin Bakery sourdough starter method. It takes a few days, but most of that time is hands-off.
Sourdough Starter for Bread Machine
Adapted from a Boudin Bakery sourdough starter method.
Ingredients:
- 1/4 to 1/3 cup (31g to 42g) white unbleached all-purpose flour
- 1 to 2 tablespoons (15g to 30g) water
Instructions:
Day 1. Make a small well in the flour and add the water. Slowly mix, and bring more flour into the center until the mixture transforms from a paste into a small piece of dough. Knead with your fingers for 5 to 8 minutes until springy. Place in a small bowl, cover with a damp cloth, and set aside in a warm spot for 2 to 3 days.
After 2 to 3 days. The dough will look moist, wrinkled, and crusty. Pull off a piece of the crust, and you should find tiny bubbles and a sweet aroma underneath. Discard any hardened crust. Refresh the remaining piece by mixing it with twice the original amount of flour and enough water to make a firm dough. Set aside as before.
After 1 to 2 more days. The starter will have a fresh, active look. Remove any dried dough and mix with about 1 cup of flour. Cover with a damp cloth and leave in a warm place for another 12 to 18 hours. When ready, the starter will appear fully risen, and a small indentation made with a finger will not spring back.
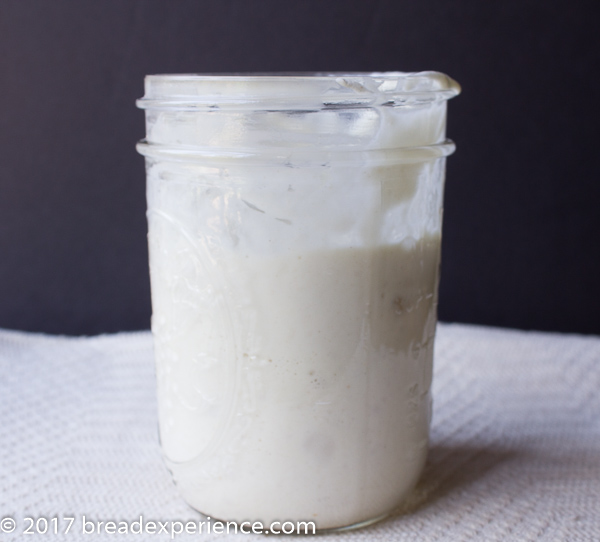
Storing the starter. Transfer to a large glass jar, cover, and refrigerate. A good starter will serve you for years.
Using refrigerated starter. Up to 12 hours before baking, stir the starter and discard 1 cup. Feed the remaining starter with 1/2 cup of water and 1 cup of flour. Let it sit for 4 to 12 hours before using. Use however much the recipe calls for, then feed the remainder with 1/2 cup water and 1 cup flour. Let it sit at room temperature for 2 to 4 hours until bubbly, then cover and refrigerate.
Weekly maintenance. If you are not baking for over a week, feed the starter once a week. Discard or use 1 cup, then mix in 1/2 cup water and 1 cup flour. You can return it to the refrigerator without waiting for it to bubble, though letting it sit on the counter for a couple of hours first improves the flavor for the next bake.
For more tips on maintaining a sourdough starter, visit my Creating a Sourdough Starter page.
Once your starter is active and bubbly, it is ready to be used in the bread machine.


I used a basic sourdough bread recipe courtesy of Fleischmann Yeast and the “wild yeast” starter I created using the method above.
This bread machine recipe produces a mild, chewy sourdough that works well as an everyday sandwich bread. The flavor deepens overnight, so if you can resist cutting into it right away, it is worth the wait.
Basic Sourdough Bread Machine Bread
- Yield: 1 Loaf 1x
Description
A mild, chewy sourdough made in the bread machine using an active wild yeast starter. Simple enough for everyday baking and works beautifully as a sandwich bread.
Ingredients
- 3/4 cup (188g) sourdough starter, 100% hydration, at room temperature
- 1/4 cup (59g) water
- 1 tablespoon (14g) butter
- 3/4 teaspoon (4.5g) salt
- 2 cups (254g) bread flour
- 2 teaspoons (8.4g) sugar
- 1 1/2 teaspoons bread machine yeast
Instructions
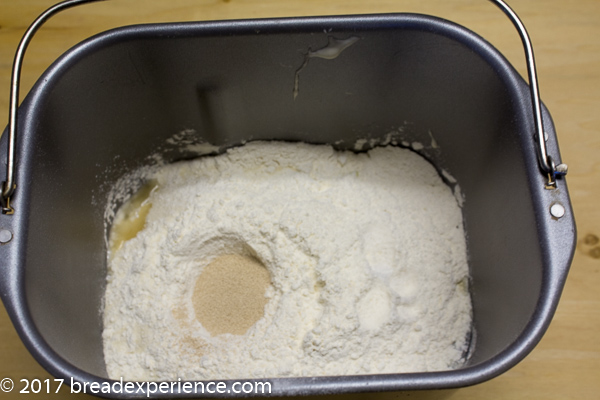
- Add ingredients to the bread machine pan in the order suggested by your manufacturer.
- Select the basic or white bread cycle with a medium or normal color setting.
- After mixing for a few minutes, the dough should form a smooth ball around the kneading blade. If it looks too stiff, add liquid one teaspoon at a time. If it’s too soft, add flour one teaspoon at a time. Do not add more than 3 to 4 teaspoons total.
- At the end of the bake cycle, remove the bread from the pan and cool completely on a wire rack before slicing.
- Store in a breathable bread bag on the counter. The flavor develops and becomes more sour overnight.
Notes
For a 1.5-pound loaf, use 1 1/4 cups (313g) starter, 1/3 cup (79g) water, 1 tablespoon (14g) butter, 1 teaspoon (6g) salt, 3 cups (381g) bread flour, 1 tablespoon (12.6g) sugar, and 2 teaspoons (6.3g) bread machine or instant yeast.
If you use a stiffer starter rather than a 100% hydration starter, you may need to increase the water. When testing the 1-pound loaf with a stiffer starter, I needed 1/2 cup of water instead of 1/4 cup. Watch the dough during the first few minutes and adjust accordingly.
This recipe makes a mild sourdough, which I prefer for sandwich bread. For a more sour flavor, combine the water, starter, and half the flour in a medium bowl. Cover and let stand for 24 hours until very sour and bubbly. Then combine with the remaining ingredients in the bread pan and proceed as directed.
The timed-bake feature can be used with this recipe.
For a grape-based wild yeast starter variation, see my Natural Grape Sourdough Starter post.
Both of these recipes take a little patience, but that is part of what makes sourdough so satisfying. Once you have an active starter going, the bread machine performs most of the work from there.
I hope you enjoy the process as much as the bread.
Happy Baking!
Cathy
Leave a Reply