
Soft, fluffy, and bursting with garlic flavor, these Easy Sourdough Garlic Knots are the perfect blend of tangy sourdough goodness and savory seasoning.
Made with a simple sourdough starter and topped with a buttery garlic herb glaze, they’re a crowd-pleasing side for any meal or a delicious snack on their own. No yeast is required, just natural fermentation for that classic sourdough taste!

I hosted a small Thanksgiving gathering and decided to try something new instead of the usual dinner rolls. Any occasion to bake and share bread is a win in my book, but this one was particularly special since my family loves tasting new creations—so long as they’re edible!
These garlic knots passed the test. They were packed with flavor and disappeared quickly—I barely had enough left to snap a photo! I doubled the recipe and used all-purpose flour instead of bread flour.
Since my sourdough starter is 100% hydration (not stiff), I needed to add quite a bit more flour to get the right dough consistency. In hindsight, I should’ve held back some water during mixing to see if I even needed it, but I forgot. Ultimately, I added about ½ to ¾ cup of extra flour, plus more for sprinkling.
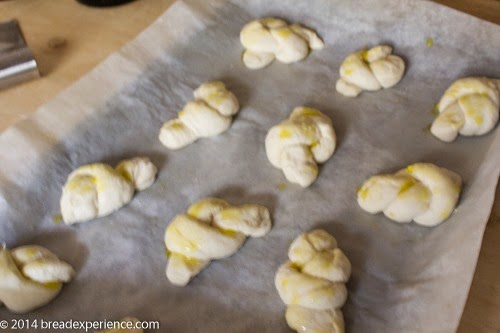
Despite the adjustments, the garlic knots turned out beautifully, especially with the garlic butter and parsley glaze drizzled on top.
The best part? They were incredibly easy to make and fit perfectly into my schedule. I prepared the dough on Wednesday evening, let it ferment overnight, and then shaped, proofed, and baked the knots in time for Thanksgiving dinner on Thursday afternoon. It couldn’t have worked out better!
Recipe as shared by Jane, of the Fermenter’s Kitchen on FB. Refer to the Garlic Knots Recipe on Simply Recipes for the shaping method.
Print
Easy Sourdough Garlic Knots
- Total Time: 0 hours
- Yield: 20 rolls 1x
Description
Soft, fluffy, and bursting with garlic flavor, these Easy Sourdough Garlic Knots are the perfect blend of tangy sourdough goodness and savory seasoning.
Ingredients
- 1/2 cup water
- 1 cup sourdough starter, recently fed*
- 1 1/4 cup bread flour (or all-purpose flour)
- 3/4 teaspoon olive oil
- 1 teaspoon salt
* If your starter is 100% hydration (same ratio of flour-to-water) rather than a stiff starter (more flour than water), you may need to add more flour to this dough, especially if you use all-purpose flour instead of bread flour. Don’t worry about it, though. The rolls should turn out fine.
Instructions
Step 1: Feed sourdough starter (morning on the day before baking)
Feed your sourdough starter following your normal procedure. If you want to double the recipe, you’ll need to increase it so that you have 2 cups of starter.
Step 2: Prepare the final dough (evening before baking)
Combine sourdough starter, water, olive oil, and salt. I recommend reserving the water until you add the flour. If your starter is 100% hydrated, you may not need the water.
Add flour until it’s a ball (if using a mixer add until it forms a ball). Place dough on the counter and knead it a few times. Don’t overmix either by hand or by machine.
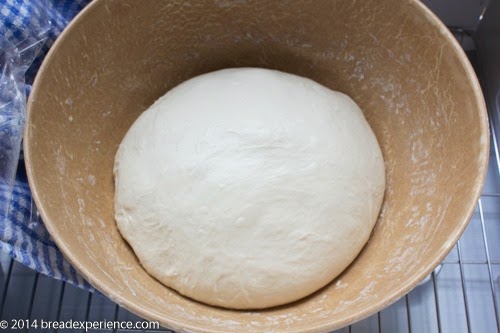
Step 3: Bulk Fermentation on the counter
Place the dough in a clean bowl and cover it with plastic wrap. Let it ferment at room temperature for 2 hours. Do a fold after 30 minutes and another fold after 1 hour, then let the dough rest for another hour. Since the dough is sticky, it benefits from the stretch and folds before the overnight fermentation in the refrigerator.
Step 4: Overnight Fermentation in the fridge
After the 2-hour fermentation, cover the bowl tightly and place it in the refrigerator overnight.
Step 5: Warm up dough to room temperature (next day)
Take the dough out of the refrigerator and allow it to come to room temp about 1-2 hours.
Divide the dough in half.
Line a large baking sheet with parchment paper or a silpat mat.
Step 6: Shape and proof the knots
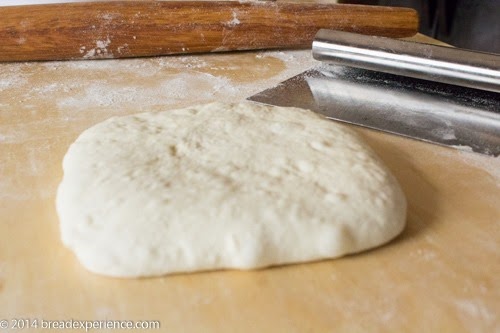
Take one-half of the dough and cut it in half using a bench knife or a sharp knife. Flatten one piece into a 5-inch by 5-inch square. It should be about 1/2-inch thick.
Using a sharp knife or a bench knife, cut the dough into strips 1 inch wide by 5 inches long.
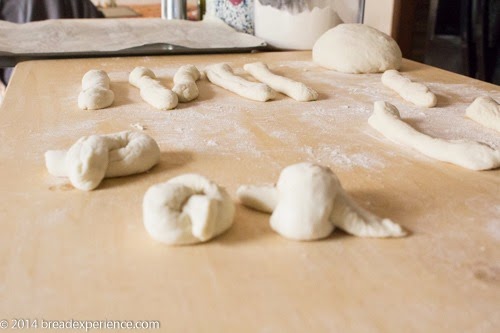
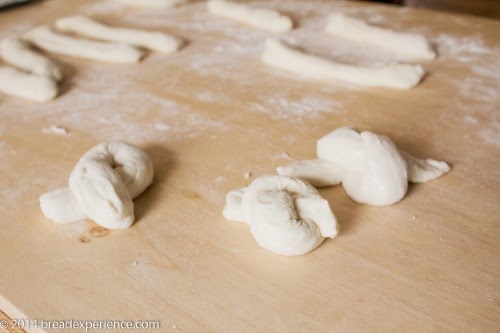
Cut the five strips in half widthwise. Take one strip and work it into a rope, then tie it in a knot. Sprinkle each strip with flour before tying the knots because the dough will be sticky along the edges that were cut.
Place each knot down on the parchment-lined baking sheet and repeat with the remaining dough. Leave space between the knots so they have room to rise.
Brush the rolls with olive oil, cover loosely with plastic wrap, and let them rest in a warm place until doubled in size. This could take anywhere from 90 minutes to a couple of hours.
Step 6: Bake the Garlic Knots
Preheat oven to 400 degrees F.
Bake the rolls for 10-15 minutes. The knots are not meant to be brown and crisp. If you make the rolls larger, it may take a bit longer to bake them.
Remove the rolls and place them on a cooling rack. Brush with garlic-butter glaze – recipe follows.
Garlic butter glaze
- 5 tablespoons of butter
- 1 tablespoon of olive oil
- 4-6 cloves of garlic, minced
- 1/4 cup of chopped parsley
- 1 teaspoon salt
Melt the butter and add the minced garlic. Cook gently over medium-low heat for a couple of minutes. Add the parsley and salt and stir to combine. Remove the pan from the heat.
Brush the fresh, just out of the oven, bread knots with the butter and garlic glaze.
Notes
To make standard knots: Although I haven’t tested this at the larger size, you can make standard-size knots using this same dough. Just skip the step where you cut the 5-inch strips in half. Roll each full strip into a rope and tie it as is. This should give you about 10 knots instead of 20. For even bigger knots, cut your strips 1 1/2 inches wide instead of 1 inch. Larger knots need a little more time in the oven, so start checking around 15 minutes and add a minute or two as needed. They are done when set and lightly golden on the bottom.
Recipe as shared by Jane, of the Fermenter’s Kitchen on FB.
- Cook Time: 10-15 minutes
- Category: Garlic Rolls
- Method: Sourdough


A big thank you to the host of the Sourdough Breads-Milling-Growing Wheat FB group, who introduced me to these Sourdough Garlic Knots. Sourdough and garlic butter – yes, please.
Happy Baking!
Cathy
Leave a Reply