I’ve been working on Yeasted Sprout Bread with no flour for the past couple of months. I’ve learned a lot from the process, particularly what not to do, so I’m sharing my initial results in this post. I solved the mystery in my second attempt so be sure to check out the final results here.
I decided to undertake this project due to inquiries from a couple of Twitter friends (TanyaTheViolist and HealthyDietFood). I had mentioned on Twitter that I was making my favorite sprouted wheat bread and someone asked me for the recipe. However, she was looking for a sprouted wheat bread made with no flour and my favorite version includes additional flour (whole wheat and bread flour). I’ve been wanting to experiment more with sprouted wheat grains so I decided to see what I could dig up in my recipe books.
Sprouted grains and sprouted wheat flour are said to be more nutritious and can sometimes be tolerated by people that cannot otherwise tolerate wheat. You’ll have to decide whether this makes sense for you nutritionally or whether it appeals to your taste buds.
I found a few recipes for making sprouted bread. The most basic is a bread called “Essene” which is made with just sprouted wheat and nothing else. It was created by the Essene Tribe. It is also sold commercially under the name of “Wayfarer’s Bread”. It is a pure bread made without yeast. I think the history of this bread is intriguing, but I decided to save it for another day. I opted to make the yeasted version this time.
The recipe is from The Laurel’s Kitchen Bread Book: A Guide to Whole Grain Breakmaking by Laurel Robertson.
Yeasted Sprout Bread using a Food Processor
Makes: Two Loaves
This bread has a lot of chew and flavor. You can grind the berries in a meat grinder or your food processor. Since I didn’t have a meat grinder, I opted to grind the berries in my food processor. I halved the recipe since I wasn’t sure how it would turn out and I didn’t want to waste 6 cups of wheat berries.
Ingredients:
- 6 cups wheat berries hard-spring or winter wheat berries (2 1/2 lbs. or 1135 g). A little more than 3 quarts sprouted weighing about 4 1b.
- 2 teaspoons active dry yeast (1/4 oz or 7g)
- 1/4 cup warm water (60 ml)
- 1/3 cup honey (80 mil)
- 4 teaspoons salt (22 g)
Sprouting Wheat Berries
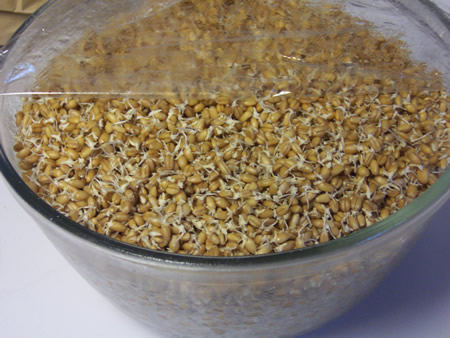
Sprout the berries just until the tiny sprout is barely beginning to show and the grain itself is tender – about 48 hours. If the grain sprouts develop long enough for diastatic enzymes to get started, it will make the bread very gooey and it won’t bake through. Remember this part!
Soak the grains in warm-room-temperature water for 18 hours.
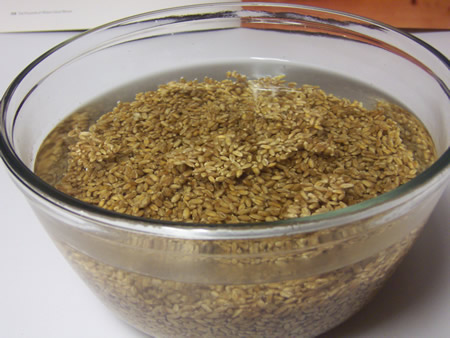
Drain the grains.
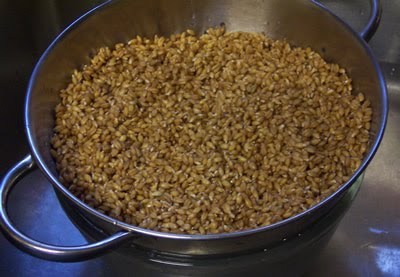
Then keep the grains covered in a dark place, rinsing three times a day until the little sprout is one-third the length of the grain. This will take about 36 to 48 hours at the most.
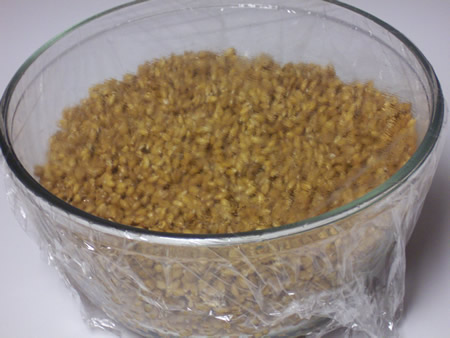
Here is what my sprouts looked like. Unfortunately, they were sprouted a bit too much so this set the stage for how my bread would turn out.
Grinding the Sprouted Grains
Remove the excess moisture from the sprouts by patting them with a terry towel. Then grind them with a Corona-type mill or a meat grinder, or about 2 cups at a time in your food processor, using the regular steel blade. I used my food processor to grind the grains. I didn’t take a picture of this process because it was a big mess. I mean a big mess.
Kneading the Dough
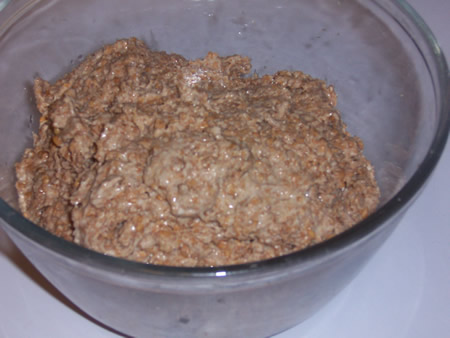
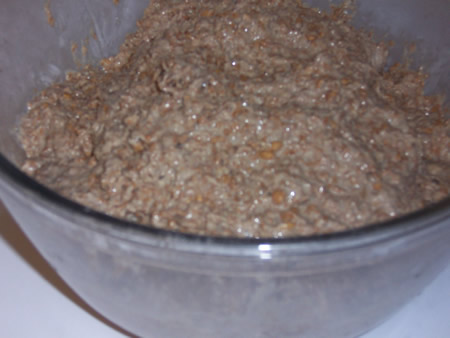
You’re supposed to grind the grains until they are as smooth as possible. Then knead it with the food processor. The book says that what results from the grinding is sticky. This was an understatement.
Here is what I ended up with by processing the grains with the food processor. The food processor didn’t like the sticky grains and had a hard time so the grains were not ground very well.
Needless to say, the food processor wasn’t able to knead it either so I had to do this part by hand. This was also a very gooey and sticky process. Like playing in the mud.
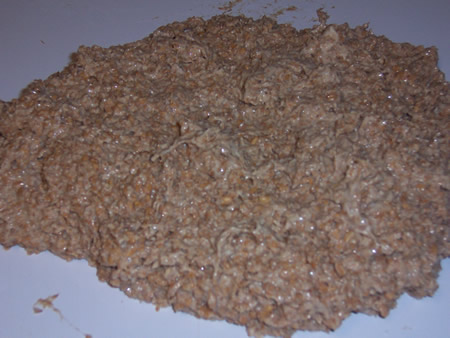
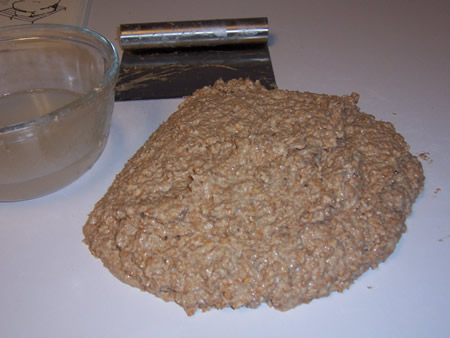
I kept a bowl of water out so that I could continually wet my fingers. I also used my bench scraper to assist with kneading the dough. You’re supposed to knead until the dough is really elastic. It takes a good bit longer than usual to knead this dough. It took me about 15 to 20 minutes.
Proofing the Dough
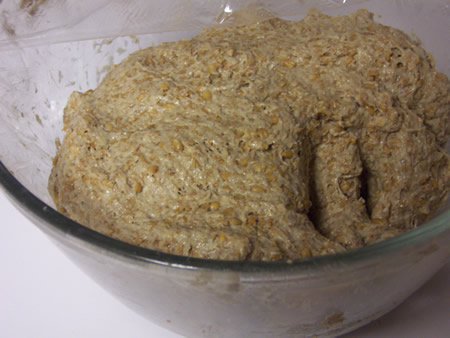
Form the dough into a ball and place it smooth side up in the bowl.
Cover and keep in a warm draft-free place. After about an hour and a half, gently poke the center of the dough about 1/2 inch deep with your wet finger. If the hole doesn’t fill in at all or if the dough sighs, it is ready for the next step.
Press flat, form into a smooth round, and let the dough rise once more as before.

If the dough is cold, which is my be unless your grinder warmed it up, the first rise will be fairly slow, but as the dough warms up, the rising will greatly increase.
Shaping the Loaf
Divide the dough in half and gently knead into rounds. Use water on your hands to prevent sticking, and keep the balls as smooth as possible. I only made one loaf since I halved the recipe.
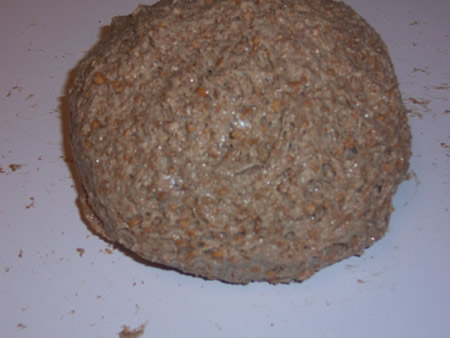
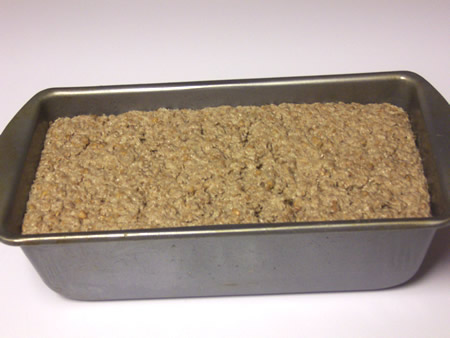
Let the ball rest until it regains it suppleness. Grease a standard 8″ x 4″ loaf pan, or pie tin, or a cookie sheet. Shape the dough into a loaf and place it in the greased pan.
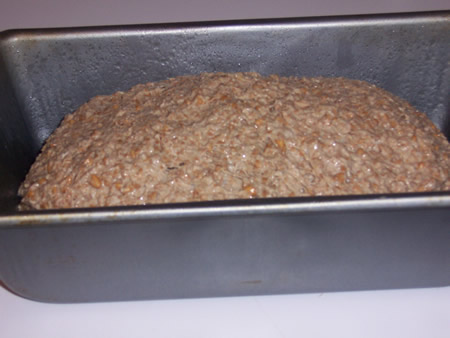
Let it rise in a warm, draft-free place until the dough slowly returns a gently made fingerprint.
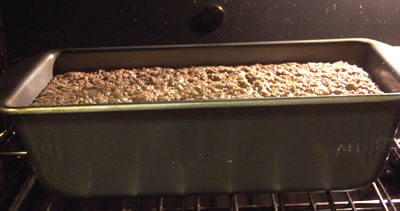
Baking the Loaf
Bake about an hour at 350 degrees. If you bread rise really high, it will take less than that. It took longer for my bread to bake because it was really starchy.
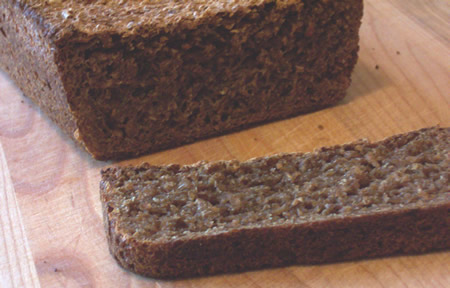
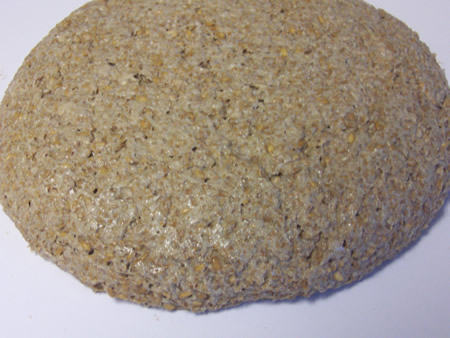
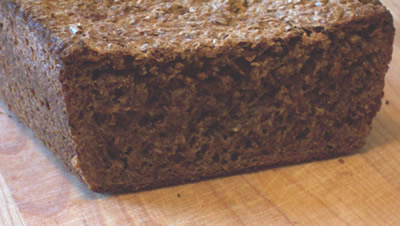
Here is the finished loaf on the cooling rack. I actually had to put it back in the oven after I cut into it because it wasn’t completely baked through.
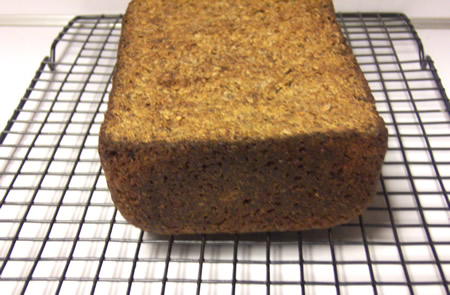
Remember when I mentioned that if the grain sprouts develop long enough for diastatic enzymes to get started, it will make the bread very gooey and it won’t bake through. Well, that’s what happened! The finished bread turned out like a brick. By the way, it’s okay to laugh. I did!
In fact, here is how the conversation went the next day when my boyfriend stopped by on his way to work.
“I made a brick last night!” I said. “You made a brick!” He said, looking puzzled. I picked up the loaf of bread and showed it to him. He said, “It does look like a brick!”
Well, it didn’t taste like a brick! It was wheaty and chewy and had a very good flavor. The texture reminded me of a chewy, yet crunchy wheat cracker or maybe a rice crisp made with wheat rather than rice. My taste tester said it tasted like a bran muffin. I guess that’s a good thing.
Even though it didn’t taste bad, it really wasn’t that good either so we only ate a couple of pieces. The birds didn’t even get any. The rest went into File 13.
So there you have my first attempt at making yeasted sprout bread…
Here are the things I learned from this process:
- You get a really good upper body workout making this bread.
- I sprouted the wheat grains to long. 48 hours is the maximum recommended time and I think I let mine sprout for 72 hours.
- It’s a sticky, gooey, messy process. Not for the fainthearted.
- If you like making mud pies, this is the recipe for you.
- You need to keep wetting your hands to keep the dough from sticking to them.
- It was rewarding to finally see the dough come together. I really didn’t think it would.
As I mentioned earlier, I used a food processor to grind the grains and it was a messy, sticky and gooey process. After I learned that you can use a meat grinder to grind the sprouted wheat and it could produce a finer grind, guess what I did? You guessed it, I got a meat grinder!
Thanks for joining me in the bread-baking blog.
Happy Baking!
Cathy
Tanya says
Yay! Thanks so much for trying this. Now I’m going to have to try it, as soon as I can get my hands on some wheat berries 🙂
Cathy (breadexperience) says
Tanya, stay tuned for my next post. It gets better. I know where you can get grains with lost-cost shipping if you’re intersted. I’ll be including that with the next post.
Rosemary & Garlic says
I was following the pictures, hoping for a good ending…
Cathy (breadexperience) says
Ah! But there is a good ending. I just haven’t posted it yet. Stay tuned…
Yogi Suzi says
Hi.
I didn’t see where in the recipe you added the honey, salt and yeast. Was it right when you started kneading the processed wheat berries? And, now, 26 months later, have you had any other successes with sprouted breads?
Cathy (breadexperience) says
Hi Yogi, Thanks for visiting my blog. You would add the honey, salt and yeast as you’re mixing the dough. I didn’t outline all of the steps in this post because it turned out like a brick. Please refer to Take Two for the detailed instructions. I had success that time. http://breadmakingblog.breadexperience.com/2010/05/sprouted-wheat-bread-with-no-flour-take_22.html. I haven’t tried the sprouted wheat bread with no flour in a while but I have made other sprouted breads. You can view them here https://www.breadexperience.com/sprouted-bread.html