Champa of Versatile Vegetarian Kitchen is the host of Bread Baking Day this month. For BBD #37, she chose “bread made with sponge or pre-ferment” as the theme. What a great theme! Some of my favorite breads are breads made with pre-ferments. My only problem was deciding on which bread to make.
I got the book Tartine Bread by Chad Robertson and a Dutch oven combo cooker for Christmas and I’ve been chomping at the bit to try the breads. Several bread-bakers on Twitter and Facebook recommended this book as a good one to learn more about sourdough. I fell in love with the photography (and the combo cooker) so I put them on my wish list. My oldest son gave me a gift certificate for Christmas so I was able to get the book and indulge my passion.
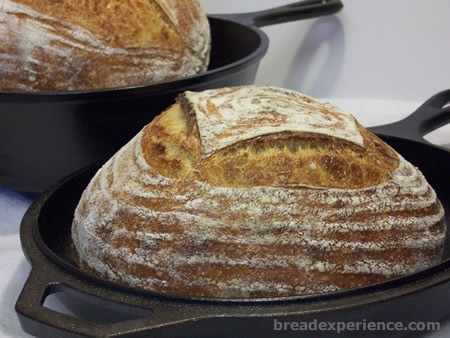
I read some mixed reviews about the book on a bread-baking forum, but I decided to put all that aside and try it for myself. I love to try different bread-baking methods and techniques. I haven’t read the whole book, but I really liked the process for making the Basic Country Bread and was very pleased with the final product. I plan to try some more of the breads.
Basic Country Bread
From: Tartine Bread by Chad Robertson
Refer to the book for the list of ingredients and helpful tips for making this bread. If you don’t have the book, I encourage you to get it. The photography is great and the method is really interesting and makes a great loaf of bread.
I’ve outlined the step-by-step process below:
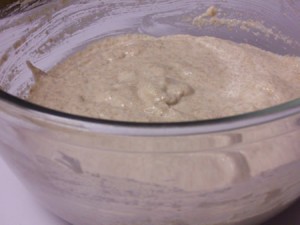
The first step is to make the leaven. This is done the night before you plan to mix the dough. Cover the bowl with a kitchen towel (or plastic wrap) and let it rise overnight at a cool room temperature (65 degrees F).
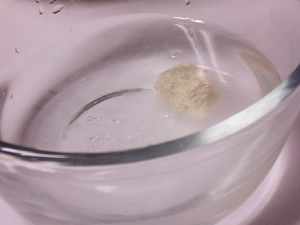
The next morning, the volume should’ve increased by 20 percent. To find out if it’s ready, you can test it to see if it floats in water. To do this, drop a spoonful of the leaven into a bowl of room-temperature water. If it sinks, it is not ready to use. So you’ll need to let it ripen longer. I checked mine after about 12 hours and as you can see, it was not ready. It sunk!
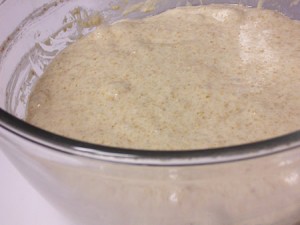
I left it on the counter to ripen some more. I checked it every 1/2 hour or so to see if it was ready.
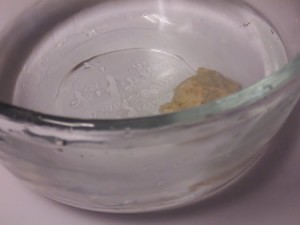
It finally floated. Although it’s hard to tell from this photo. Now it was time to mix the dough.
Mixing the Dough:You don’t use all of the leaven for this bread so save the leftover leaven for your starter. I kept the leftover as a new 50/50 white/whole wheat flour starter. Now, I have three starters. One is made with all white bread flour (or all-purpose depending on my mood) and the other is a mixture of white bread flour and rye. It’s the one we made in the BBA Challenge. I had five starters at one time so I’ve streamlined it a bit.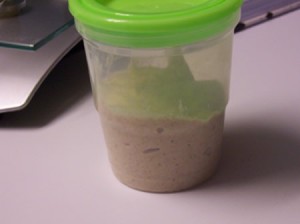
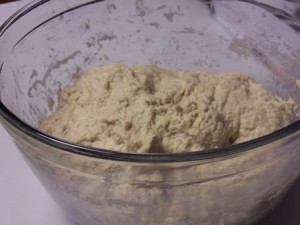
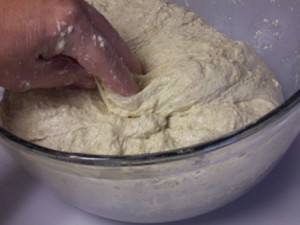
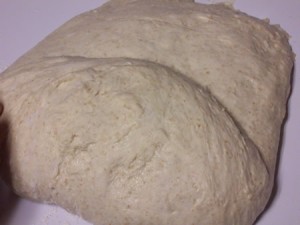
Mix the ingredients by hand until you do not see any dry bits of dry flour. This is the fun part. You don’t want to miss this part.
Let the dough rest for 25 to 40 minutes. Don’t skip the rest period. This is what develops the gluten.
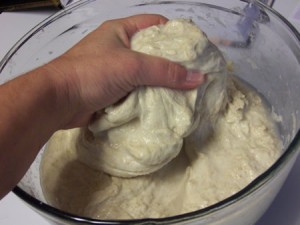
After the dough has rested, add the salt and warm water. Incorporate the salt into the dough by squeezing the dough between your fingers. Come on you know you want to get your hands in that dough…
Fold the dough on top of itself and transfer it to a clean bowl.
I just washed out the same bowl and placed the dough back in it and covered it with plastic wrap.
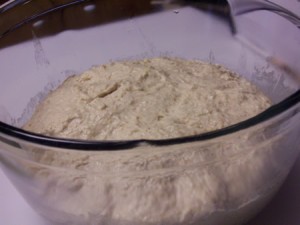
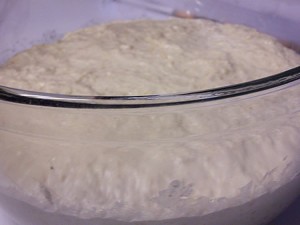
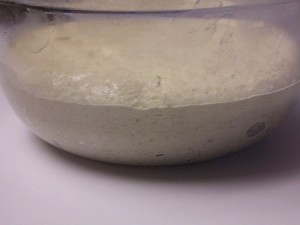
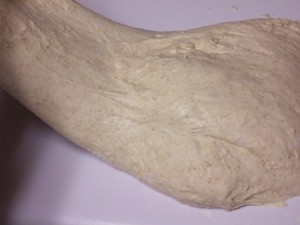
Let the dough bulk ferment for 3 to 4 hours or longer if necessary. I let it ferment a little bit longer because my kitchen wasn’t that warm.
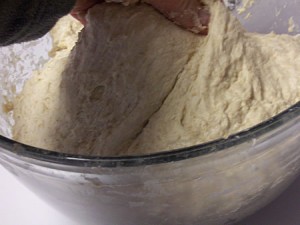
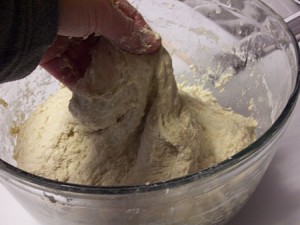
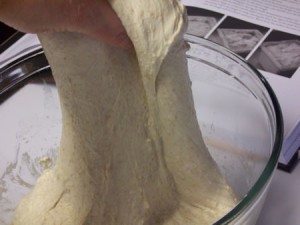
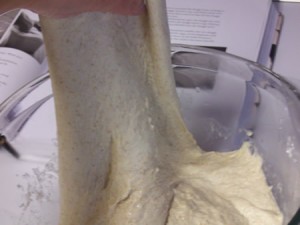
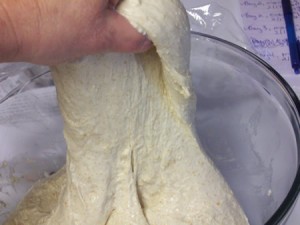
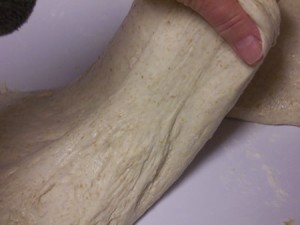
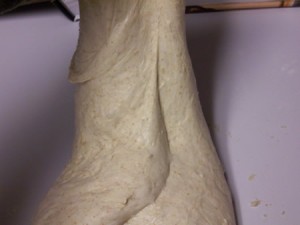
Turning the Dough:Using this method, the dough is not kneaded on a counter, the development of the dough is achieved by a series of turns in the bowl during the bulk fermentation.To do a turn, grab the underside of the dough, stretch it up, and fold it back over the rest of the dough. Keep water available so you can dip your hand into it so the dough doesn’t stick to you.
Repeat this process a couple of times to make sure all the dough gets evenly developed. This is considered one turn.
During the first 2 hours of fermentation, give the dough one turn every half hour or so. During the last hour or so, turn the dough more gently to avoid pressing gas out of the dough.
You can extend the bulk fermentation time if the dough seems to be developing slowly.
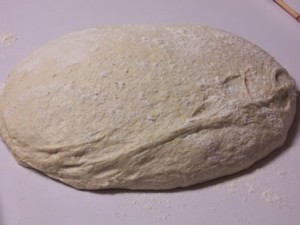
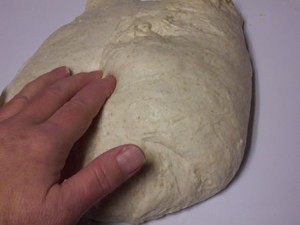
Shaping the Loaves:Transfer the dough onto an unfloured work surface. Lightly flour the surface of the dough.
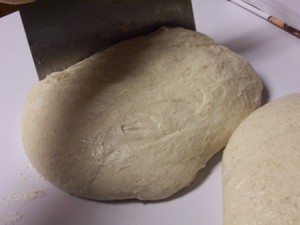
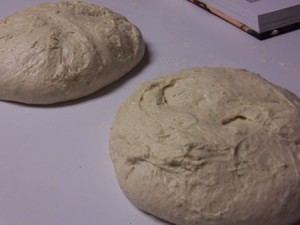
Use a bench knife to cut the dough into two equal pieces. Flip one piece of dough so that the floured side is on the counter. Then flip the other piece of dough.
Fold each piece onto itself making sure the flour on the surface of the dough is sealed on the outside of the loaf.
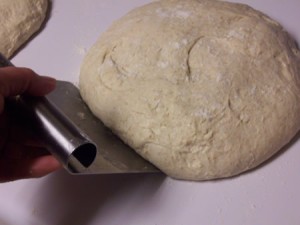
Work each piece of dough into a round shape using a bench knife. Let both rounds rest on your work surface for 20 to 30 minutes. To prevent a dry film from forming on top of the loaves, cover them with a kitchen towel. I floured the loaves lightly before placing the towel over them.
To form the final shape, lightly flour the top of the dough rounds. Slip the bench knife under each round and lift it off the work surface. You’ll need to be careful during this part to maintain the round shape.
Flip the round. The underside should now be facing up and the floured side down.
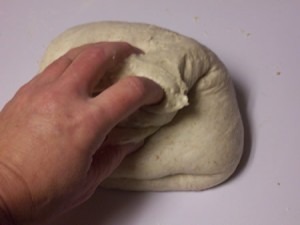
Do a series of folds to develop the gluten and help the bread rise. First, you fold the third of the dough closest to you up and over the middle third of the round. Stretch out the dough horizontally to your right and fold this right third over the center.
Stretch the dough to your left and fold this third over the previous fold.
You should be starting to see a nice neat little package. Now, stretch out the third of dough farthest from you and fold this flap toward you, over the previous folds, and anchor it in place with your fingers.
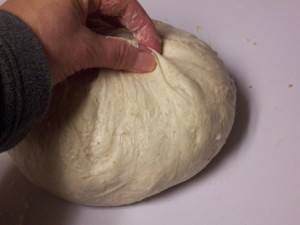
This is what the instructions say to do next: Grab the dough nearest you so that the smooth underside of the loaf is now the top and all the seams are on the bottom. Cup your hands around the dough and pull it toward you, rounding it against the work surface to tighten the tension and stretch the outer surface to close the seam. Let the shaped loaf rest for a minute. Repeat the folding with the remaining round.
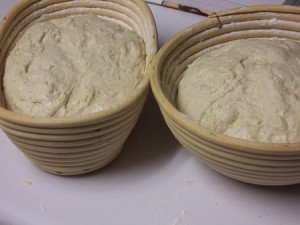
Here is what I did: I folded both rounds as indicated above, but then I just pinched the seams together on top and then placed them seam-side up in banneton baskets that had been floured with a 50/50 mixture of rice flour and wheat flour.
At this point, you can let the dough rise at warm room temperature for 3 to 4 more hours or retard the dough overnight. It was getting late so I decided to retard the loaves overnight. I covered them with plastic wrap and a kitchen towel and placed them in the refrigerator overnight.
The next day, I took the loaves out of the refrigerator and let them warm up for an hour or so before baking. The instructions say you can leave the loaves out until you’re ready to preheat the oven, but I decided to let them warm up to room temperature before baking.
Baking the Loaves:20 minutes or so before you plan to bake the loaves, place a Dutch oven combo cooker (lid and pot) in the oven. Preheat oven to 500 degrees F.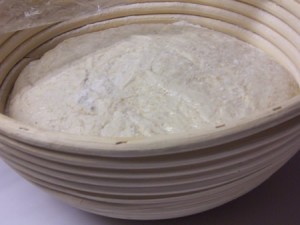
Dust the surface of one of the loaves in the basket with rice flour. When the oven has been sufficiently preheated, remove the shallow pan from the oven (using kitchen mitts) and place it on top of the stove. Leave the other pan in the oven. Carefully inverting the basket, turn the dough into the hot pan.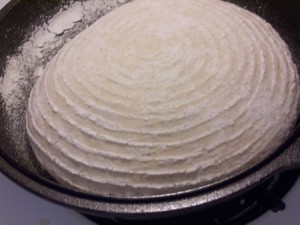
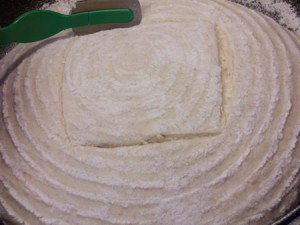
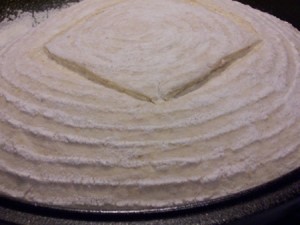
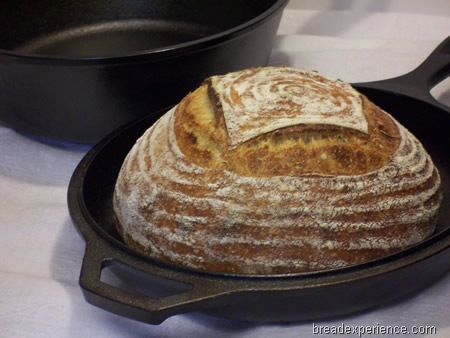
Score the loaf using a simple square pattern with four cuts. To make pronounced “ears,” make shallow cuts at a very low angle (almost horizontal) to the dough. I’m still working on perfecting this process, but I was pretty pleased with the scoring on this loaf.
Be careful not to burn your arms during this part. This is why you use the shallow pan on the bottom instead of the deep pot. It makes it easier to score the loaf without burning yourself.
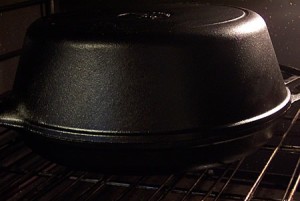
Return the shallow pan (with the loaf) to the oven and cover it with the deep pot. This is sort of tricky. The deep pot can be pretty heavy so be careful.
Immediately reduce the oven to 450 degrees F and bake the loaf for 20 minutes. Then carefully remove the top pan.
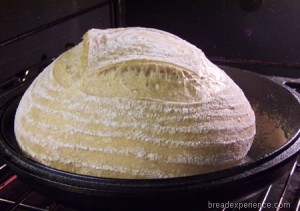
Let the loaf continue to bake (without the top) for about 20 to 15 more minutes, until the crust is a deeply caramelized color.
Remove the pan from the oven and transfer the loaf to a rack to cool.
I was going to bake one of the breads in my la cloche to see the difference between the two steaming methods, but I was having too much fun using the combo cooker so I decided to bake the other loaf in the combo cooker. Plus, this one looked lonely. I guess I’ll have to try that test another time.
To bake the second loaf, you’ll need to raise the oven temperature back to 500 degrees F. Being careful not to burn yourself, wipe out the cooker and reheat both pans for 10 minutes. Then follow the instructions above to bake the other loaf.
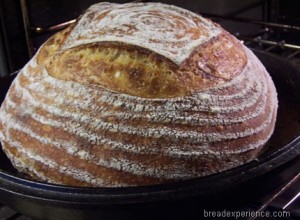
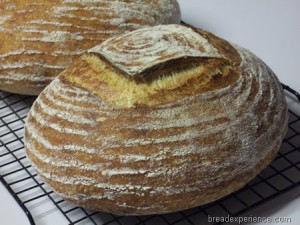
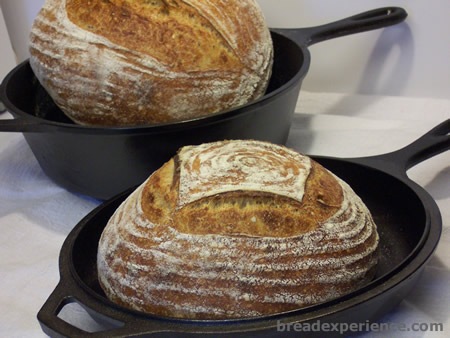
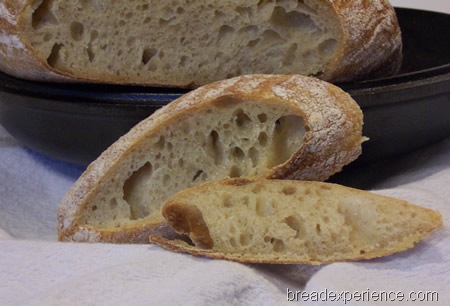
Once the second loaf is finished baking, you’ll have two beautiful loaves to showcase.
And, two loaves to enjoy. This Basic Country Bread makes wonderful sandwich bread.
These loaves have been YeastSpotted for good measure. Please visit Wild Yeast to view all of the lovely breads in the weekly roundup.
The theme of BBD37 was Bread made with sponge or pre-ferment.
View a list of all the past BBDs here http://www.kochtopf.me/

BangaloreBaker says
What a beautiful loaf. Thanks for the entry Cathy. And the holes are just wonderful. You do have a lot of patience taking all those step by step pictures.
azélias kitchen says
gorgeous bread, love the step by step!
Nat says
Can never write a blog so clearly with step by step and photos, though I always want to. Great post and great looking bread too, Cathy!
hannaH (that's Hannah backwards) says
Cathy, I have been trying to bake this loaf w/ no luck. mostly i think i am not able to tell if i am overproofing the dough during the bulk rise. Do you know if it does not look like it is developing within the 3-4 hours do you continue to do the turns? or just let it go? would love a little feedback if you have a moment! great blog 🙂
Cathy (breadexperience) says
Hi hannaH, I let the dough develop longer than 3-4 hours probably more like 5 hours. I continued doing the turns after the first 2 hours, just not as frequently as I did during the first 2 hours. Then, after I shaped the loaves, I let them retard overnight in the banneton baskets.
Elwood says
Beautiful loaves!
Swathi says
Delicious bread.Now i am playing with sourdough.
Ryan says
Beautiful loaves!
Where can I find your cast iron bread-baking set?
Cathy (breadexperience) says
Thanks Ryan. You can find the cast iron combo cooker here http://astore.amazon.com/bread-baking-equipment-20/detail/B0009JKG9M
codruta popa says
hi. you said in the ingredients list 700+5g water, but in fact is 700+50 g, isn’t it? thanks, codruta
Cathy (breadexperience) says
Hi Codruta, you are correct. It should be 700g + 50g. Thank you for catching that. I have corrected the list of ingredients.
Chris says
Cathy –
I’ve been making this exactly as instructed for awhile. Your (excellent) post looks exactly like the book, and my experience is the same. The challenge or at least question is, how moist should the crumb be coming out of the oven? I am getting very consistent results, so I think the crumb is as it is intended to be. However, it is moist and sticky to some people’s taste (specifically a professional baker friend). Can you describe your crumb in greater detail as to moistness and stickiness to the touch? Thanks for your post, it is very helpful to get another real-world experience to compare the book’s recipe with.
Cathy (breadexperience) says
Hi Chris, thanks for your feedback. I’ve only made this bread once so far. The crumb was not sticky at all after baking. The texture was great and I loved the flavor. My and boyfriend and had it as a tuna salad sandwich. We had to eat the loaf fairly quickly before it dried out which is pretty normal for these types of artisan breads.
Anonymous says
Hi!
Nice post!
Didn´t You forget to mention the poolish from the recipe?
Greetings, Mike
Cathy (breadexperience) says
Hi Mike, this bread does use an overnight preferment, but he calls it a leaven.
Scott Zrubek says
Man, I must have done something wrong. The dough had no structure as I was baking it. It came out of the final rise and just oozed onto the baking stone. I think I used the right ingredient amounts, but it was very, very wet.
Cathy (breadexperience) says
Hi Scott, this dough is really wet, but I found that the structure did develop after the series of turns in the bowl. It’s worth another try.
Scott Zrubek says
I’ll give it another try with more turns. I let it ferment for 4 hours with turns every 30-45 minutes.
I’ll see if I can give it a turn every 15 minutes for 4 hours this weekend. And maybe pics while I’m doing it.
Cathy (breadexperience) says
That sounds great Scott! I’d love to see photos of your process. Happy Baking!
Scott Zrubek says
Here’s my blog on my latest attempt that came out the same as the first:
http://madmoravian.blogspot.com/2012/04/tartine-country-bread-recipe-in-search.html
Cathy (breadexperience) says
Scott, I checked out your post. I baked my loaves in the combo cooker and not on the baking stone, but my dough was not that wet. I wonder if the dough needs to ferment longer. I’m surprised that it is so wet even after doing all of the turns and folds.
Elizabeth says
I’ve tried making this bread twice now and both times were disappointing – even though it looked quite beautiful. The bread I made was quite sour. Luckily it is wonderful sliced and grilled to go under barbecued meat and vegetables.
Does your bread have a sour flavour?
Cathy (breadexperience) says
Hi Elizabeth! I don’t remember this bread being overly sour. I wouldn’t like it that way either. I bet it is great grilled though.