

This flaky, buttery sourdough croissant bread recipe is made easy with grated butter lamination. It includes two loaf sizes, baking tips, and cold/warm kitchen guidance.

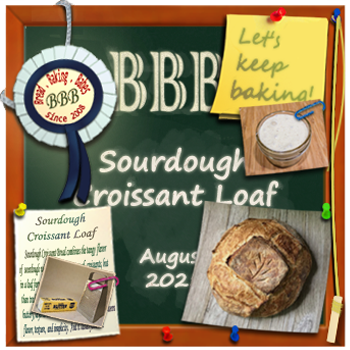
I have the pleasure of hosting our virtual bake-along this month, and after baking through a few ideas, I landed on something I couldn’t stop thinking about: Sourdough Croissant Bread. This hybrid loaf brings together the tangy depth of sourdough with the rich, flaky texture of croissants in a format that’s more forgiving than traditional lamination.
There are plenty of versions of this bread floating around the web, especially on TikTok, but this one is uniquely mine. It’s a sourdough adaptation pulled from multiple inspirations and tailored through repeated bakes.
Instead of using a butter block, this method incorporates grated, frozen butter, which makes lamination far more approachable, especially when you’re baking in the heat of summer.
I tested and tweaked this recipe in my unseasonably warm kitchen this summer. So, I can confidently say you can make this bread even in hot weather as long as you keep your ingredients cold.
You’ll find two versions of the recipe below:
- A larger 1000g+ loaf made with 500g of all-purpose flour. This loaf is perfect for sharing or gifting. Divide the dough in half to make two loaves.
- A smaller 800g loaf made with a blend of all-purpose flour and 18% rye flour. The rye flour adds a subtle nutty depth to the flavor.

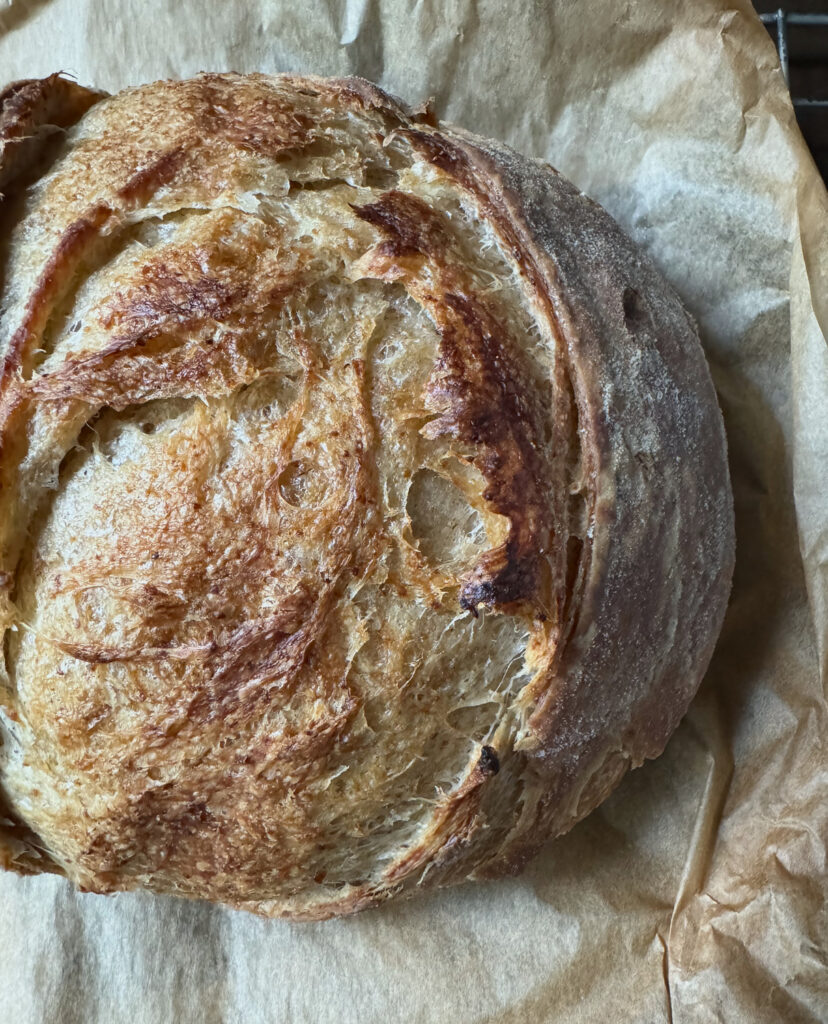
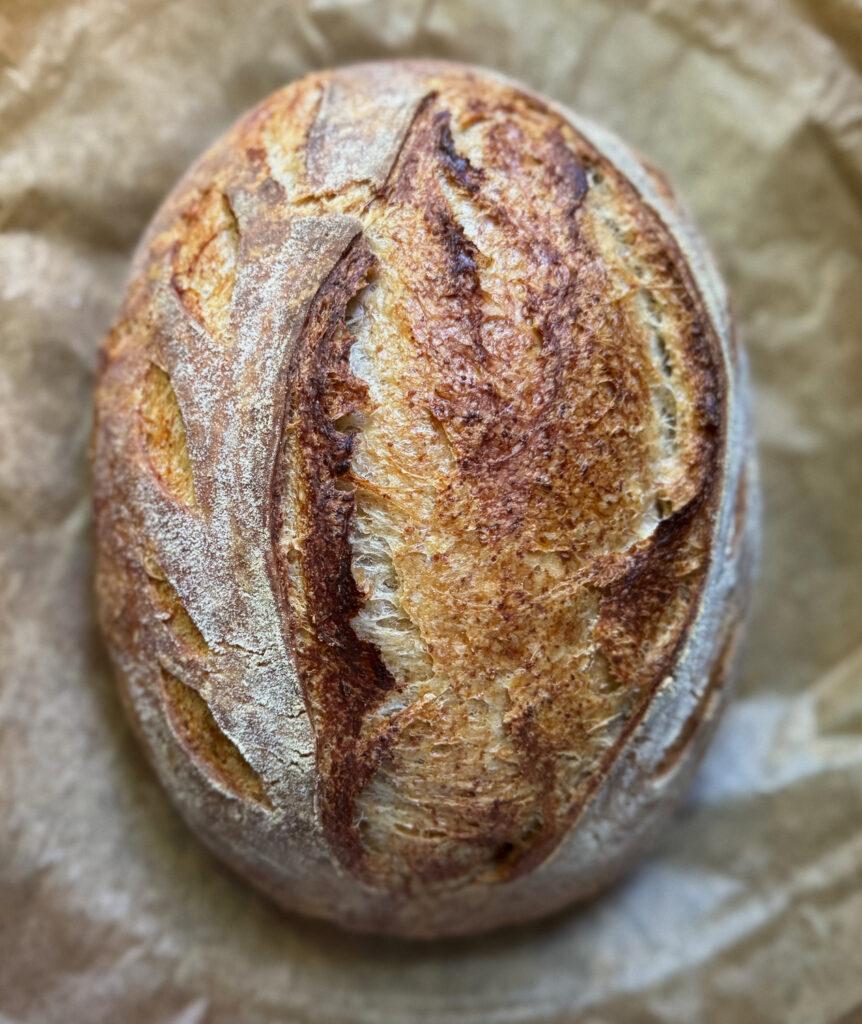
Both versions bake up beautifully, with crisp crusts, soft layers, and the signature pull-apart crumb you expect from laminated dough. I baked my loaves in a Dutch oven, but this method would also work in a loaf pan if that’s what you have on hand.
Whether you’re new to laminated sourdough or just looking for a fresh challenge, this loaf offers the perfect balance of flavor, texture, and simplicity. Once you try it, I think you’ll agree it’s a keeper.

Cathy’s Baking Tips for Sourdough Croissant Loaf Success
This style of bread is all about balance: rich flavor, tender crumb, and flaky layers. Here are my best tips to help you nail it, even in a warm kitchen:
Keep Everything Cold
Warm temps can quickly turn your lamination into a butter disaster.
- Cold starter: I used sourdough starter straight from the fridge (fed the day before). Using it cold and straight from the fridge helps keep the dough cool during mixing.
- Cold water: I added a few ice cubes to my water, let it chill in the fridge, and used it cold like you would for pie dough.
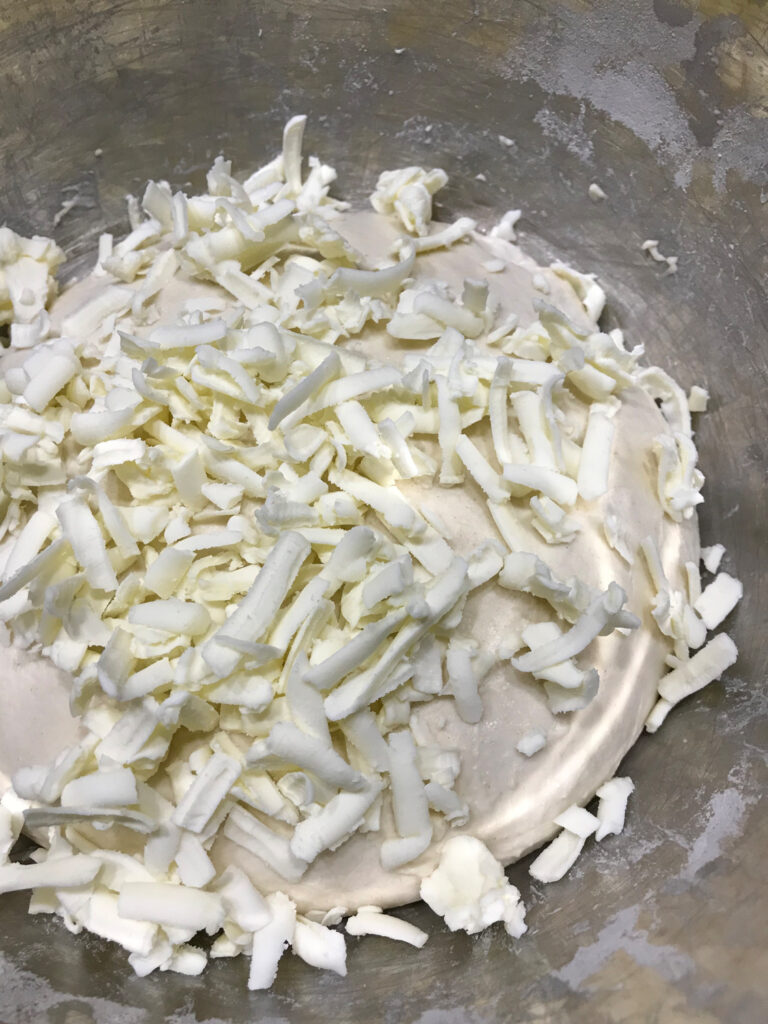
- Grated butter: Instead of a butter block, I grated the butter and froze it during the autolyse. This method is much easier and helps maintain even butter distribution during lamination.
Starter vs. Levain
This recipe skips the levain step and uses cold, mature starter directly in the dough. If you prefer to use a levain, you can, but just know that some versions call for an overnight ferment at room temperature, which could warm up your dough faster than desired in a hot kitchen.
Grated Butter = Easy Lamination
Grated and frozen butter is a game-changer. It simplifies the layering process and reduces the risk of melting. Just make sure the butter is icy cold when you incorporate it during the stretch-and-fold series.
Flour Notes
- Bread flour is ideal due to its higher protein, which helps develop strong gluten for better structure.
- I used Bob’s Red Mill all-purpose flour in my test bakes with great results. King Arthur AP flour should also work.
- When using all-purpose flour instead of bread flour, you may need to slightly reduce the hydration. That said, I didn’t need to adjust it during my bakes.
Using Yeast Instead of Sourdough?
No starter? No problem. But go easy on the yeast, especially in warm environments.
- Some recipes call for up to 1 tablespoon of yeast, which is too much for a hot kitchen.
- I recommend using no more than 1 teaspoon for 500g of flour. Expect faster fermentation and adjust your timing accordingly.
Baking Method
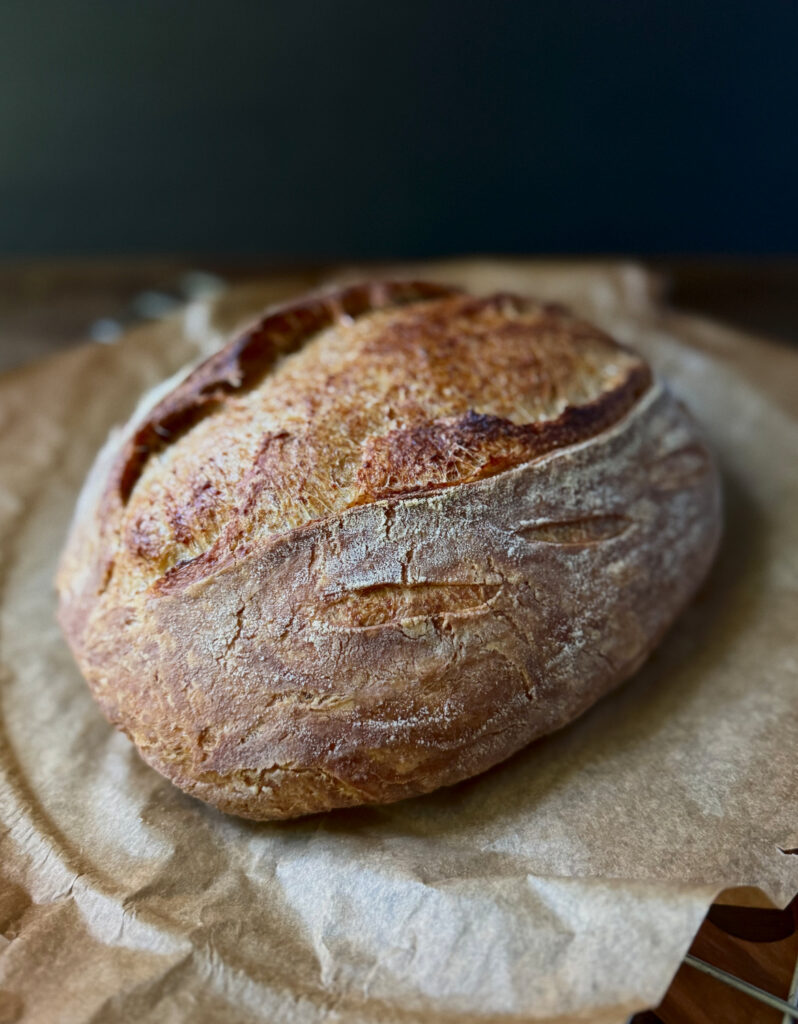
- I baked my loaf in a Dutch oven to encourage a high oven spring and crisp crust.
- You could also try a loaf pan if preferred.
Avoid Butter Leaks
Even though I didn’t have issues with butter leakage, I recommend lining your pan with parchment paper just in case. This will make cleanup easier and protect the bottom crust.
What’s not to Love About This Sourdough Croissant Loaf
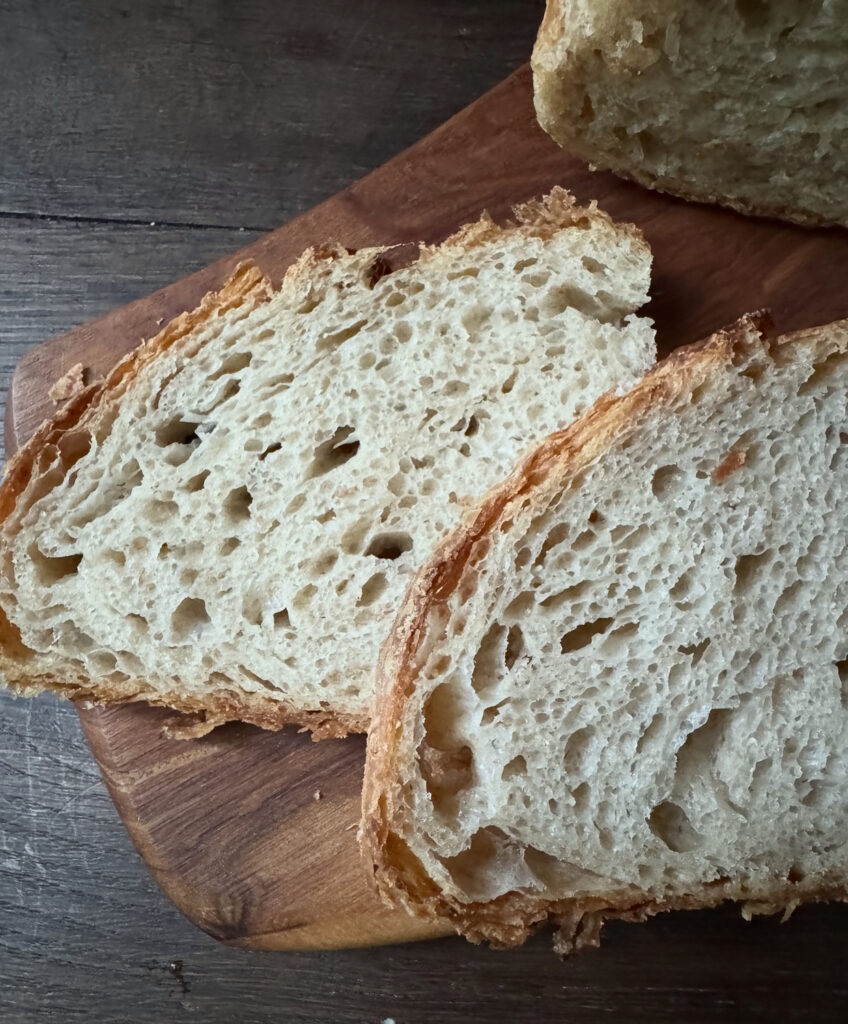
- Flaky Layers Without the Fuss – This loaf delivers that irresistible croissant-like texture: flaky, tender, and buttery without needing a butter block or intensive lamination skills.
- Sourdough Tang Meets Buttery Richness – The tangy flavor of sourdough pairs beautifully with the richness of the butter, creating a complex and satisfying loaf that’s just as good toasted as it is fresh.
- Two Size Options to Fit Your Needs – Whether you’re baking for a crowd or just want something special for the week, choose between a full-size loaf or a smaller version with a nutty rye twist.
- Warm Kitchen Friendly – Tested during the heat of a Southern summer, this method uses cold ingredients to keep the dough cool no matter the weather.
- Easy Grated Butter Method – Forget butter blocks! Grating and freezing the butter simplifies the process and makes lamination more approachable for home bakers.
- Versatile Baking Options – Bake it in a Dutch oven for that signature oven spring and crust, or try a loaf pan for a more compact, sliceable shape.
- Freezer-Friendly for Make-Ahead Slices – Slice and freeze for buttery, toasty goodness anytime you need a quick breakfast or snack.
My taste tester and I loved all versions of this bread. We didn’t let any of it go to waste.

Tips for Working in Cold Kitchens or During Winter
Cooler environments are great for laminated doughs, but they do come with some quirks. Here’s how to adjust:
- Let the dough rest slightly longer: If the butter feels too stiff during folds, let the dough rest at room temperature (briefly!) before handling it. Cold butter can crack or break through the dough.
- Avoid over-chilling: If your fridge is very cold or you’re baking in a chilly kitchen, reduce fridge rest time slightly or check your dough earlier. It may not need the full chill between folds.
- Use room-temp water: In contrast to warm-weather baking, you can use water at room temp to keep the dough from getting too firm too fast.
- Proofing may take longer: In winter, final proofing times can stretch. Be patient, and use visual cues (like a gentle spring-back from the dough) rather than the clock.
Resources for sourdough and yeast versions:
Sourdough or a levain:
- https://amybakesbread.com/sourdough-croissant-bread
- https://lifestyleofafoodie.com/sourdough-croissant-bread
- https://www.pantrymama.com/sourdough-croissant-bread
Yeast:
- https://www.karenskitchenstories.com/2023/12/croissant-bread-pull-apart-laminated.html – Karen’s bread is baked in a loaf pan
- https://gluesticksblog.com/croissant-bread-recipe-video/ – This baker uses 1 Tbsp of yeast and bakes her bread in a loaf pan
- https://butfirstwebrunch.com/croissant-bread – No knead croissant bread using 3 grams (1 tsp) yeast and 360 grams of bread flour
Sourdough Croissant Loaf Comparison Chart
| Feature | Full-Size Loaf (Original) | Medium Loaf (w Rye Flour) |
|---|---|---|
| Total Dough Weight | ~1000+ grams | ~800 grams |
| Flour Composition | 500g all-purpose flour | 325g all-purpose flour + 75g rye flour |
| Sourdough Starter | 100g (direct from fridge) | 75g (direct from fridge) |
| Hydration Adjustments | No reduction needed with BRM AP flour | Slight hydration reduction may help with rye |
| Flavor Profile | Rich, buttery with classic sourdough tang | Nutty depth from rye + sourdough complexity |
| Loaf Size | Large—ideal for sharing or gifting | Medium—great for smaller households or freezing |
| Bake Vessel | Dutch oven (recommended) | Dutch oven (or loaf pan as an alternative) |
| Best For | Entertaining, gifting, Brunch centerpiece | Every day baking, smaller families, flavor tweak |

Flaky Sourdough Croissant Loaf Recipe – No Butter Block Required
- Yield: 1 Medium or Large Loaf 1x
Description
This hybrid loaf brings together the tangy depth of sourdough with the rich, flaky texture of croissants in a format that’s more forgiving than traditional lamination.
Ingredients
Medium Loaf ~800g
75g active sourdough starter, recently fed and cold from the fridge
325g all-purpose or bread flour
50g whole wheat flour (I used whole grain rye), optional, or use more AP flour
240–260 g water (Whole wheat and rye flour absorb more liquid, so adjust accordingly)
8 g salt
113g (1 stick) butter, very cold or frozen, grated
Large Loaf 1000+g
Active sourdough starter: 100g (feed the day before and use cold from the fridge)
Bread flour or All-purpose flour: 500g or a mix of AP + Whole Grain
Water: 320-350g*
Salt: 10g
Butter: 1 stick (about 113g), very cold or frozen, grated
Instructions
*If using a lower protein AP flour, you may need to reduce the hydration. All-purpose flour has a lower protein content (typically 10–12%) compared to bread flour (12–14%), so it absorbs less water. If you use the same amount of water as you would for bread flour, your dough may become too sticky and slack. Lower the hydration by about 5–10% (for example, if the recipe calls for 350g water to 500g flour, try 320–330g water instead). I used 345 grams of water even with all-purpose flour.
Day 1
1. Mix the Dough & Autolyse. Combine the starter, water, and flour in a bowl. Mix until a shaggy dough forms. Cover and let rest for 30–60 minutes to hydrate the flour (autolyse).
Meanwhile, grate 1 stick of butter (113 grams) and place in the freezer until ready to use.
2. Add Salt. Sprinkle in the salt and mix until incorporated.
3. Bulk Fermentation with Stretch & Folds (Incorporate Butter)
Over the next 1 ½ – 2 hours, perform 4 sets of stretch-and-folds, spaced 15-30 minutes apart. Try to keep the dough no warmer than 70 degrees F. My dough was between 65 and 70 degrees during the first three stretch and folds and 68 degrees after the final stretch and fold.
First set: Stretch and fold the dough with no butter. Cover and let it rest for 30 minutes at room temperature.
Second & third sets: Sprinkle half of the grated cold butter (from the freezer) over the dough and fold it in gently. Place the remaining grated butter back in the freezer. Cover and let the dough rest for 30 minutes at room temperature. Check the temperature of the dough after 15 minutes. If it’s too warm, place it in the refrigerator for a few minutes. Repeat the same process for the third set of stretch and folds. Keep the dough and butter as cold as possible to prevent melting.
Fourth set: Stretch and fold as before, no additional butter.
4. Bulk Rise. Let the dough rise until it’s increased by about 70% in volume. This may take 4–6 hours at room temperature, depending on your environment. My dough took between 2 ½ – 3 hours.
5. Pre-shape & Bench Rest. Turn the dough out onto a lightly floured surface. Pre-shape into a round or oval and let rest uncovered for 15-20 minutes.
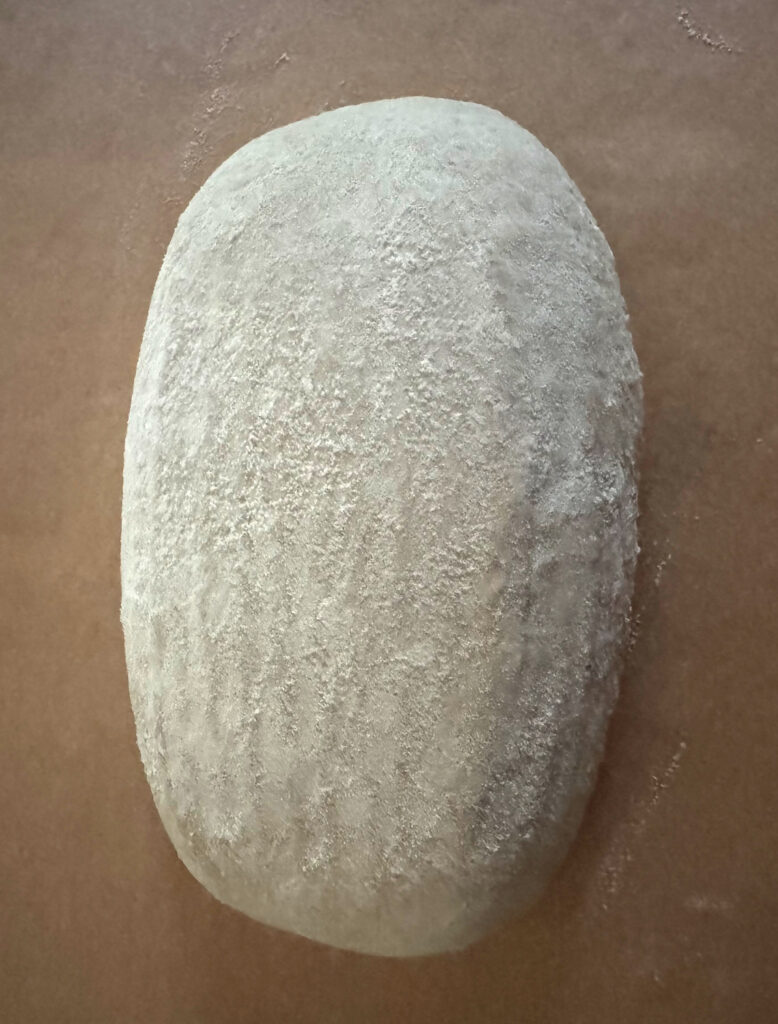
6. Final Shaping. Shape the dough into a tight loaf (batard or boule shape) by folding the edges toward the center and creating surface tension.
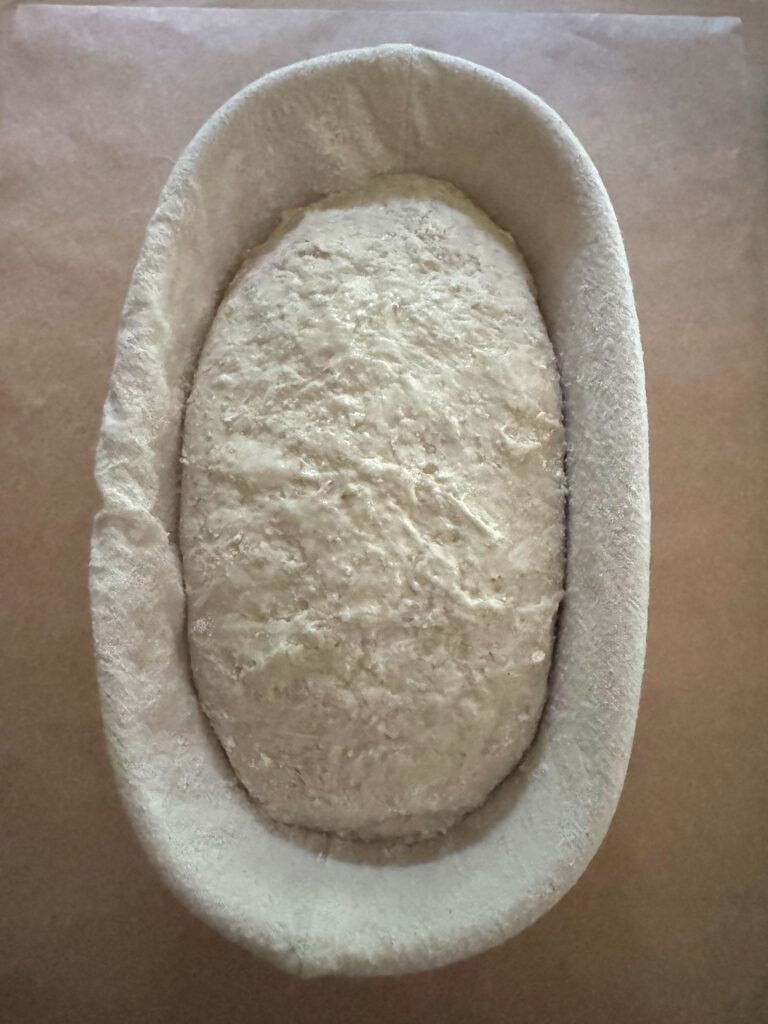
7. Cold Proof. Place the shaped dough into a banneton or lined bowl. Cover and refrigerate immediately. Let it rest overnight, or up to 12–18 hours, for a cold ferment.
Day 2
Bake. Preheat your oven (and Dutch oven if using) to 450°F (232°C).
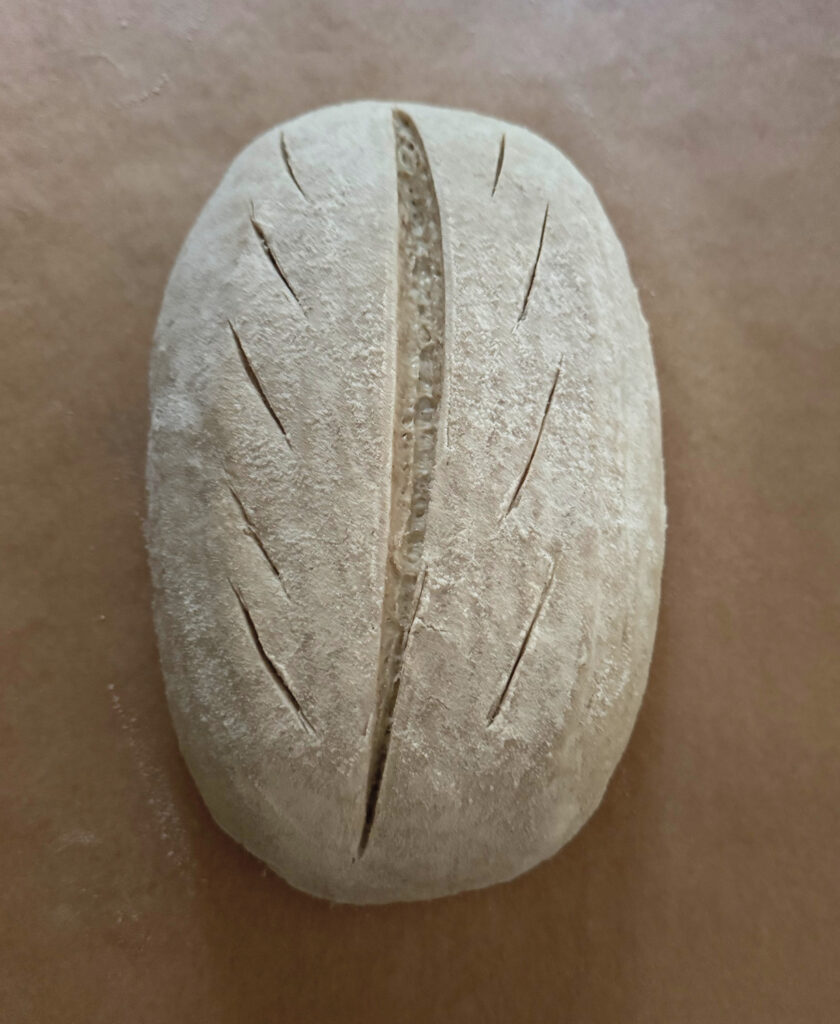
Remove the loaf from the fridge, turn it out onto parchment, and score the top.
Place in the preheated Dutch oven, reduce temperature to 425°F (218°C), and bake: Covered: 25 minutes; Uncovered: 20 minutes, until deep golden brown and internal temp is 195–200°F (90–93°C).
- Category: sourdough
- Method: Laminated
Who are the Bread Baking Babes?
We are a group of bakers who get together every other month to bake bread! Bread Experience is the host kitchen this month. Please join us in creating Sourdough Croissant Bread, and share your results. Check out our Facebook group and the BBB blogs (links below) to see our baking results.
Bread Experience – Cathy (host kitchen)
Karen’s Kitchen Stories – Karen
A Messy Kitchen – Kelly
My Kitchen in Half Cups – Tanna
Judy’s Gross Eats – Judy
blog from OUR kitchen – Elizabeth
Thyme for Cooking – Katie (roundup)
Happy Baking! See you in the kitchen!
Cathy
Leave a Reply