
This Sprouted KAMUT Bread with no Flour is made with sprouted KAMUT grains and utilizes no additional flour.
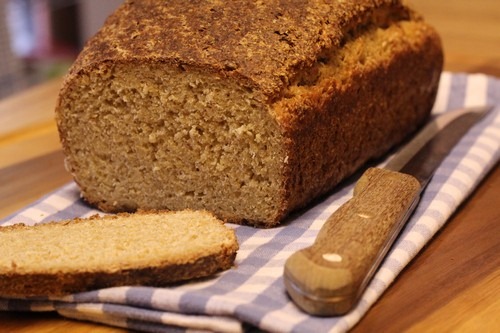
A couple of months ago, a visitor commented on my Sprouted Wheat Bread with no Flour post and asked if I had experimented with making sprouted bread completely with KAMUT.
KAMUT is a heritage grain and a descendant of Emmer wheat. The kernel of this wheat is larger than modern wheat, and it has a rich, buttery flavor.
I’m always up for a challenge, especially when it involves sprouted bread, so I decided to give it a try. The first time I attempted this bread, the KAMUT berries sprouted before I could use them, and sprouted too much to use in bread. I ate them in salad instead. I tried again, and this time it worked.
Sprouting the berries is the tricky part, so pay attention to the timing.
Sprouted KAMUT Bread with no Flour
Makes: 1 Loaf
Adapted from: The Laurel’s Kitchen Bread Book by Laurel Robertson with Carol Flinders & Bronwen Godfrey
Ingredients:
- 3 cups (1 1/4 lb or 575 g) KAMUT berries
- 1 teaspoon (1/8 oz or 3.5 g) instant yeast
- 2 tablespoons (30 ml) warm water
- 2 teaspoons (11 g) salt
- 3 scant tablespoons (40 ml) honey
Method:
Step 1: Sprout the KAMUT berries
Rinse the grains and cover with room-temperature water. Cover the bowl with a kitchen towel and let the grains soak for 12 to 18 hours.
Tip: The trick to sprouting wheat berries is to sprout them just enough so that the sprout is barely peeking out. If you only let it sprout a little bit, then you can make lighter yeast bread. If you let them sprout too long before you grind it, then it makes a dense loaf.
Sunday morning. I started this process mid-morning on Sunday and rinsed them the first time early Monday morning before work. It ended up being about 20 hours.
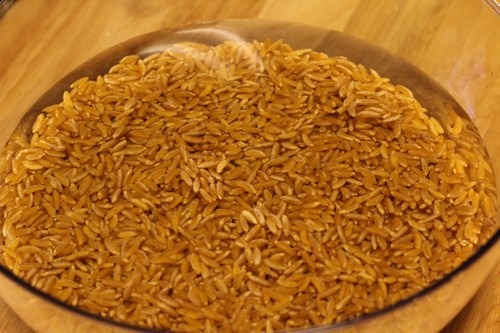
After 18 hours, drain the berries and then rinse with fresh water. Place the bowl in a dark place with a damp cloth over it. Rinse the grains every 12 hours for 2 days or until the sprout is just beginning to appear on the grain.
Monday evening. The berries were a little soft but not quite ready, so I rinsed them again and placed them in a colander over a bowl to drain overnight. I covered them with a kitchen towel.
Tuesday afternoon. I removed the grains from the colander and placed them on a kitchen towel to dry. The sprouts were barely starting to peek out. I covered them with another towel. A kitchen towel works best for this part.
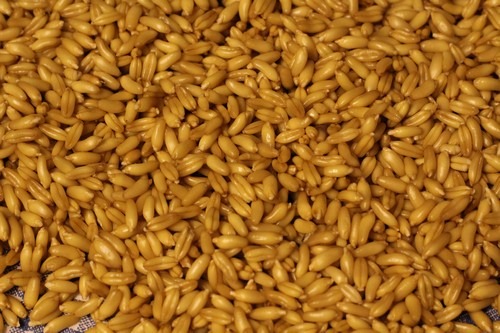
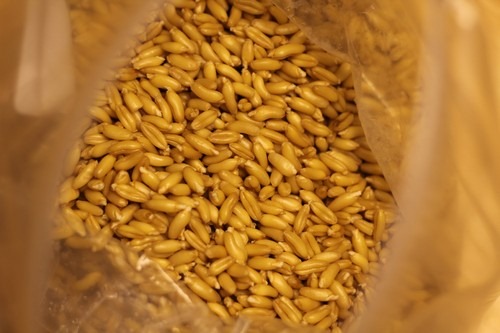
Tuesday evening. I placed the sprouted grains in a plastic bag and put them in the refrigerator until I was ready to bake the next evening. You can keep them in the refrigerator for a day or two, but they will continue sprouting, so don’t wait too long or you’ll end up with gummy bread.
Step 2: Process the Dough
Note: A good food processor works really well for this part. If you’re using a standard food processor, divide all of the ingredients in third and process the mixture in batches using the metal blade (not the dough blade). Knead the three dough balls together before the rising and baking.
Take the berries out of the refrigerator. Add the sprouted berries and the rest of the ingredients to a food processor and process the mixture until the ground wheat forms a ball. This will take about one minute. Scrape down the sides of the bowl, then process again for another couple of minutes. Stop processing before the ball falls apart.
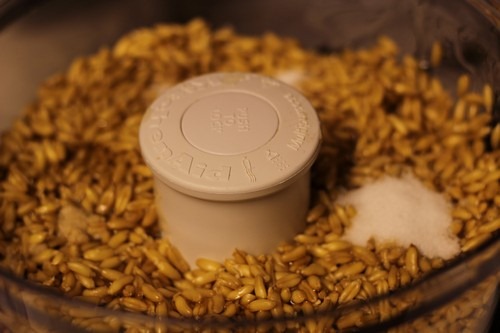
I processed the sprouts until they formed a dough, but left some of the pieces to add texture. Then I kneaded it on the counter for a few minutes.
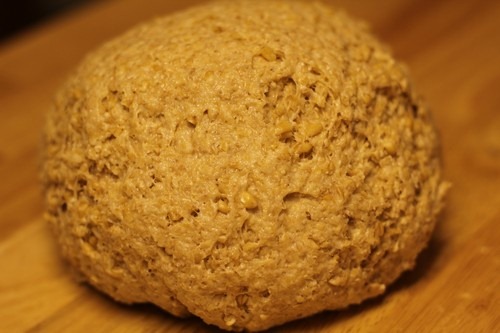
Step 3: Bulk Fermentation
Place the dough ball in a greased bowl and cover with plastic wrap. Let it rise in a warm, draft-free place for about an hour and a half. I placed it in my proofing box at 70 degrees F. to proof.
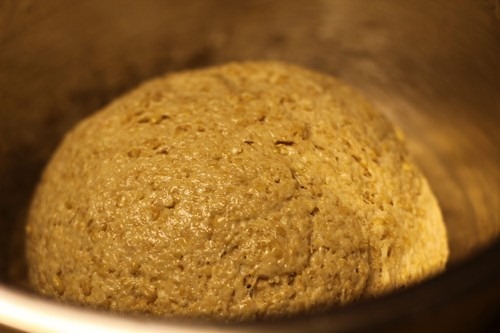
Check the dough by gently poking the center about 1/2-inch deep with your finger. If your finger leaves an indentation and the dough doesn’t fill back in, it is ready for the next step.
Take the dough out of the bowl and press it into a smooth round, then place it back in the bowl to rise again for 1 1/2 hours. If your dough is cold (which it probably will be since you started with cold wheat berries), then the first rise may take awhile. Check the dough again by pressing it with your finger. If an indentation remains, the dough is ready to be shaped.
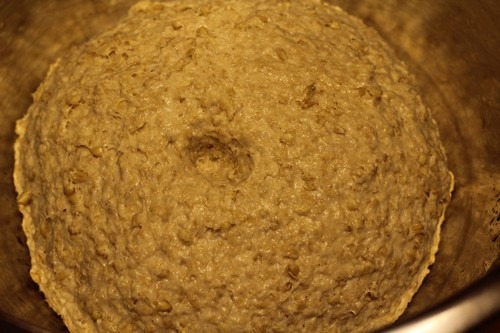
Step 4: Shape the Loaf
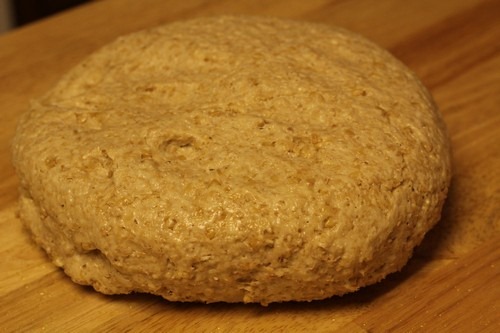
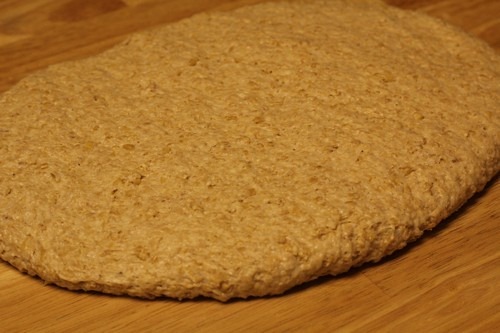
Place the dough onto a lightly greased surface and knead it into a round using wet hands. Gently flatten it into a rough round on a lightly oiled surface.
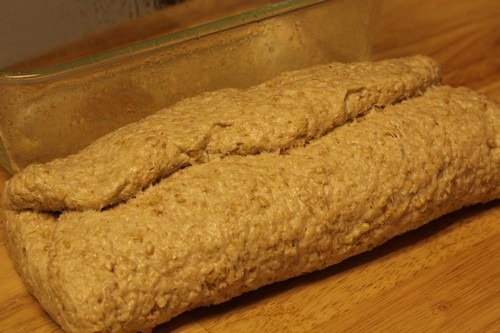
Shape the dough into a loaf by folding the bottom third up to the middle, then fold the top down toward the middle like an envelope.
Step 5: Proof the Loaf
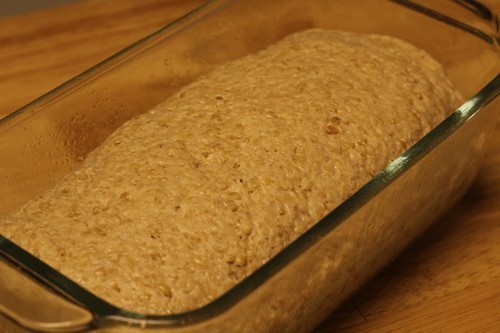
Turn the loaf seam-side down and roll it back and forth until you get a uniform shape. Place the loaf seam-side down in a greased 8” x 4” loaf pan.
Let the loaf rise in a draft-free place until it returns a gently made fingerprint. This could take another hour or two. I placed the loaf in the proofer at 70 degrees again.
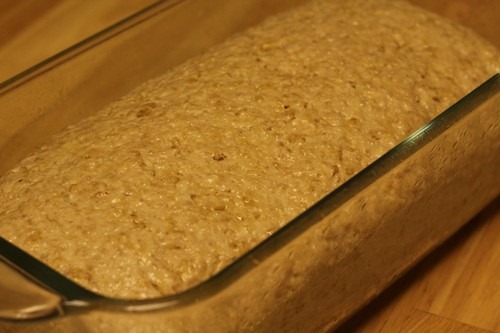
Step 6: Bake the Loaf
Bake the loaf for about an hour at 350 degrees F. If your bread rises a lot, the baking time won’t be as long. My bread didn’t rise that much so I baked it the full hour to make sure it wasn’t gummy in the center.
Step 7: Cool, then Slice & Enjoy
Remove the loaf to a wire rack to cool.
This bread is a little dense, but it has lots of chew and flavor. I sliced it thin and ate it with butter and cheese. You can really taste the wheat flavor. I happen to enjoy that. The texture on the inside is not gummy at all.
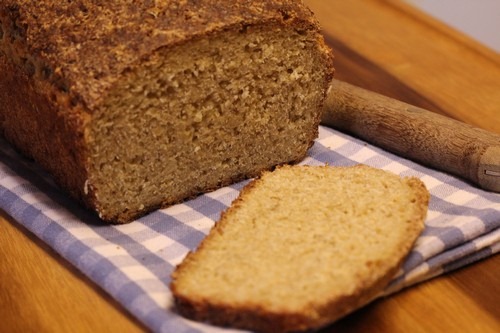
I rushed the final proofing a little bit because it was getting late so I think this bread could be made a little bit lighter if you give it more time to rise. I also think it could be processed a little more in the food processor. I was trying not to over process it, but it may have been a little under processed.
You might also enjoy this Sprouted KAMUT Bread with bread flour.
Happy Baking!
Cathy
Leave a Reply